2.4K


OpenMediaVault is a Network-Attached Storage (NAS) solution based on Debian Linux. It contains services like SSH, (S)FTP, SMB/CIFS, DAAP media server, rsync, BitTorrent and many more. OpenMediaVault is primarily designed to be used in home environments or small home offices, but is not limited to those scenarios. We can use this distribution in large scale environments if we have sufficient hardware. It is simple and easy to manage via Web console and everyone can install and administrate a Network-Attached Storage without deeper knowledge.
Table of Contents
Installation of Openmediavault
In this case my testbox contains two hard drives; one for Operating system and another one used for Storage to the users data's. I already have a DHCP server in my network; so that this server will fetch the IP address automatically from the DHCP server.
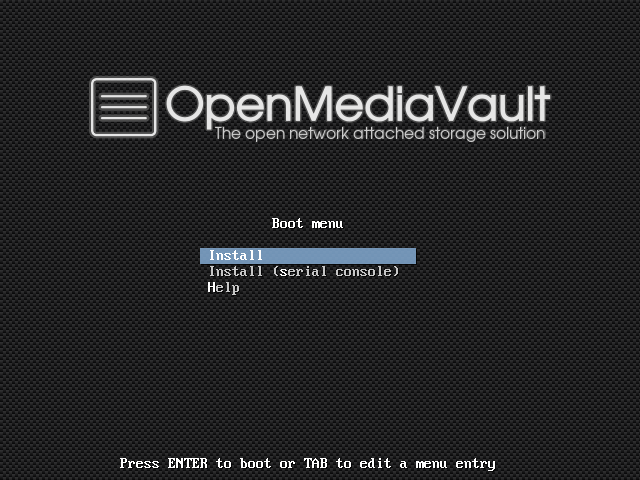
Download the latest version of Openmediavault here. Burn it in a CD or DVD and boot the system. At the boot prompt press enter.
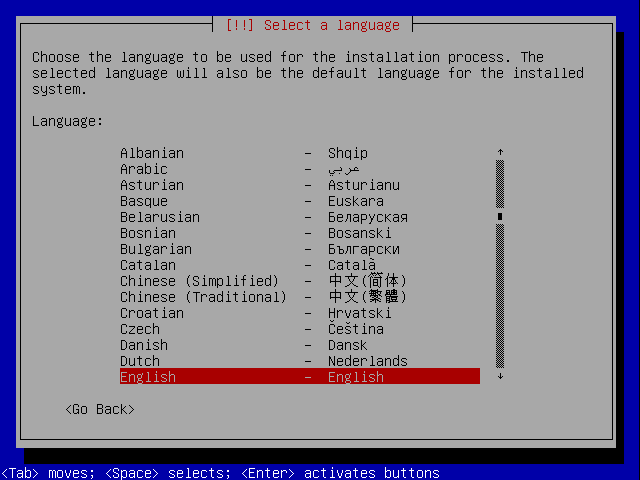
Select your default Language and press enter.
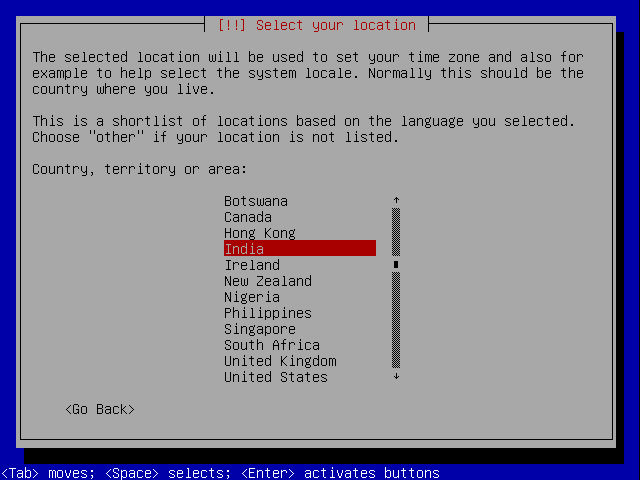
Select your Location and press enter.
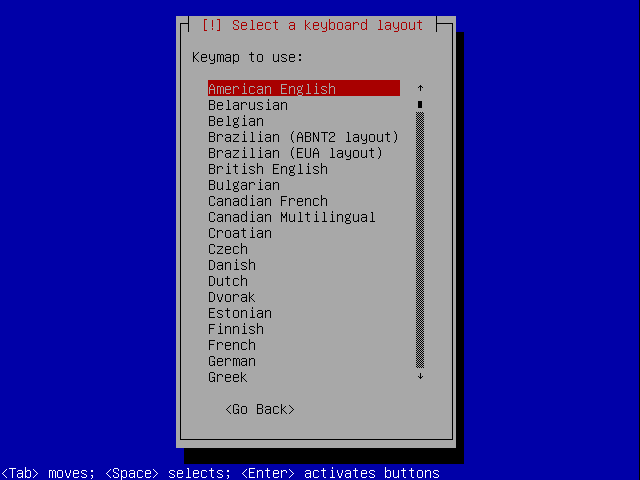
Select your keyboard layout and press enter.
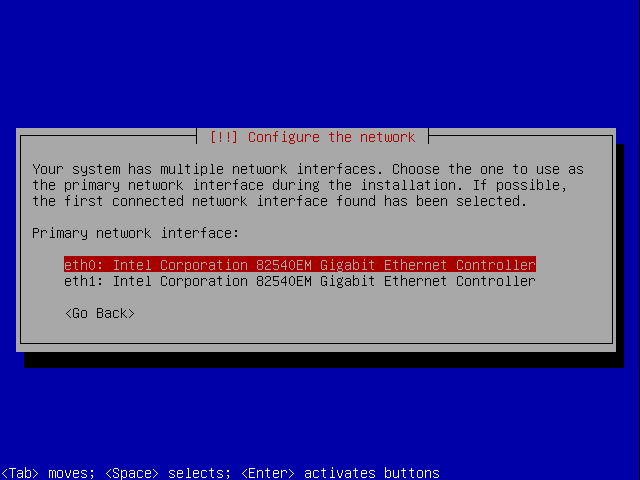
Select your default network interface if you have more than one.

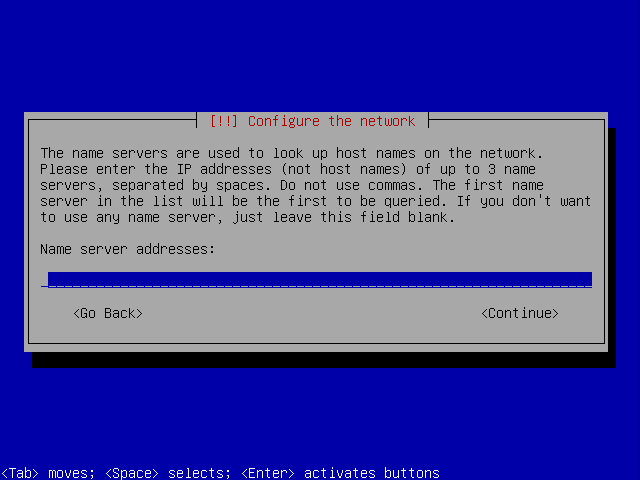
Enter the DNS server details or leave it blank.
Setup the Root password.
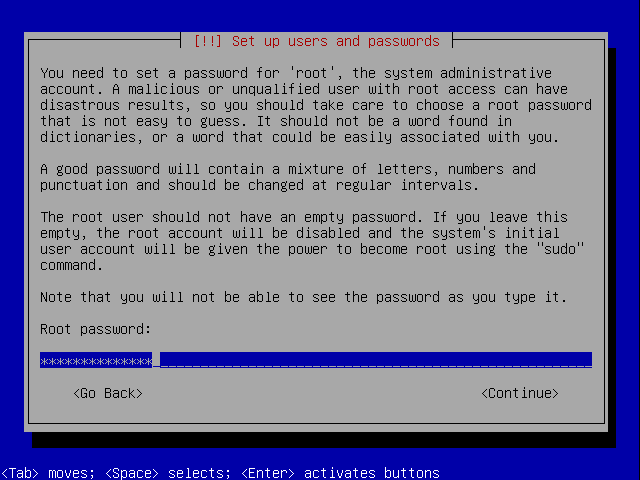
Re-enter the Root password.

Select the Hard disk to install the base system.

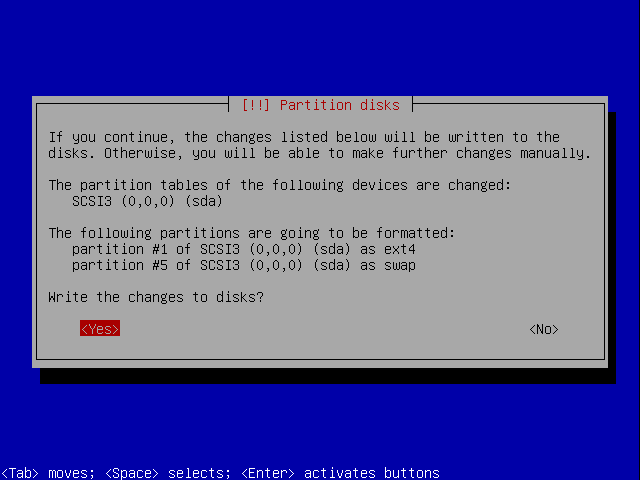
Now the installer will begin to copy the files to disk.

Select your nearest mirror to let the package manager to update your system periodically.

In this case i don't want to setup the mirror right now. I will do it later by manually. So i just simply press the Go back button to skip this process. It will ask the confirmation message to skip the network mirror selection. Select yes and press enter to continue.


Now the installation will begin to setup the base system.

At the end of installation press Continue to restart the system.
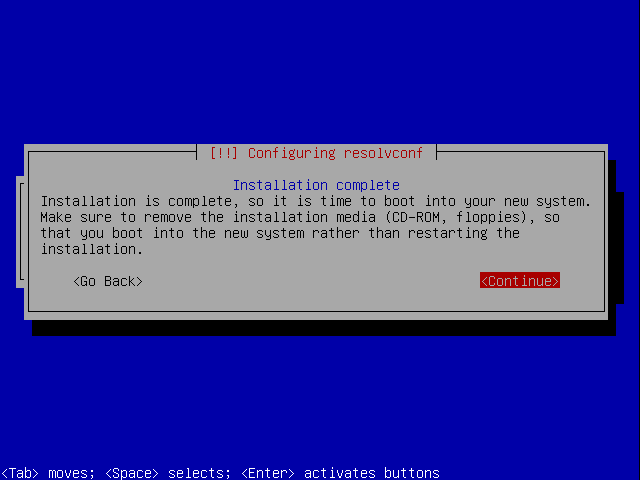
Now the base system is installed successfully.

Configuration
It is time to configure the server to act as NAS. It is pretty straight forward and very easy to configure via web console from any client in the network. Open the browser from any one of the client and enter https://your-server-ip-address/ and enter user name as admin(default username) and password as openmediavault(Default password).

The main window should looks like below.

As mentioned before i have used two hard disks; one for Operating system and another one for Storage purpose to store users data's.

To do that click the Filesystems tab in the Storage section on the left pane of the configuration window and click Create to add new filesystem. Now let us create a new filesystem using the second hard drive .

Now the new filesystem is created. Click Mount to mount the newly created filesystem.

Now let us create users and groups in the server. To do that navigate to Access Right Management section in the left pane, click User tab and click Add to create a new user.


Create all the users as stated above. Then create the Groups to the users. To do that navigate to Access Right Management section on the left pane and Select Groups. Click Add to create a new group and select the respective client to be added to that group in the Members section.

Do the same procedure to create another group.

Shared Folders
Create some shared folders to be used to store the users data's. To do that navigate to Access Right Management section, select Shared Folders and click Add to create new shared folder. Enter the name of the share, select the volume where the share to be created(i.e the second hard drive in this case), path of the share and permission assigned to the share for users and groups etc., and click Ok to create the new share.

Add other shares as stated above and you're done.

Configure Services
Now we enter the main part of the configuration section. Let us see how to configure the services one by one.
NFS
Navigate to Services section in the left pane and select NFS. Click the checkbox Enable in the settings page to enable the nfs service.

Then in the Shares page click Add to create new share(don't confuse with shared folders which will we create in the Access Right Management Section). Select the Shared folder, clients to access the shared folder and privileges whether the share should be in Read-only or Read/Write mode and click Ok.


Create shares as many as you want as explained above.
FTP
Navigate to Services section in the left pane, select FTP and Click the Enable check box.


Select the shared folder in the drop-down box in Shares page.

SMB/CIFS
Enable the SMB/CIFS service and add the smb share to windows clients.


Now it is time to check whether our NAS server is properly configured or not. Let us check the FTP service. Open the browser from the client or you could check via any FTP client softwares such as Filezilla. Enter ftp://your-server-ip-address/ and press enter. Enter the user name and password which we created earlier in the Access Right Management section.

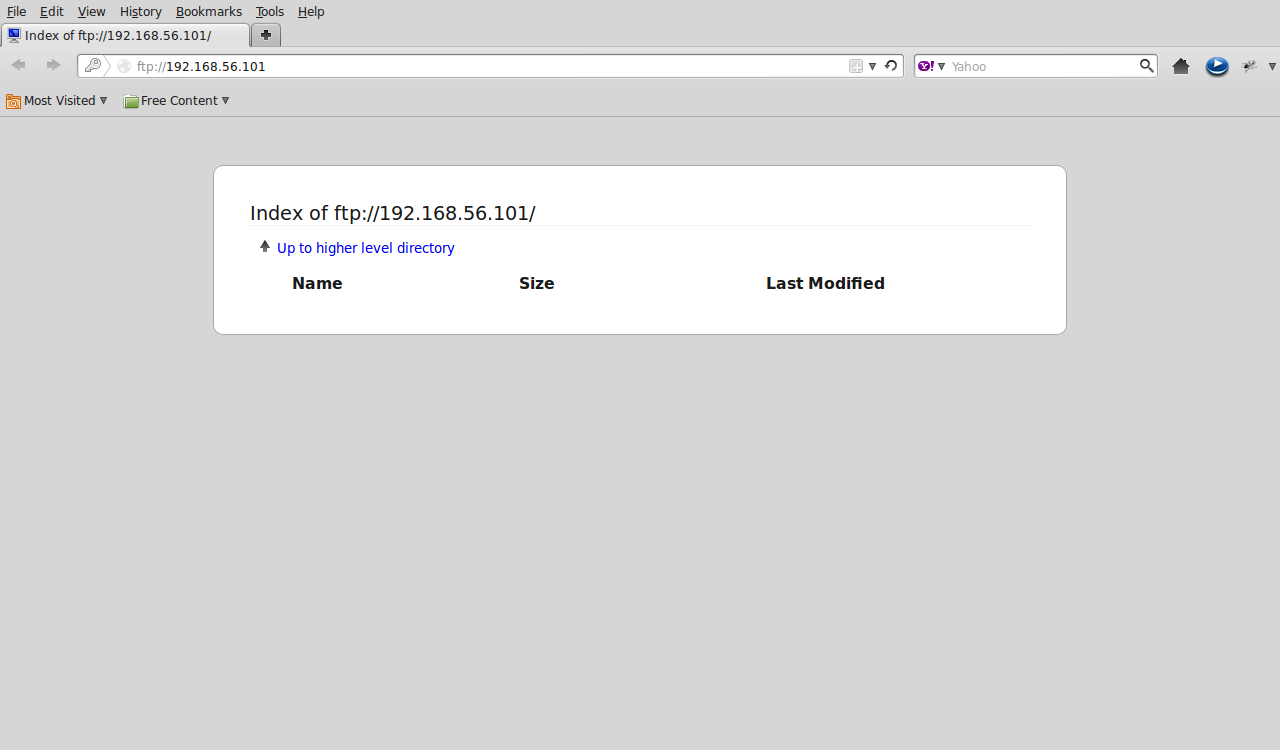
Thats it. Our NAS box is ready to use now. Check the other services such as NFS, SSH, rsync and SMB/CIFS too. It will surely work if you configured this server properly. Start using your NAS box.
Have a good day!!