LAMP stack is a popular, open source web development platform that can be used to run and deploy dynamic websites and web-based applications. Typically, LAMP stack consists of Apache webserver, MariaDB/MySQL databases, PHP/Python/Perl programming languages. LAMP is the acronym of Linux, MariaDB/MYSQL, PHP/Python/Perl. This tutorial describes how to install Apache, MySQL, PHP (LAMP stack) in Ubuntu 18.04 LTS server.
Table of Contents
Install Apache, MySQL, PHP (LAMP) Stack On Ubuntu 18.04 LTS
For the purpose of this tutorial, we will be using the following Ubuntu testbox.
- Operating System : Ubuntu 18.04.1 LTS Server Edition
- IP address : 192.168.225.22/24
1. Install Apache web server
First of all, update Ubuntu server using commands:
$ sudo apt update
$ sudo apt upgrade
Next, install Apache web server:
$ sudo apt install apache2
Check if Apache web server is running or not:
$ sudo systemctl status apache2
Sample output would be:
● apache2.service - The Apache HTTP Server
   Loaded: loaded (/lib/systemd/system/apache2.service; enabled; vendor preset: en
  Drop-In: /lib/systemd/system/apache2.service.d
           └─apache2-systemd.conf
   Active: active (running) since Tue 2019-02-05 10:48:03 UTC; 1min 5s ago
 Main PID: 2025 (apache2)
    Tasks: 55 (limit: 2320)
   CGroup: /system.slice/apache2.service
           ├─2025 /usr/sbin/apache2 -k start
           ├─2027 /usr/sbin/apache2 -k start
           └─2028 /usr/sbin/apache2 -k start

Feb 05 10:48:02 ubuntuserver systemd[1]: Starting The Apache HTTP Server...
Feb 05 10:48:03 ubuntuserver apachectl[2003]: AH00558: apache2: Could not reliably
Feb 05 10:48:03 ubuntuserver systemd[1]: Started The Apache HTTP Server.
Congratulations! Apache service is up and running!!
1.1 Adjust firewall to allow Apache web server
By default, the apache web browser can’t be accessed from remote systems if you have enabled the UFW firewall in Ubuntu 18.04 LTS. You must allow the http and https ports by following the below steps.
First, list out the application profiles available on your Ubuntu system using command:
$ sudo ufw app list
Sample output:
Available applications:
Apache
Apache Full
Apache Secure
OpenSSH
As you can see, Apache and OpenSSH applications have installed UFW profiles. You can list out information about each profile and its included rules using "ufw app info "Profile Name" command.
Let us look into the “Apache Full” profile. To do so, run:
$ sudo ufw app info "Apache Full"
Sample output:
Profile: Apache Full
Title: Web Server (HTTP,HTTPS)
Description: Apache v2 is the next generation of the omnipresent Apache web
server.

Ports:
80,443/tcp
As you see, "Apache Full" profile has included the rules to enable traffic to the ports 80 and 443:
Now, run the following command to allow incoming HTTP and HTTPS traffic for this profile:
$ sudo ufw allow in "Apache Full"
Rules updated
Rules updated (v6)
If you don't want to allow https traffic, but only http (80) traffic, run:
$ sudo ufw app info "Apache"
1.2 Test Apache Web server
Now, open your web browser and access Apache test page by navigating to http://localhost/ or http://IP-Address/.
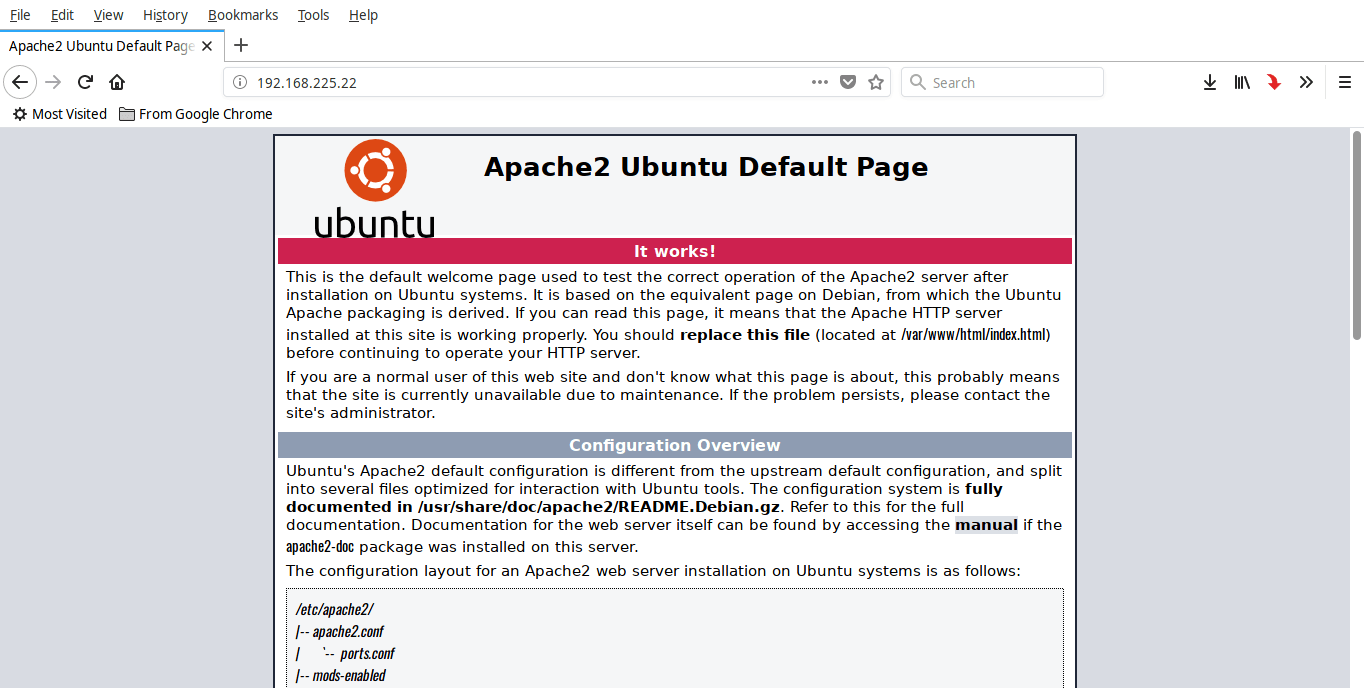
If you are see a screen something like above, you are good to go. Apache server is working!
2. Install MySQL
To install MySQL On Ubuntu, run:
$ sudo apt install mysql-server
Verify if MySQL service is running or not using command:
$ sudo systemctl status mysql
Sample output:
● mysql.service - MySQL Community Server
Loaded: loaded (/lib/systemd/system/mysql.service; enabled; vendor preset: enab
Active: active (running) since Tue 2019-02-05 11:07:50 UTC; 17s ago
Main PID: 3423 (mysqld)
Tasks: 27 (limit: 2320)
CGroup: /system.slice/mysql.service
└─3423 /usr/sbin/mysqld --daemonize --pid-file=/run/mysqld/mysqld.pid

Feb 05 11:07:49 ubuntuserver systemd[1]: Starting MySQL Community Server...
Feb 05 11:07:50 ubuntuserver systemd[1]: Started MySQL Community Server.
Mysql is running!
2.1 Setup database administrative user (root) password
By default, MySQL root user password is blank. You need to secure your MySQL server by running the following script:
$ sudo mysql_secure_installation
You will be asked whether you want to setup VALIDATE PASSWORD plugin or not. This plugin allows the users to configure strong password for database credentials. If enabled, It will automatically check the strength of the password and enforces the users to set only those passwords which are secure enough. It is safe to leave this plugin disabled. However, you must use a strong and unique password for database credentials. If don't want to enable this plugin, just press any key to skip the password validation part and continue the rest of the steps.
If your answer is Yes, you will be asked to choose the level of password validation.
Securing the MySQL server deployment.

Connecting to MySQL using a blank password.

VALIDATE PASSWORD PLUGIN can be used to test passwords
and improve security. It checks the strength of password
and allows the users to set only those passwords which are
secure enough. Would you like to setup VALIDATE PASSWORD plugin?

Press y|Y for Yes, any other key for No y
The available password validations are low, medium and strong. Just enter the appropriate number (0 for low, 1 for medium and 2 for strong password) and hit ENTER key.
There are three levels of password validation policy:

LOW Length >= 8
MEDIUM Length >= 8, numeric, mixed case, and special characters
STRONG Length >= 8, numeric, mixed case, special characters and dictionary file

Please enter 0 = LOW, 1 = MEDIUM and 2 = STRONG:
Now, enter the password for MySQL root user. Please be mindful that you must use password for mysql root user depending upon the password policy you choose in the previous step. If you didn't enable the plugin, just use any strong and unique password of your choice.
Please set the password for root here.

New password:

Re-enter new password:

Estimated strength of the password: 50
Do you wish to continue with the password provided?(Press y|Y for Yes, any other key for No) : y
Once you entered the password twice, you will see the password strength (In our case it is 50). If it is OK for you, press Y to continue with the provided password. If not satisfied with password length, press any other key and set a strong password. I am OK with my current password, so I chose y.
For the rest of questions, just type y and hit ENTER. This will remove anonymous user, disallow root user login remotely and remove test database.
Remove anonymous users? (Press y|Y for Yes, any other key for No) : y
Success.

Normally, root should only be allowed to connect from
'localhost'. This ensures that someone cannot guess at
the root password from the network.

Disallow root login remotely? (Press y|Y for Yes, any other key for No) : y
Success.

By default, MySQL comes with a database named 'test' that
anyone can access. This is also intended only for testing,
and should be removed before moving into a production
environment.

Remove test database and access to it? (Press y|Y for Yes, any other key for No) : y
- Dropping test database...
Success.

- Removing privileges on test database...
Success.

Reloading the privilege tables will ensure that all changes
made so far will take effect immediately.

Reload privilege tables now? (Press y|Y for Yes, any other key for No) : y
Success.

All done!
That's it. Password for MySQL root user has been set.
2.2 Change authentication method for MySQL root user
By default, MySQL root user is set to authenticate using the auth_socket plugin in MySQL 5.7 and newer versions on Ubuntu. Even though it enhances the security, it will also complicate things when you access your database server using any external programs, for example phpMyAdmin. To fix this issue, you need to change authentication method from auth_socket to mysql_native_password. To do so, login to your MySQL prompt using command:
$ sudo mysql
Run the following command at the mysql prompt to find the current authentication method for all mysql user accounts:
SELECT user,authentication_string,plugin,host FROM mysql.user;
Sample output:
+------------------+-------------------------------------------+-----------------------+-----------+
| user | authentication_string | plugin | host |
+------------------+-------------------------------------------+-----------------------+-----------+
| root | | auth_socket | localhost |
| mysql.session | *THISISNOTAVALIDPASSWORDTHATCANBEUSEDHERE | mysql_native_password | localhost |
| mysql.sys | *THISISNOTAVALIDPASSWORDTHATCANBEUSEDHERE | mysql_native_password | localhost |
| debian-sys-maint | *F126737722832701DD3979741508F05FA71E5BA0 | mysql_native_password | localhost |
+------------------+-------------------------------------------+-----------------------+-----------+
4 rows in set (0.00 sec)

As you see, mysql root user uses auth_socket plugin for authentication.
To change this authentication to mysql_native_password method, run the following command at mysql prompt. Don't forget to replace "password" with a strong and unique password of your choice. If you have enabled VALIDATION plugin, make sure you have used a strong password based on the current policy requirements.
ALTER USER 'root'@'localhost' IDENTIFIED WITH mysql_native_password BY 'password';
Update the changes using command:
FLUSH PRIVILEGES;
Now check again if the authentication method is changed or not using command:
SELECT user,authentication_string,plugin,host FROM mysql.user;
Sample output:

Good! Now the myql root user can authenticate using password to access mysql shell.
Exit from the mysql prompt:
exit
3. Install PHP
To install PHP, run:
$ sudo apt install php libapache2-mod-php php-mysql
After installing PHP, create info.php file in the Apache root document folder. Usually, the apache root document folder will be /var/www/html/ or /var/www/ in most Debian based Linux distributions. In Ubuntu 18.04 LTS, it is /var/www/html/.
Let us create info.php file in the apache root folder:
$ sudo vi /var/www/html/info.php
Add the following lines:
<?php
phpinfo();
?>
Press ESC key and type :wq to save and quit the file. Restart apache service to take effect the changes.
$ sudo systemctl restart apache2
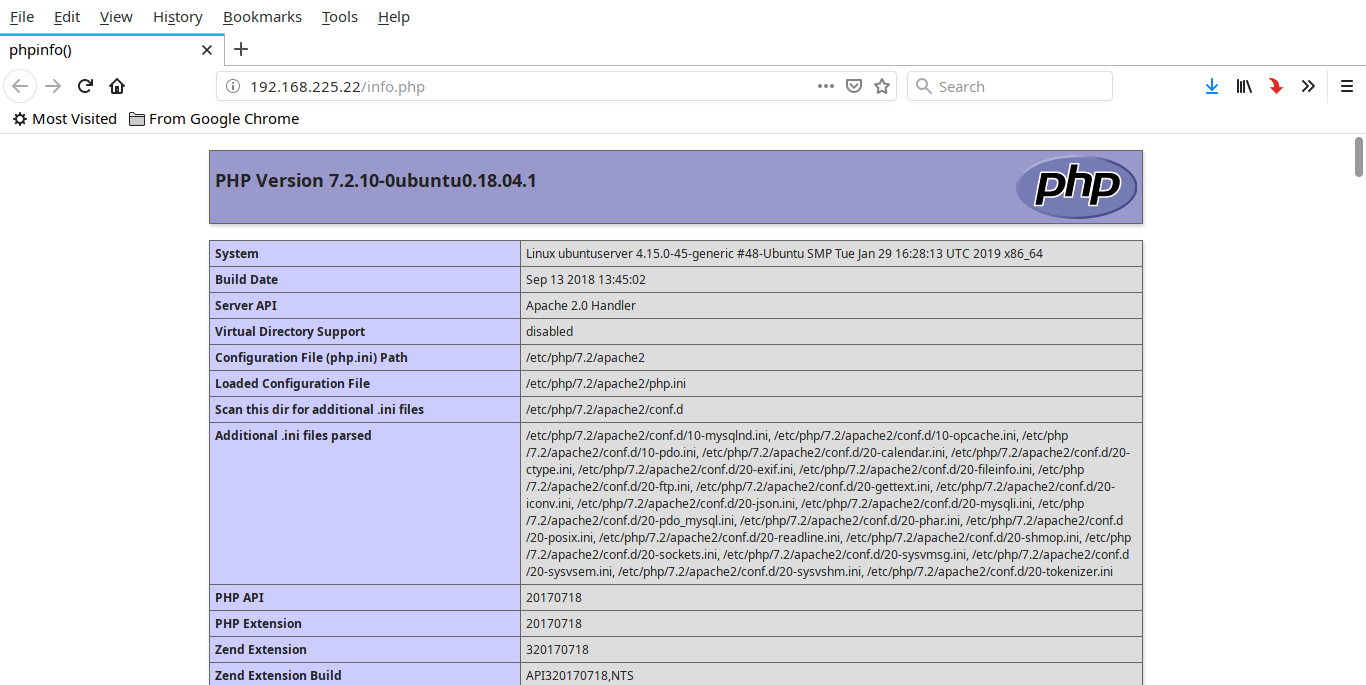
3.1 Test PHP
Open up your web browser and navigate to http://IP-address/info.php URL.
You will see the php test page now.
Usually, when a user requests a directory from the web server, Apache will first look for a file named index.html. If you want to change Apache to serve php files rather than others, move index.php to first position in the dir.conf file as shown below
$ sudo vi /etc/apache2/mods-enabled/dir.conf
Here is the contents of the above file.
<IfModule mod_dir.c>
DirectoryIndex index.html index.cgi index.pl index.php index.xhtml index.htm
</IfModule>

# vim: syntax=apache ts=4 sw=4 sts=4 sr noet
Move the "index.php" file to first. Once you made the changes, your dir.conf file will look like below.
<IfModule mod_dir.c>
DirectoryIndex index.php index.html index.cgi index.pl index.xhtml index.htm
</IfModule>

# vim: syntax=apache ts=4 sw=4 sts=4 sr noet
Press ESC key and type :wq to save and close the file. Restart Apache service to take effect the changes.
$ sudo systemctl restart apache2
3.2 Install PHP modules
To improve the functionality of PHP, you can install some additional PHP modules.
To list the available PHP modules, run:
$ sudo apt-cache search php- | less
Sample output:

Use the arrow keys to go through the result. To exit, type q and hit ENTER key.
To find the details of any particular php module, for example php-gd, run:
$ sudo apt-cache show php-gd
To install a php module run:
$ sudo apt install php-gd
To install all modules (not necessary though), run:
$ sudo apt-get install php*
Do not forget to restart Apache service after installing any php module. To check if the module is loaded or not, open info.php file in your browser and check if it is present.
Next, you might want to install any database management tools to easily manage databases via a web browser. If so, install phpMyAdmin as described in the following link.
Congratulations! We have successfully setup LAMP stack in Ubuntu 18.04 LTS server.
Also read:
- Install Nginx, MariaDB, PHP (LEMP) Stack in Ubuntu 18.04 LTS
- Install Apache, MariaDB, PHP (LAMP) stack on Arch Linux
- Install Nginx, MariaDB, PHP (LEMP) stack on Arch Linux
And, that's all for now. As you can see, Setting up LAMP stack in Ubuntu is absolutely easy and straight-forward.
Reference:
Thanks for stopping by!
Help us to help you:
- Subscribe to our Email Newsletter : Sign Up Now
- Support OSTechNix : Donate Via PayPal
- Download free E-Books and Videos : OSTechNix on TradePub
- Connect with us: Reddit | Facebook | Twitter | LinkedIn | RSS feeds
Have a Good day!!
8 comments
2.2 you changing aut method but password for root is not set so ater doing that you can’t log into mysql at all
Many thanks really for the tutorial, highly appreciated,
Many thanks a precise tutorial
Thank you! Works great in 2020.
This is the best guide on the web, very detailed wish screenshot. Awesome. It also works great as in 2020. I opted however not to install default php 7.1 and upgraded to 7.3. Same thing with phpmyadmin to 4.9 version which is stable. DO NOT INSTALL older version 4.6 of phpmyadmin on php 7.2. You will get myphpadmin errors. You need newer version >4.7. Latest stable one is 4.9 as of my post.
sudo apt install software-properties-common
sudo add-apt-repository ppa:ondrej/php
sudo apt install php7.3 php7.3-common php7.3-opcache php7.3-cli php7.3-gd php7.3-curl php7.3-mysql
sudo add-apt-repository ppa:phpmyadmin/ppa
sudo apt-get install phpmyadmin
Thanks for your update. I will check and update the guide when I have time.
Great tutorial. Bookmarked for re-reading. Minor suggestion for other dummies like me. The “Test PHP” Section: Your command “http://IP-Address/info.php” kept sending me to a “Buy Domain” spam site. Only when I read-up elsewhere did I figure out that “http://localhost/info.php” provides the expected result.
nice documentation.