This step by step guide will show you how to install Ubuntu 20.04 LTS desktop with screenshots. Ubuntu 20.04 LTS, codenamed “Focal Fossa”, final version has been released. Ubuntu 20.04 LTS ships with Kernel 5.4, GNOME 3.36, ZFS install support, faster boot speeds, GameMode performance tool, Snap Store (replacement to Ubuntu Software), improved appearance and a lots of software updates. Ubuntu 20.04 LTS version is supported for 5 years. The security and maintenance updates will be provided for 5 years until April 2025 for Ubuntu Desktop, Ubuntu Server, Ubuntu Cloud, and Ubuntu Core. All the remaining flavours will be supported for 3 years. For more details, refer the Ubuntu 20.04 LTS releases notes.
If you already have any older Ubuntu versions, you can simply upgrade to Ubuntu 20.04 LTS desktop. If you prefer new installation, read on.
Create Ubuntu 20.04 LTS Bootable Disk
Download Ubuntu 20.04 LTS image from here. Create a bootable usb drive using any one of the programs given below.
- How To Create Multiboot USB Drives With Ventoy In Linux
- Etcher – A Beautiful App To Create Bootable SD Cards Or USB Drives
- Bootiso Lets You Safely Create Bootable USB Drive
Install Ubuntu 20.04 LTS Desktop
Boot your system with the newly created bootable USB drive. You will be greeted with the following screen.
As you can see in the below screenshot, there are two options. You can either try latest Ubuntu 20.04 LTS without making any changes in your computer, directly from the live cd. Or, you can hit the Install Ubuntu option to continue installing Ubuntu 20.04 LTS on your hard drive. I am going to install it, so I clicked the "Install Ubuntu" button.
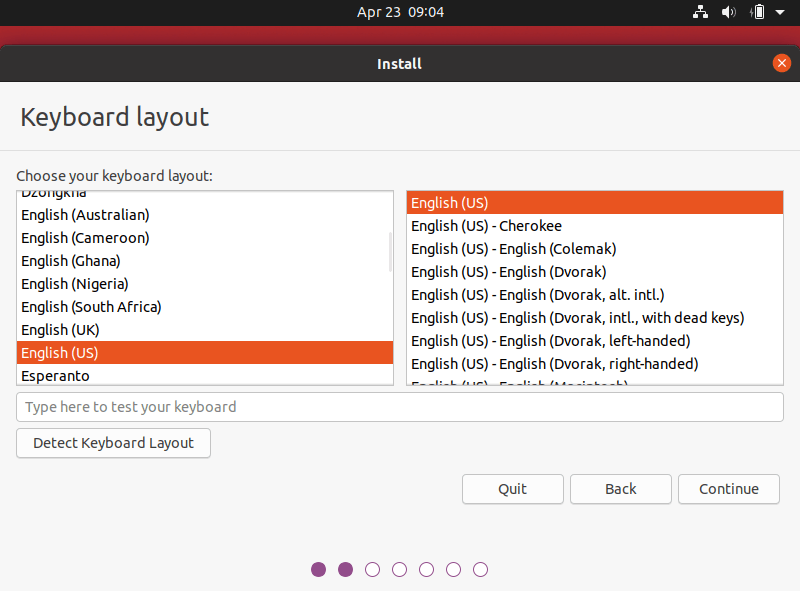
Choose your preferred keyboard layout and click Continue:
Now, select what apps you'd like to install on your Ubuntu system. You have two choices here.
- Normal Installation
- Minimal Installation
By choosing normal installation, you can install all applications required for a full-fledged desktop, including web browser, office suite, games and media players.
By choosing minimal installation, you can install a minimal desktop version that has only a web browser and a few basic utilities.
You can additionally choose to download updates while installing Ubuntu. This will save you some time after installation. And also choose to install third-party software for your Graphics and WiFi drivers and other required media codec formats.
Here, I go with Normal Installation.
Next, choose the installation type. If your system currently has no operating systems, the installer will provide the following two options. You can choose any option that suits to you.
- Erase disk - Choosing this option will delete everything in your system. There is also additional option called "Advanced Features" that allows you to choose the following three options.
- Use LVM with the new Ubuntu installation - If you want to resize, add, modify, take snapshot partitions, choose this option.
- Encrypt the new installation for security - This option lets you to encrypt your Ubuntu system. You will need to choose a security key in the next wizard if you choose this option.
- EXPERIMENTAL - Erase disk and use ZFS.
- Something else - It allows you to manually partition the hard drive yourself. You can set the custom size for each partition. It is opt for dual boot with Windows and/or other OS.
I go with the first option - Erase disk.
In the next screen, you will see the list of changes that will be made to the disks. If this is OK, click "Continue" or click "Go Back" to make further changes.
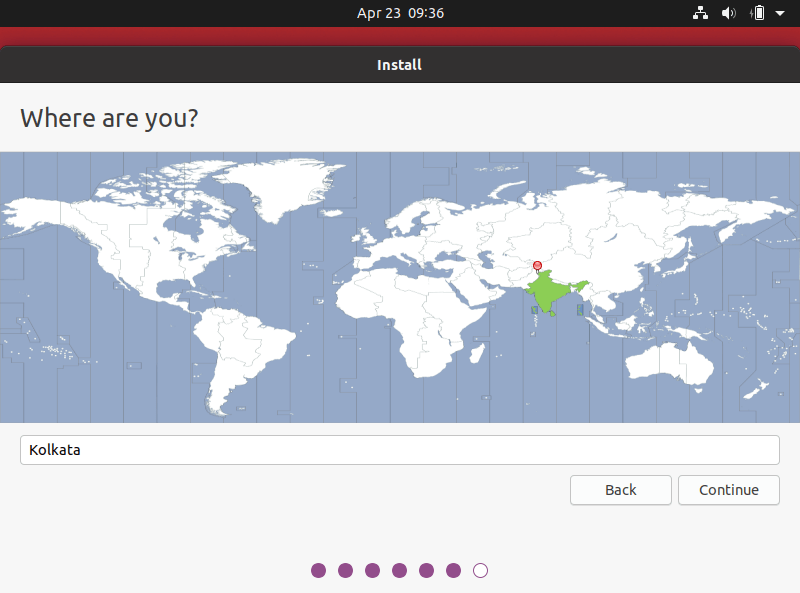
Next, choose where you live i.e. timezone. If your system is connected with Internet, the installer will choose the timezone automatically. Otherwise you will have to manually choose it from the map.
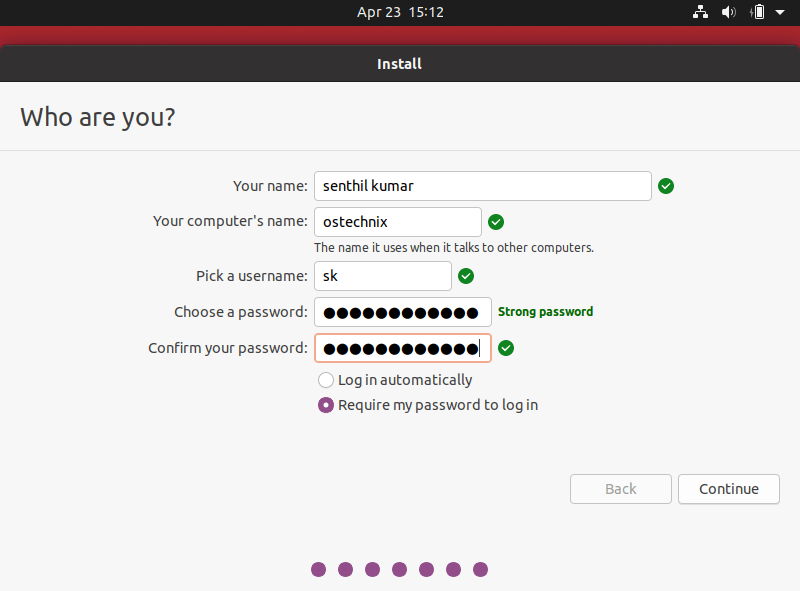
You have already setup where are you from. Now is the time to setup who are you. In this screen, enter;
- your name e.g. senthil kumar
- your computer name e.g. ostechnix
- username e.g. sk
- and the user's password.
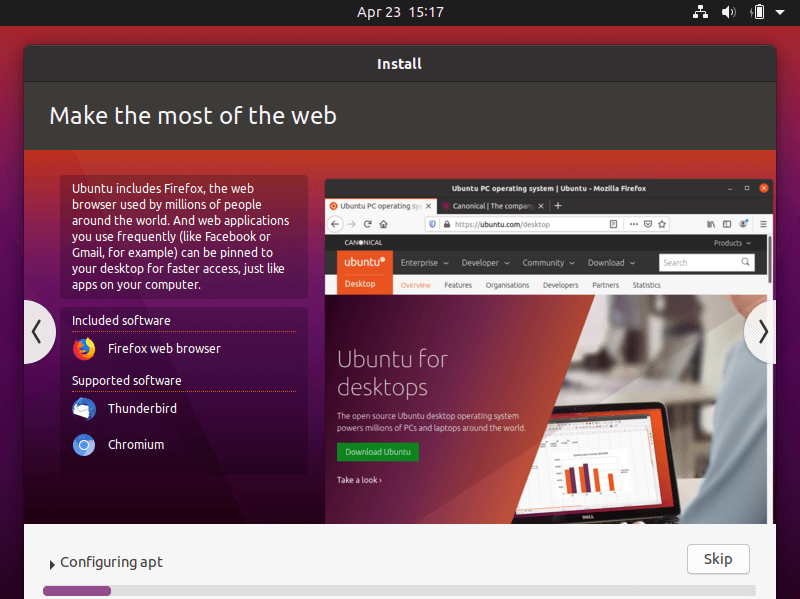
The Ubuntu 20.04 installation will start now.
This will take a while to complete. Sit back and relax!
After the installation is completed, click "Restart Now" to complete the installation and then remove the installation medium and hit ENTER key to reboot the system.
Click on the username and enter the password to log in to the newly installed Ubuntu 20.04 LTS desktop. You can also choose the graphics stack of your choice. Ubuntu 18.04 LTS ships with both the traditional Xorg graphics stack as well as the newer Wayland based stack, but Xorg is the default display server. Click the Ubuntu icon on the lower right corner and choose the display server.
Upon first login, you will be asked to connect your online accounts, like Ubuntu single sign-on, Google, NextCloud, Microsoft etc., to easily share access your calendar, documents and photos. You can set them up right way or click the "Skip" button to setup later.
Next, you will be asked to setup Canonical Livepatch service, which allows the users to apply the security updates that normally require restarting.
To setup Livepatch, click on "Set Up Livepatch" button and enter your Ubuntu One user name and password:
After setting up Livepatch, you will see the following screen. Click "Next" to continue:
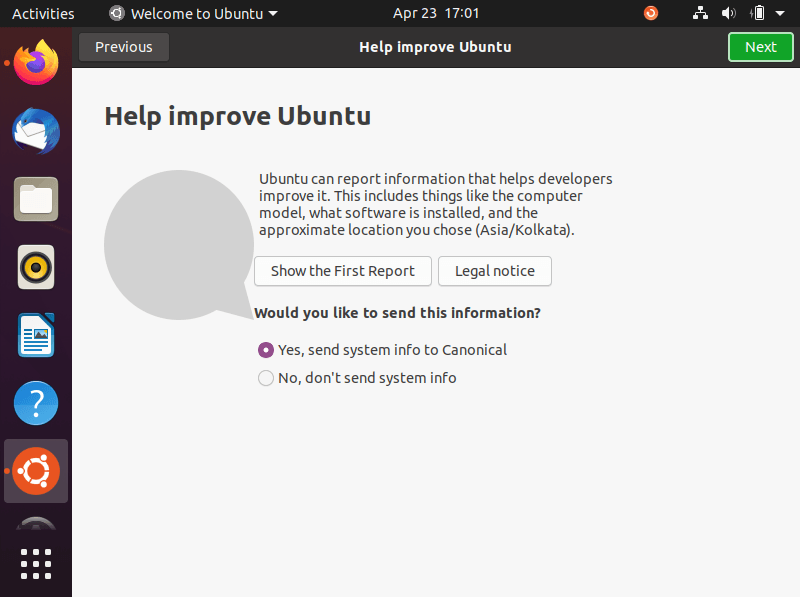
Next, you will be asked if you want to share your details, such as computer model, installed software, location etc., with Ubuntu developers to improve Ubuntu in future. If you wish to share, choose Yes and click Continue. If you don't want to, choose No and click Continue.
In the next window you can set if you like to allow applications to determine your geolocation by simply pressing the "Privacy" slider button.
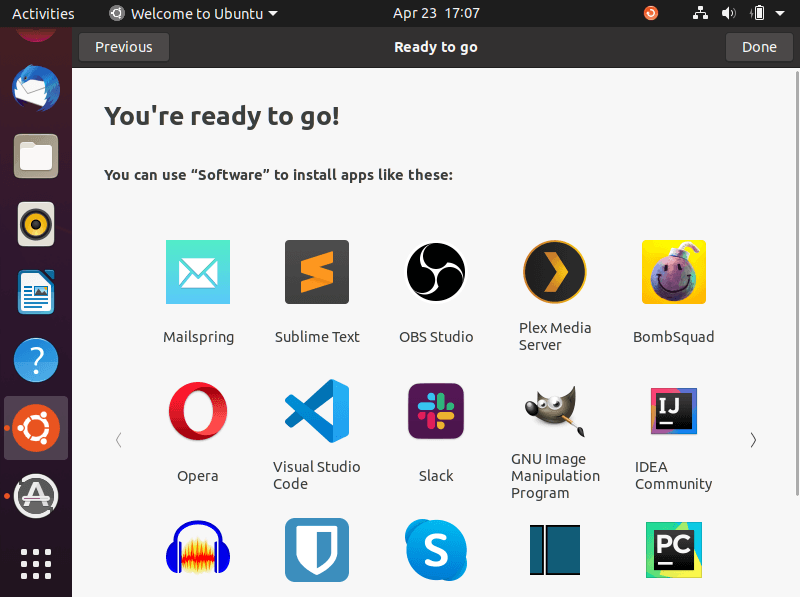
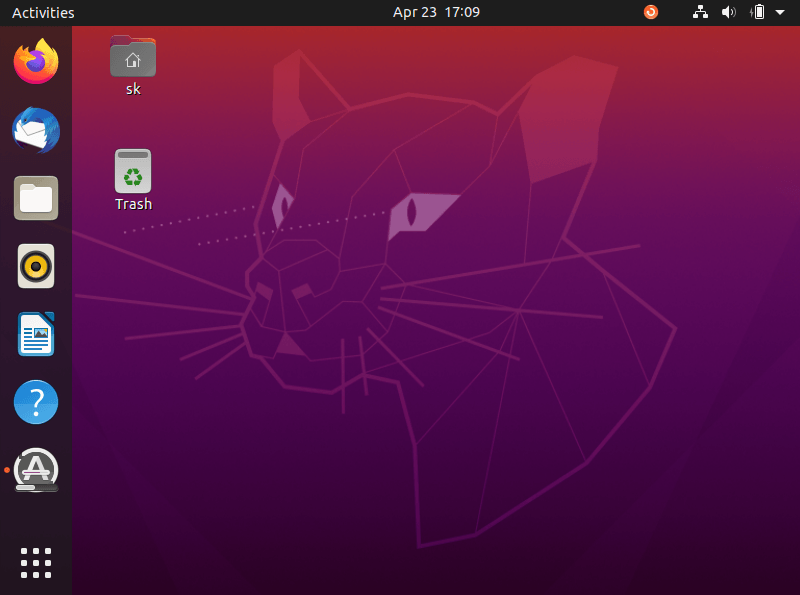
Congratulations! Ubuntu 20.04 LTS desktop has been successfully installed and you're ready to go!!
Here is how Ubuntu 20.04 LTS desktop looks like:
Install your favorite apps and start using Ubuntu 20.04 LTS desktop.
Read Next:


