Table of Contents
What is Apache Virtual Hosts?
Virtual Host term refers to the method of running more than one website such as host1.domain.com, host2.domain.com, or www.domain1.com, www.domain2.com etc., on a single system. There are two types of Virtual Hosting in Apache, namely IP-based virtual hosting and name-based virtual hosting. With IP-based virtual hosting, you can host multiple websites or domains on the same system, but each website/domain has different IP address. With name-based virtual hosting, you can host multiple websites/domains on the same IP address. Virtual hosting can be useful if you want to host multiple websites and domains from a single physical server or VPS. Hope you got the basic idea of Apache virtual hosts. Today, we are going to see how to configure Apache virtual hosts in Ubuntu 18.04 LTS.
Configure Apache Virtual Hosts in Ubuntu 18.04 LTS
My test box IP address is 192.168.225.22 and host name is ubuntuserver.
First, we will see how to configure name-based virtual hosts in Apache webserver.
Configure name-based virtual hosts
1. Install Apache webserver
Make sure you have installed Apache webserver. To install it on Ubuntu, run:
$ sudo apt-get install apache2
Once apache is installed, test if it is working or not by browsing the apache test page in the browser.
Open your web browser and point it to http://IP_Address or http://localhost. You should see a page like below.
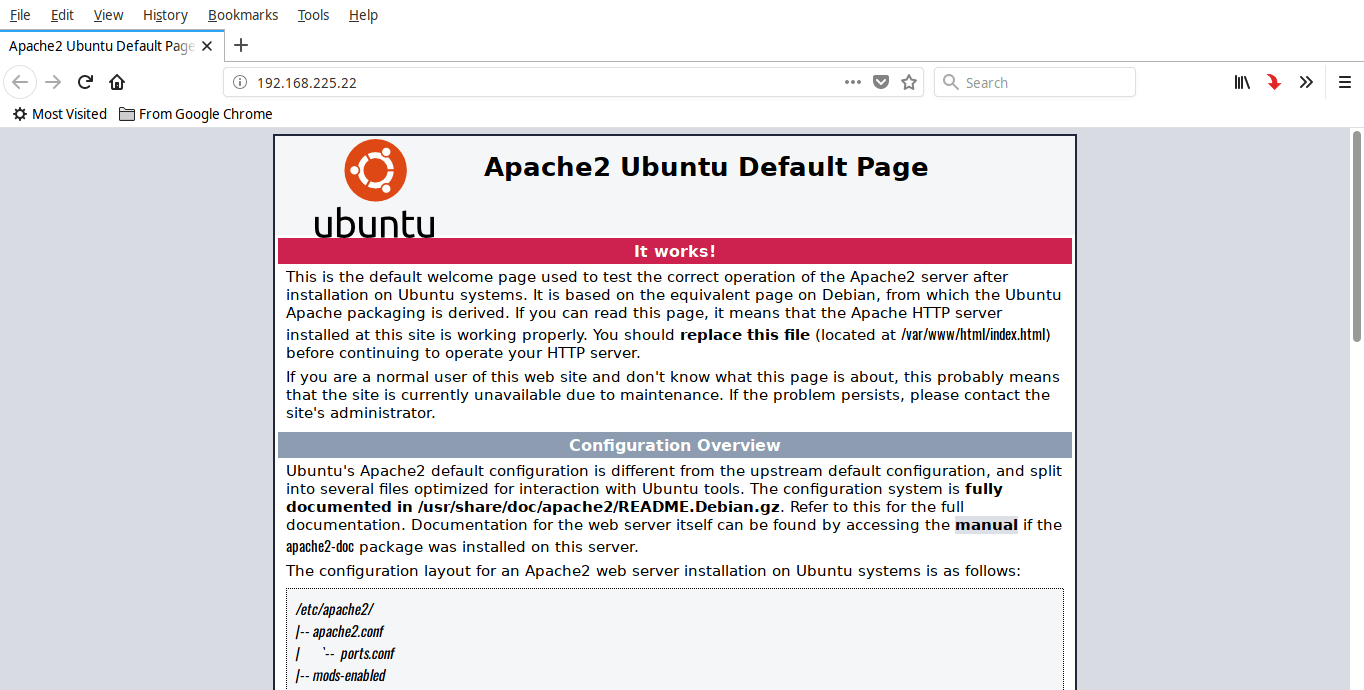
Good! Apache webserver is up and working!!
2. Create web directory for each host
I am going to create two virtual hosts, namely ostechnix1.lan and ostechnix2.lan.
Let us create a directory for first virtual host ostechnix1.lan. This directory is required for storing the data of our virtual hosts.
To do so, enter:
$ sudo mkdir -p /var/www/html/ostechnix1.lan/public_html
Likewise, create a directory for second virtual host ostechnix2.lan as shown below.
$ sudo mkdir -p /var/www/html/ostechnix2.lan/public_html
The above two directories are owned by root user. We need to change the ownership to the regular user.
To do so, run:
$ sudo chown -R $USER:$USER /var/www/html/ostechnix1.lan/public_html
$ sudo chown -R $USER:$USER /var/www/html/ostechnix2.lan/public_html
Here, $USER refers the currently logged-in user.
Next, set read permissions to the Apache root directory i.e /var/www/html/ using command:
$ sudo chmod -R 755 /var/www/html/
We do this because we already created a separate directory for each virtual host for storing their data. So we made the apache root directory as read only for all users except the root user.
We have created required directories for storing data of each virtual host, setup proper permissions. Now, it is time to create some sample pages which will be served from each virtual host.
3. Create demo web pages for each host
Let us create a sample page for ostechnix1.lan site. To do so, run:
$ sudo vi /var/www/html/ostechnix1.lan/public_html/index.html
Add the following lines in it:
<html>
 <head>
 <title>www.ostechnix.lan</title>
 </head>
 <body>
 <h1>Hello, This is a test page for ostechnix1.lan website</h1>
 </body>
</html>
Save and close the file.
Likewise, create a sample page for ostechnix2.lan site:
$ sudo vi /var/www/html/ostechnix2.lan/public_html/index.html
Add the following lines in it:
<html>
 <head>
 <title>www.ostechnix.lan</title>
 </head>
 <body>
 <h1>Hello, This is a test page for ostechnix2.lan website</h1>
 </body>
</html>
Save and close the file.
4. Create configuration file for each host
Next, we need to create configuration files for each virtual host. First, let us do this for ostechnix1.lan site.
Copy the default virtual host file called 000-default.conf contents to the new virtual host files like below.
$ sudo cp /etc/apache2/sites-available/000-default.conf /etc/apache2/sites-available/ostechnix1.lan.conf
$ sudo cp /etc/apache2/sites-available/000-default.conf /etc/apache2/sites-available/ostechnix2.lan.conf
Please be mindful that you must save all configuration files with .conf extension at the end, otherwise it will not work.
Now, modify the configuration files to match with our virtual hosts.
Edit ostechnix.lan1.conf file:
$ sudo vi /etc/apache2/sites-available/ostechnix1.lan.conf
Edit/modify ServerAdmin, ServerName, ServerAlias and DocumentRoot values matches to virtual host.
<VirtualHost *:80>
 # The ServerName directive sets the request scheme, hostname and port that
 # the server uses to identify itself. This is used when creating
 # redirection URLs. In the context of virtual hosts, the ServerName
 # specifies what hostname must appear in the request's Host: header to
 # match this virtual host. For the default virtual host (this file) this
 # value is not decisive as it is used as a last resort host regardless.
 # However, you must set it for any further virtual host explicitly.
 #ServerName www.example.com

   ServerAdmin webmaster@ostechnix1.lan
   ServerName ostechnix1.lan
   ServerAlias www.ostechnix1.lan
   DocumentRoot /var/www/html/ostechnix1.lan/public_html

# Available loglevels: trace8, ..., trace1, debug, info, notice, warn,
 # error, crit, alert, emerg.
 # It is also possible to configure the loglevel for particular
 # modules, e.g.
 #LogLevel info ssl:warn

ErrorLog ${APACHE_LOG_DIR}/error.log
 CustomLog ${APACHE_LOG_DIR}/access.log combined

# For most configuration files from conf-available/, which are
 # enabled or disabled at a global level, it is possible to
 # include a line for only one particular virtual host. For example the
 # following line enables the CGI configuration for this host only
 # after it has been globally disabled with "a2disconf".
 #Include conf-available/serve-cgi-bin.conf
</VirtualHost>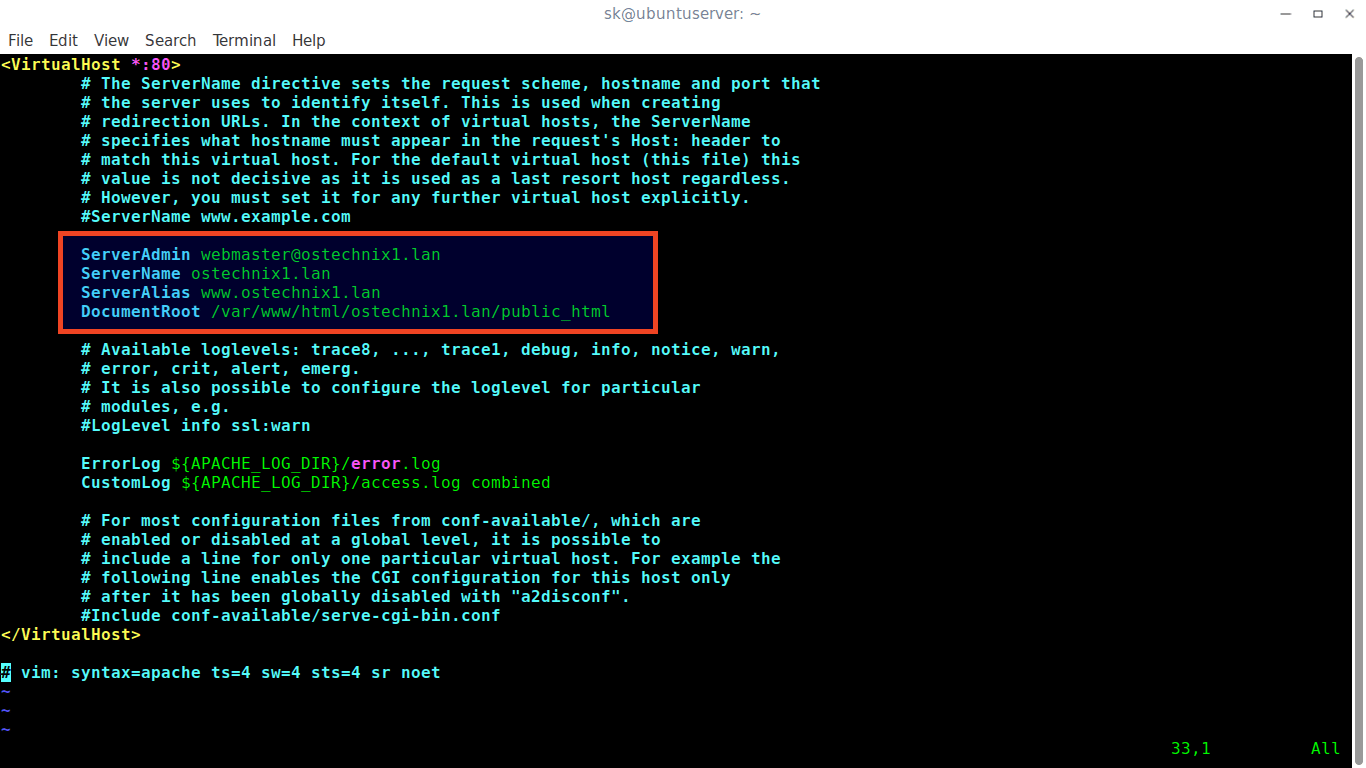
Save and close the file.
Next, edit ostechnix2.lan.conf file:
$ sudo vi /etc/apache2/sites-available/ostechnix2.lan.conf
Make the necessary changes.
<VirtualHost *:80>
 # The ServerName directive sets the request scheme, hostname and port that
 # the server uses to identify itself. This is used when creating
 # redirection URLs. In the context of virtual hosts, the ServerName
 # specifies what hostname must appear in the request's Host: header to
 # match this virtual host. For the default virtual host (this file) this
 # value is not decisive as it is used as a last resort host regardless.
 # However, you must set it for any further virtual host explicitly.
 #ServerName www.example.com

    ServerAdmin webmaster@ostechnix2.lan
    ServerName ostechnix2.lan
    ServerAlias www.ostechnix2.lan
    DocumentRoot /var/www/html/ostechnix2.lan/public_html

# Available loglevels: trace8, ..., trace1, debug, info, notice, warn,
 # error, crit, alert, emerg.
 # It is also possible to configure the loglevel for particular
 # modules, e.g.
 #LogLevel info ssl:warn

ErrorLog ${APACHE_LOG_DIR}/error.log
 CustomLog ${APACHE_LOG_DIR}/access.log combined

# For most configuration files from conf-available/, which are
 # enabled or disabled at a global level, it is possible to
 # include a line for only one particular virtual host. For example the
 # following line enables the CGI configuration for this host only
 # after it has been globally disabled with "a2disconf".
 #Include conf-available/serve-cgi-bin.conf
</VirtualHost>
Save/close the file.
5. Enable virtual host configuration files
After making the necessary changes, disable the default virtual host config file i.e 000.default.conf, and enable all newly created virtual host config files as shown below.
$ sudo a2dissite 000-default.conf
$ sudo a2ensite ostechnix1.lan.conf
$ sudo a2ensite ostechnix2.lan.conf
Restart apache web server to take effect the changes.
$ sudo systemctl restart apache2
That's it. We have successfully configured virtual hosts in Apache. Let us go ahead and check whether they are working or not.
6. Test Virtual hosts
Open /etc/hosts file in any editor:
$ sudo vi /etc/hosts
Add all your virtual websites/domains one by one like below.
[...]
192.168.225.22   ostechnix1.lan
192.168.225.22   ostechnix2.lan
[...]
Please note that if you want to access the virtual hosts from any remote systems, you must add the above lines in each remote system's /etc/hosts file.
Save and close the file.
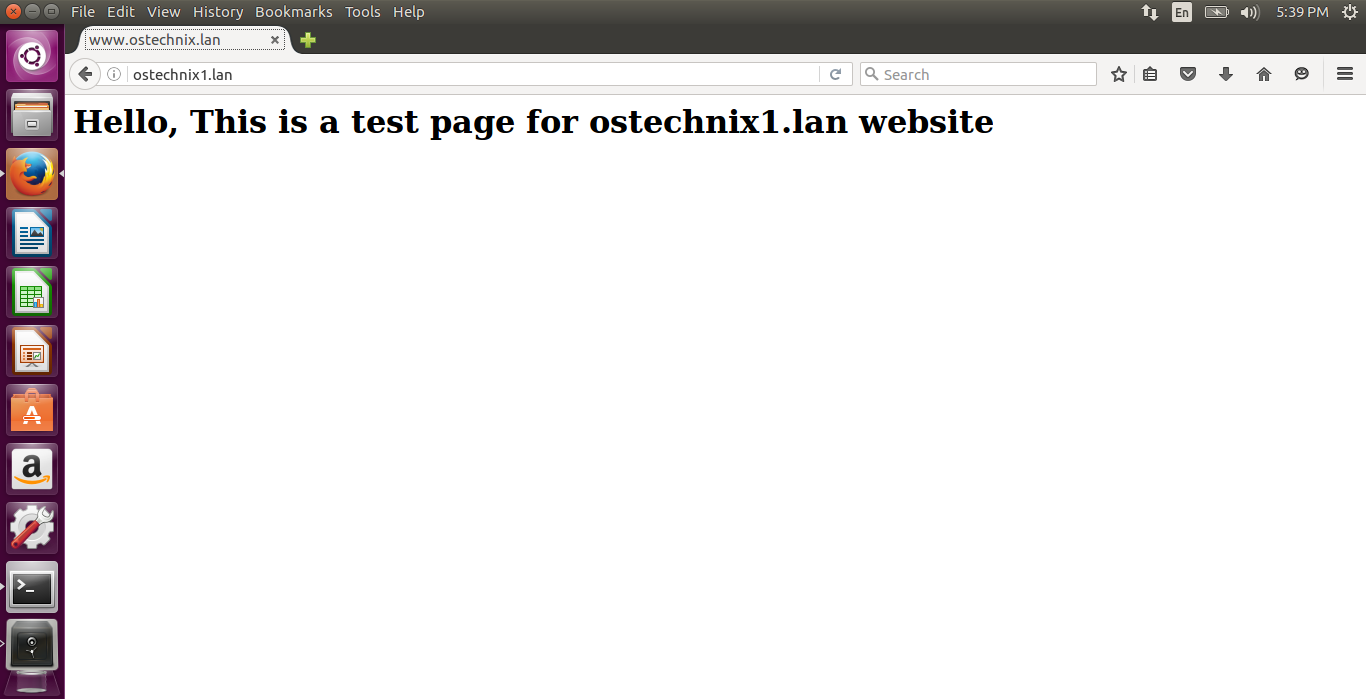
Open up your web browser and point it to http://ostechnix1.lan or http://ostechnix2.lan.
ostechnix1.lan test page:
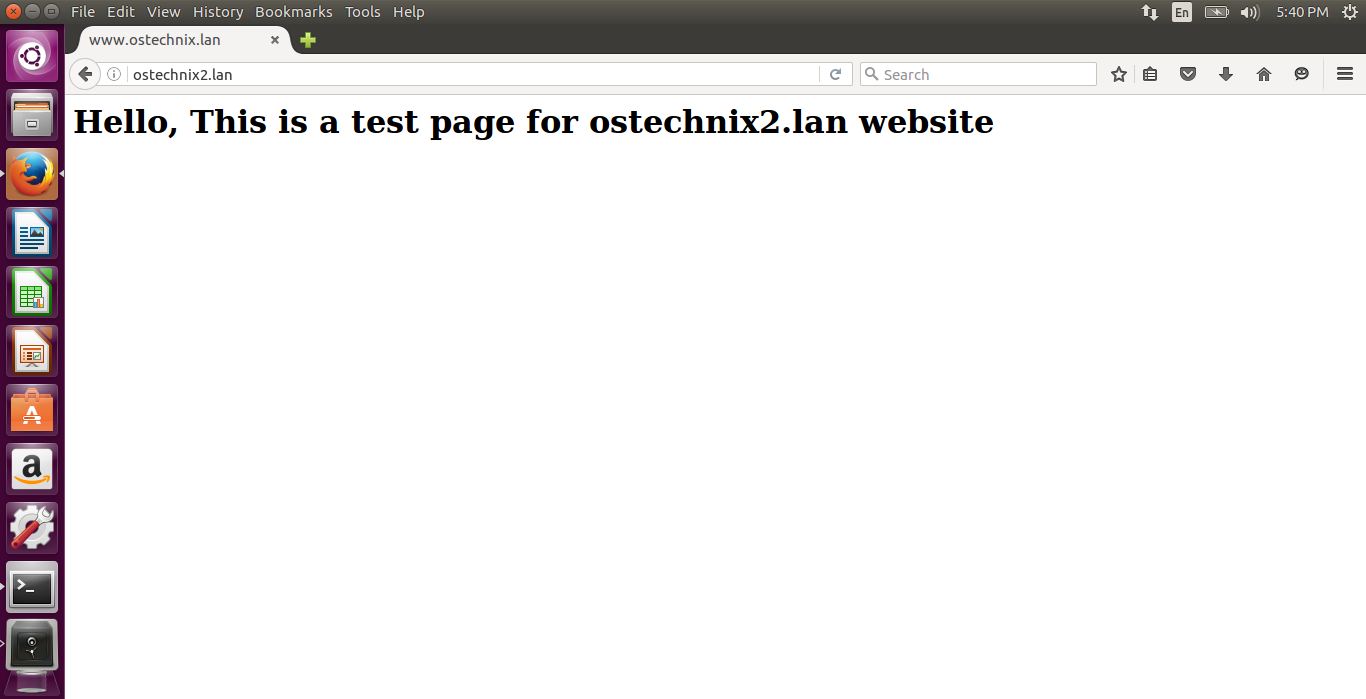
ostechnix2.lan test page:
Congratulations! You can now be able to access your all websites. From now on, you can upload the data and serve them from different websites.
As you noticed, we have used the same IP address (i.e 192.168.225.22) for host two different websites (http://ostechnix1.lan and http://ostechnix2.lan). This is what we call name-based virtual hosting. Hope this helps. I will show you how to configure IP-based virtual hosting in the next guide. Until then, stay tuned!
Resource:
Thanks for stopping by!
Help us to help you:
- Subscribe to our Email Newsletter : Sign Up Now
- Support OSTechNix : Donate Via PayPal
- Download free E-Books and Videos : OSTechNix on TradePub
- Connect with us: Reddit | Facebook | Twitter | LinkedIn | RSS feeds
Have a Good day!!
23 comments
Hope you cover enabling ssl via virtual hosts. I have 6 websites and all but one is working right. One works on port 80 but when I try https it goes to a different site. Any pointers?
I’m also hoping for an answer on this!
I would leave the default.conf enabled for when someone just enters the bare ip address and have it handle that case.
I saw this on a few sites but what do you do with the DNS now?
Just point 2 domains to one ip? That did not work for me.
I’ve been creating my VH folders in www and naming them for example, ostechnix.lan
I’ve also been adding my $USER to www-data and then doing sudo chown -R $USER:www-data …
Is this bad?
I’m using Ubuntu 18.04 and have followed your direction but I can only get lrobin1.lan. I have gone over and over everything I still can not find out why I only get one.
change the host file on your remote computer also to reflect the two hosts.
192.168.225.22 ostechnix1.lan
192.168.225.22 ostechnix2.lan
in windows it is found in /windows/system32/drivers/etc/host.
just open and add those same two lines. then you can access both by typing http://ostechnix1 (or 2) and hitting enter
What should be the permissions for new directories ?
You should then install Certbot and enable SSL – The script will prompt you to set up SSL for each configured website.
Hi there,
Thanks for sharing this post,
is very helpful article.
I’m new to terminal and coding how do you save the file after you Create demo web pages for each host? I add the then I cant save it.
You can simply Ctrl + X (to exit the file) and it asks if you want to save it, so you press Y and it asks you what name do you want to give to that file, but you don’t want to change it so simply press enter.
Perfect
can i have multiple virtual host in 1 conf file?
e.x.
DocumentRoot /mnt/d/example/public
ServerName example.com
ServerAlias example.com
Options Indexes FollowSymLinks
AllowOverride All
Require all granted
DocumentRoot /mnt/d/example/public
ServerName example.com
ServerAlias example.com
Options Indexes FollowSymLinks
AllowOverride All
Require all granted
I currently getting a
“Not found URL {/some route} on this server
Apache/2.4.29 (Ubuntu) Server at example.com Port 80”
Hi,
Thank you so much for this tutorial.
I have followed everything, even edited my system32 host file, but I can’t seem to display any of the virtual host files.
Any suggestion of what went wrong?
Thanks,
Please note that step 6 (modifying host file) is done on the computer you’re browsing from (the web client), which isn’t always the same as the web server.
hey i followed the whole steps but my site is showing no server found …please what could have gone wrong?
Thank you so much!
Does it need to have extensions
ie .lan
It is just for demonstration purpose. You can use other extensions like .example, .test etc.
Thx. Is very helpful article
My site keeps redirecting to https, and when i redirect it back to http, i get this error “`This site can’t provide a secure connection“` I dont understand why and i followed all the steps.
Flush DNS and browser cache and try again. Also try to open it in incognito mode.