
Table of Contents
About phpMyAdmin
phpMyAdmin is a free, open source graphical web interface that can be used to manage MySQL and MariaDB via a web browser. It is written using PHP, and it performs various MySQL/MariaDB operations such as create, delete, edit, and manage databases, tables, columns, relations, indexes, users, permissions, and more. It has simple web interface, so that users can perform all operations via a web browser from anywhere on the local or wan. Using phpMyAdmin, we can administrate multiple database servers at once. It allows you to import data from CSV and SQL, and exports data to various formats such as Word, Excel, CSV, SQL, XML, PDF, and LaTeX etc. phpMyAdmin can be installed in Microsoft Windows, and many modern Linux operating systems.
In this tutorial, we will see how to install phpMyAdmin with LAMP stack in Ubuntu 16.04 LTS server.
Prerequisites
Before proceeding further, you must have a working LAMP stack in your Ubuntu system. To deploy LAMP stack in Ubuntu 16.04 LTS, refer the following link.
1. Install phpMyAdmin using LAMP stack
phpMyAdmin is available in almost all Linux distribution's default repositories. It is always recommend to install phpMyAdmin from the distribution's repositories.
To install phpMyAdmin, enter the following command from the Terminal:
sudo apt-get install phpmyadmin php-mbstring php-gettext
Please choose the web server that should be automatically configured to run phpMyAdmin. We configure phpMyAdmin with Apache webserver, so let us select it.
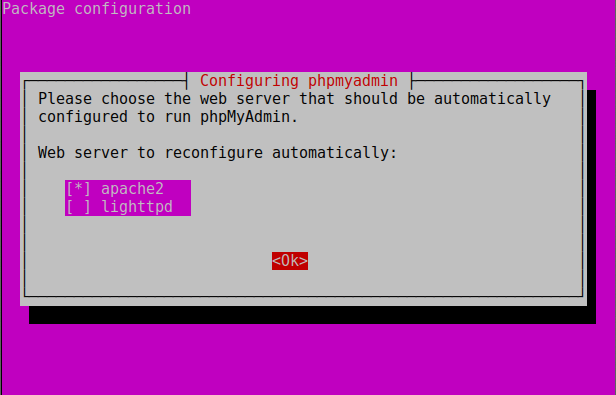
Click OK to continue.
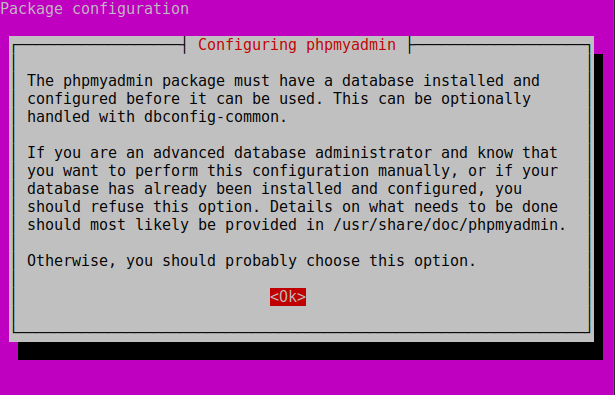
Select No.
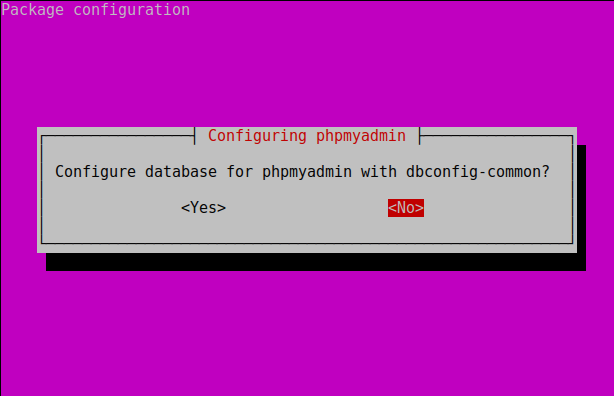
That's it.
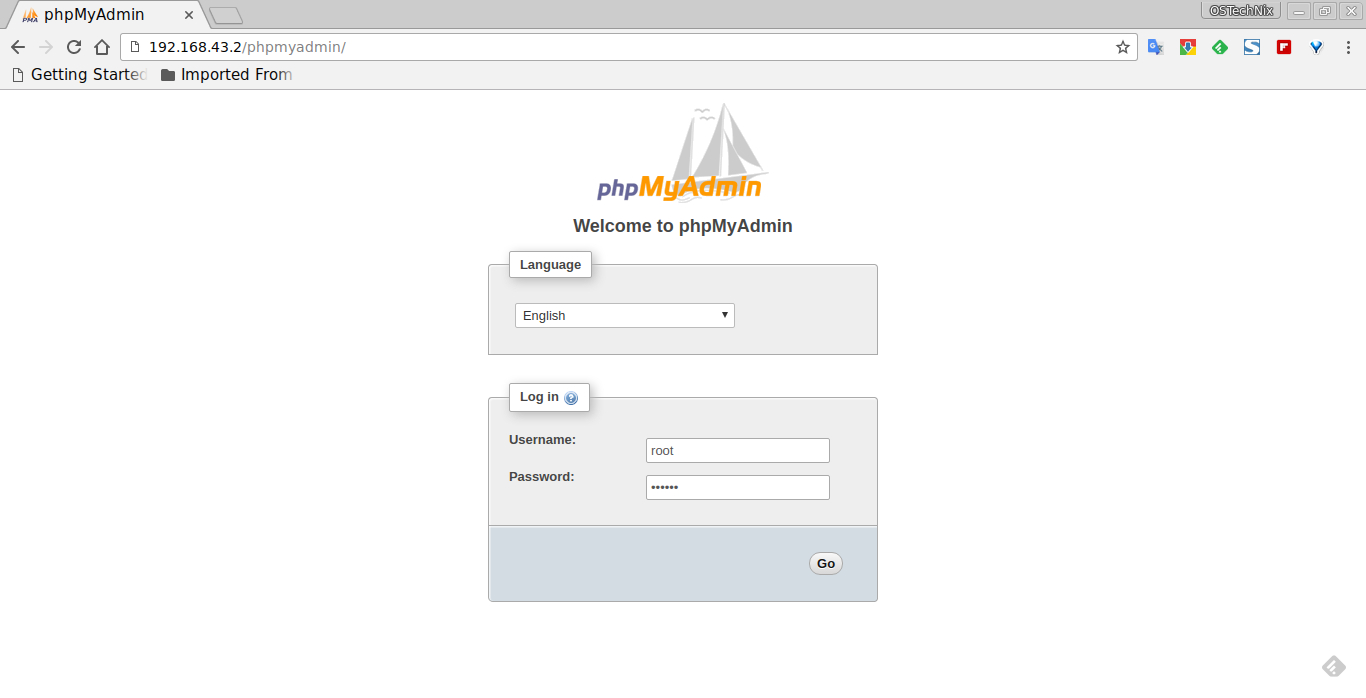
Now, open up your web browser, and navigate to: http://IP-Address/phpmyadmin. You should see a screen like below.
Enter your database administrative account (root) username and its password. In my case, my database administrator is 'root' and its password is 'ubuntu'. I recommend you to use any strong password which is very hard to guess in production environment.
Here is how phpMyAdmin dashboard looks like.

You will see the database server and web server details on the top right side of the dashboard.
From here, you can do all database management tasks such as creating, editing, removing databases, tables etc.
That's all for today. I will be here soon with an another useful article soon. Until then stay tuned with OSTechNix for more updates.
Cheers!!
Reference links:
