Table of Contents
About Budgie Desktop
As you probably know, Budgie is the default Desktop environment of Solus Operating System. Budgie isn't a fork of any other DEs. It is completely new, and written from scratch. The main goal of Budgie desktop is to give a minimal, simple, and elegant desktop experience.
There is also an another new Ubuntu spin called "budgie-remix" has arrived few weeks ago that uses Budgie as default Desktop Environment. The main goal of the budgie-remix is to be the part of the Ubuntu official flavours like Ubuntu MATE, Ubuntu GNOME, Lubuntu, Kubuntu, Xubuntu etc. budgie-remix is still under heavy development. The second beta of budgie-remix is already, and can be downloaded from the following link.
Mark Shuttleworth, the founder of Canonical, has commented in a Google plus post that Budgie Remix will be joined in the Ubuntu official flavours list, if there is a community around the packaging. So, we might soon expect that there will be a new addition in the Ubuntu official flavours.
In this brief tutorial, let us see how to install Budgie-desktop environment in Ubuntu 16.04 LTS desktop.
Install Budgie in Ubuntu
In Ubuntu 16.04 / 15.10, run the following commands one by one to install Budgie :
sudo add-apt-repository ppa:budgie-remix/ppa
sudo apt-get update
sudo apt-get install budgie-desktop
After installing Budgie-desktop, log out and login back to Ubuntu and select the budige DE from the login menu.

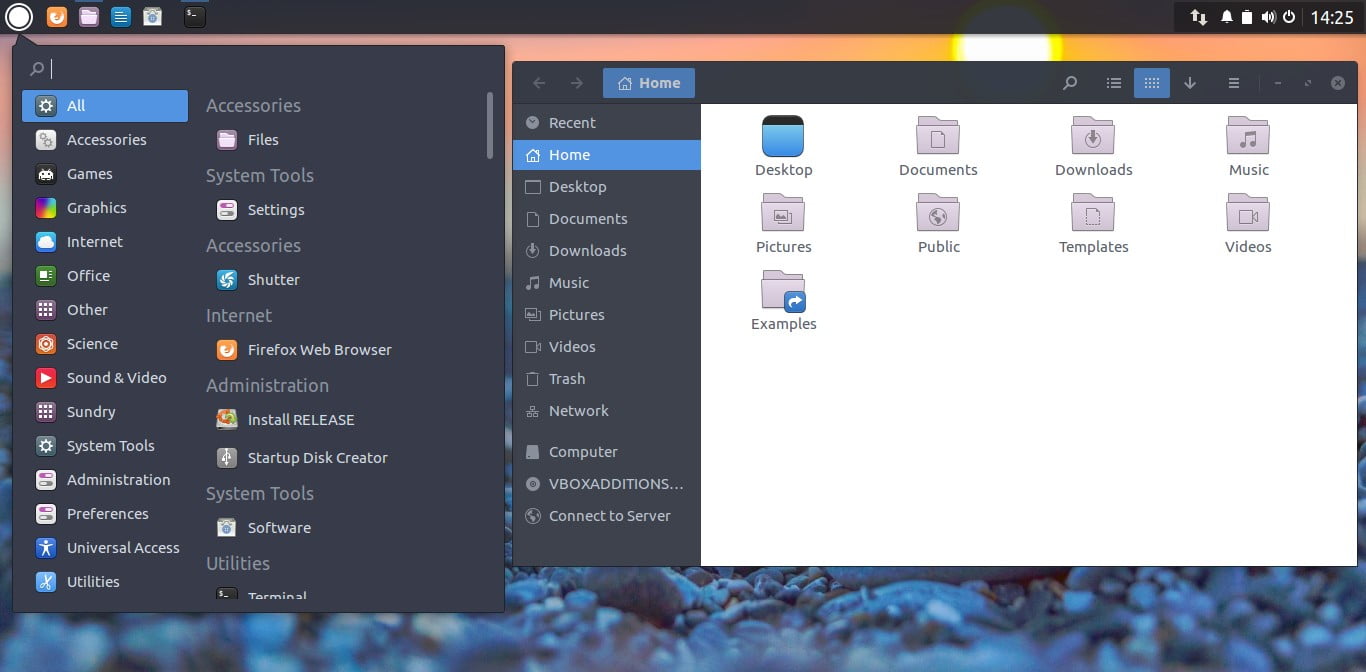
Here is how Budgie desktop environment looks like in live.
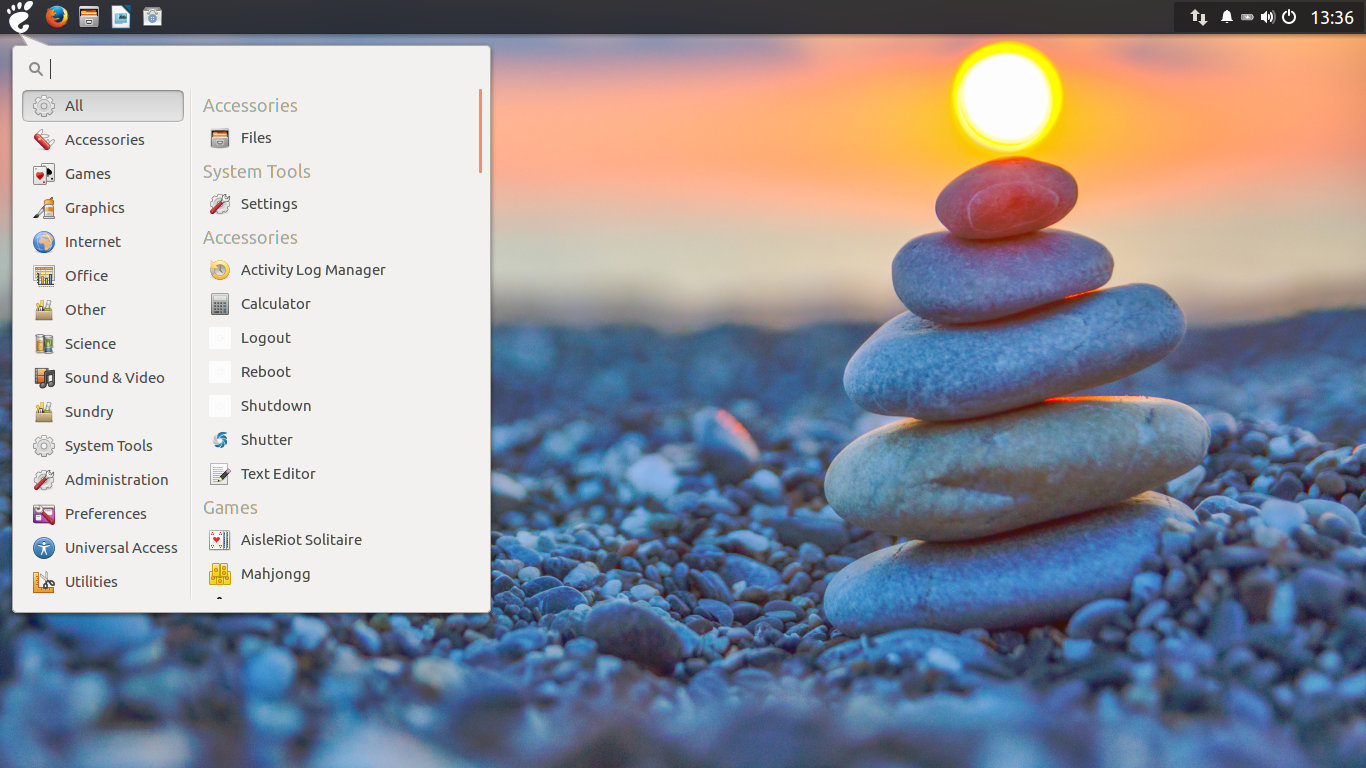
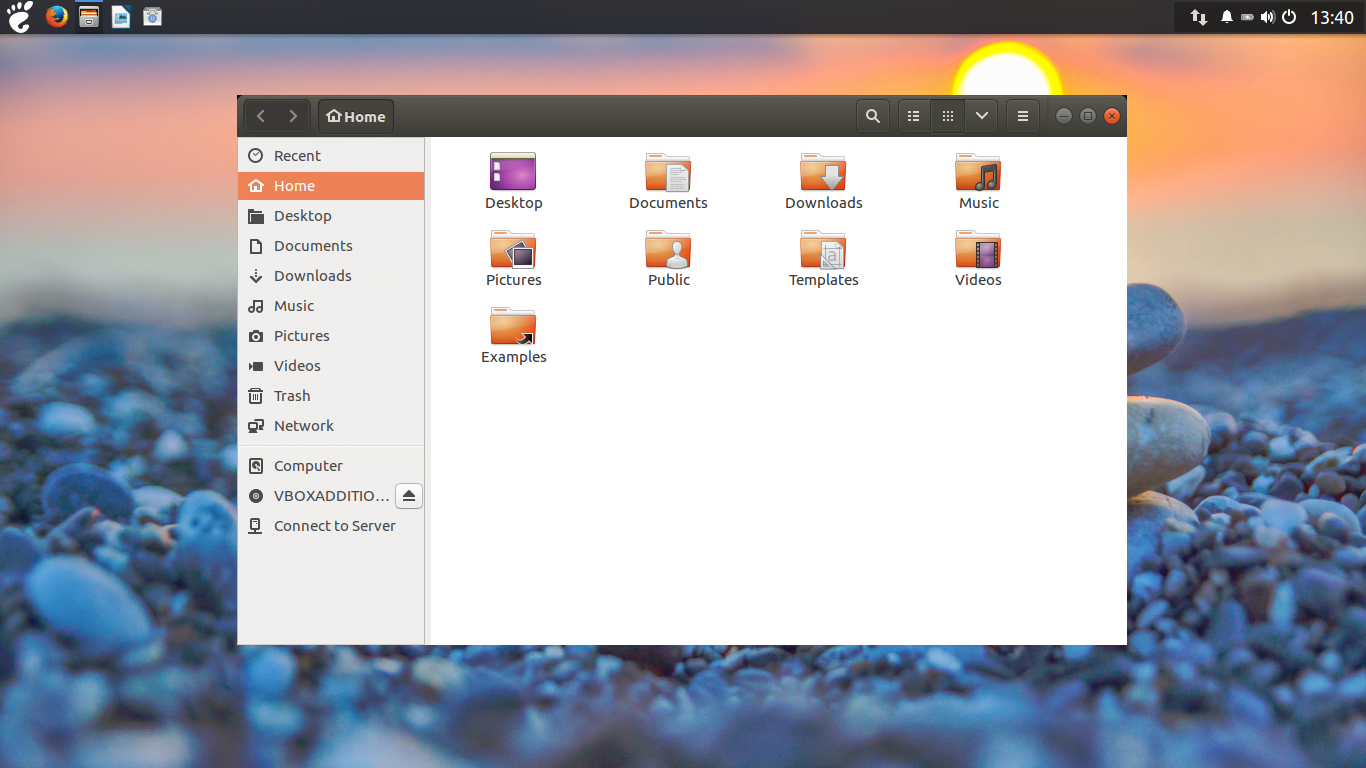
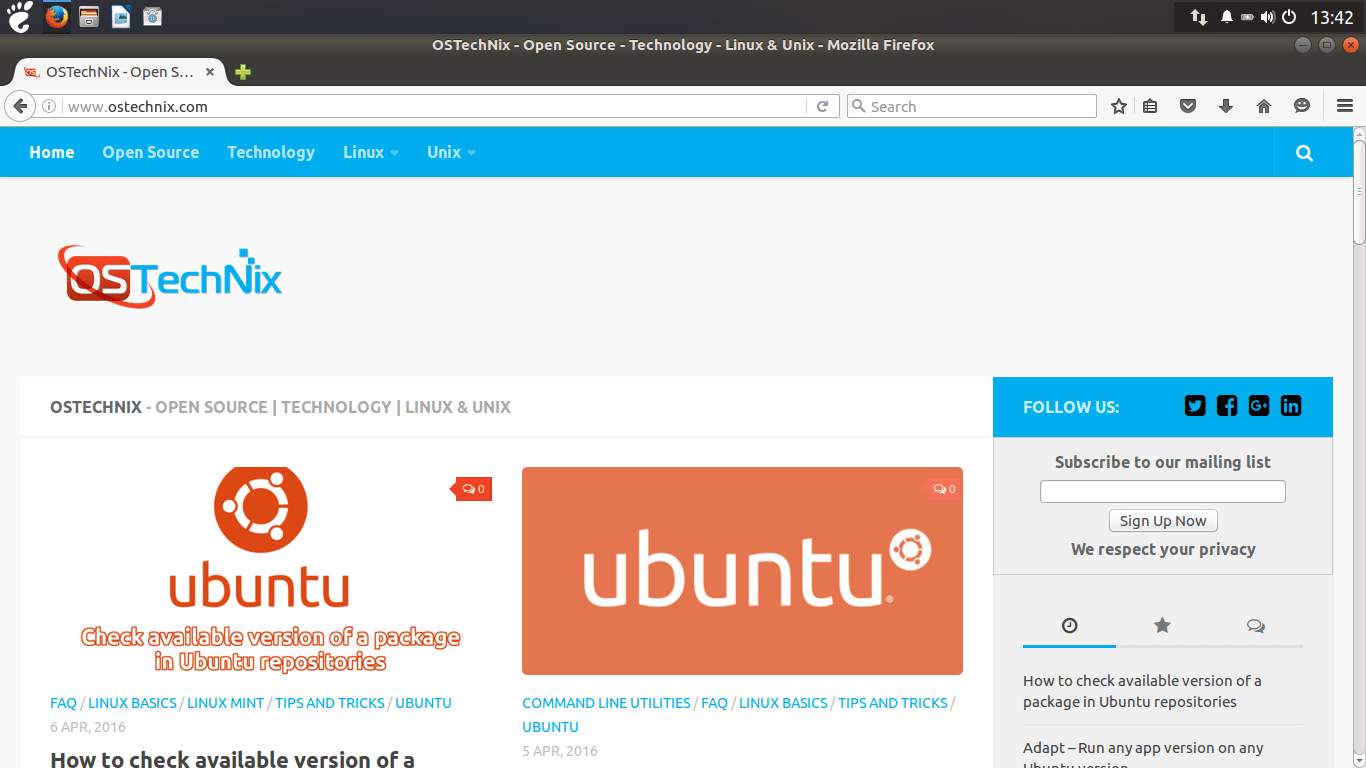
Here is some more screenshots:


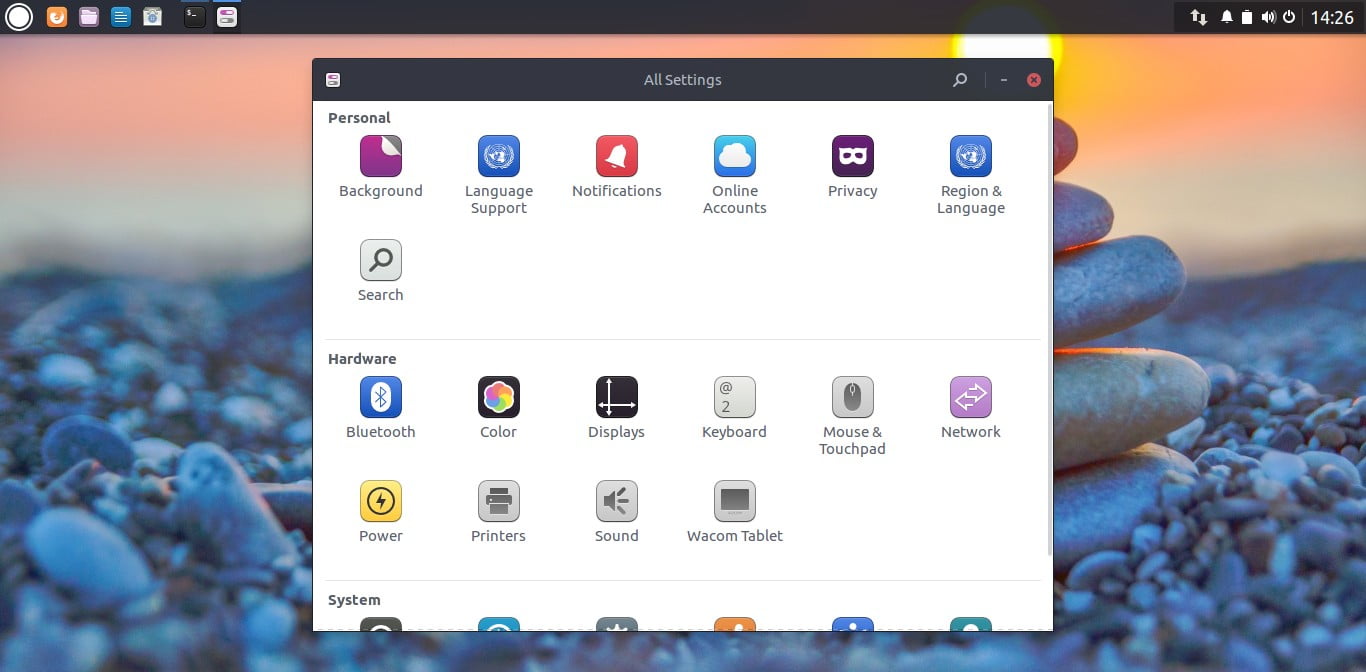
Customizing Budgie desktop
Budgie desktop provides many customization options. We can change your widget theme, icon theme, global dark theming, as well as in-depth modification to panels. With the Panel settings section, you can choose where the panel and its inner applets are located, as well as granular control over individual applet settings.
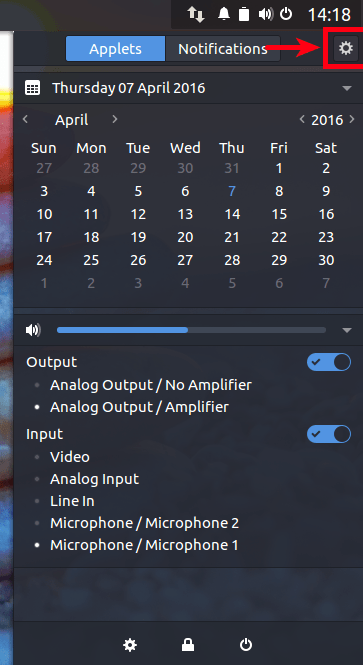
To customize it to own liking, click the Panel settings menu on right top corner (A icon like power off button).
From the Budgie settings, select your favourite theme for Widgets and icons.

Here is some screenshots after changing the themes.

Removing Budgie desktop and its PPA
As far as I tested it in my Ubuntu 16.04 LTS desktop, Budgie desktop environment looks really cool, simple, and elegant. I didn't have any single issues while testing. I hope you'll like it. Just in case, you don't like it, run the following commands to remove Budgie desktop along with its PPA safely from Ubuntu 16.04 and Ubuntu 15.10.
sudo apt-get install ppa-purge
sudo ppa-purge ppa:budgie-remix/ppa
Finally, remove budige desktop using command:
sudo apt-get purge budgie-desktop
That's all for now folks. I will be here soon with an another interesting article. Until then, stay tuned with OSTechNix, and share this article to your social networks and support us.
Cheers!
Thanks for stopping by!
Help us to help you:
- Subscribe to our Email Newsletter : Sign Up Now
- Support OSTechNix : Donate Via PayPal
- Download free E-Books and Videos : OSTechNix on TradePub
- Connect with us: Facebook | Twitter | Google Plus | LinkedIn | RSS feeds
Have a Good day!!
2 comments
excellent article.
Just to say – please do not use my ppa (ppa:fossfreedom/budgie-desktop) – I’ve deprecated this in favour of budgie-remix ppa (ppa:budgie-remix/ppa).
With this new repository you get the very latest budgie-desktop which has a number of visual changes which are very nice indeed!
Thanks for the update. I have updated the article. Cheers!