Citadel is a free, web-based, open source, email and groupware solution for Linux and BSD. It comes with plethora of salient features including Email support, calendaring and scheduling, address books, bulletin boards, wiki and blogs engines, multi-domain support, and a lot more. We can install it on most modern operating systems, like GNU/Linux, Mac OS X, and Unix. It is open source, and freely distributed under GNU General Public License. In this step by step tutorial, let us see how to install Citadel in Linux.
Table of Contents
Install Citadel Groupware Solution In Linux
Citadel developers have packaged it for multiple Linux distributions. All you have do to is add the Citadel repository depending upon the Linux distribution you use and install it using the default package manager.
Note: All commands given below should be performed as root user or with sudo privileges.
Install Citadel On CentOS
Run the following commands as root user to install Citadel in CentOS 6.x and 7.x versions.
CentOS 6.x:
cd /etc/yum.repos.d/
wget http://download.opensuse.org/repositories/home:homueller:citadel/CentOS_CentOS-6/home:homueller:citadel.repo
yum install citadel
CentOS 7.x:
cd /etc/yum.repos.d/
wget http://download.opensuse.org/repositories/home:homueller:citadel/CentOS_7/home:homueller:citadel.repo
yum install citadel
Install Citadel On Fedora
Run the following commands as root user to install Citadel in Fedora operating system.
Fedora 23:
dnf config-manager --add-repo http://download.opensuse.org/repositories/home:homueller:citadel/Fedora_23/home:homueller:citadel.repo
dnf install citadel
Fedora 22:
dnf config-manager --add-repo http://download.opensuse.org/repositories/home:homueller:citadel/Fedora_22/home:homueller:citadel.repo
dnf install citadel
Install Citadel On Red Hat Enterprise Linux
Run the following commands as root user to install Citadel in RHEL.
RHEL 6.x:
cd /etc/yum.repos.d/
wget http://download.opensuse.org/repositories/home:homueller:citadel/RedHat_RHEL-6/home:homueller:citadel.repo
yum install citadel
RHEL 7:
cd /etc/yum.repos.d/
wget http://download.opensuse.org/repositories/home:homueller:citadel/RHEL_7/home:homueller:citadel.repo
yum install citadel
Install Citadel On Scientific Linux 7
We can install Citadel in Scientific Linux 7 by running the following commands as root user.
cd /etc/yum.repos.d/
wget http://download.opensuse.org/repositories/home:homueller:citadel/ScientificLinux_7/home:homueller:citadel.repo
yum install citadel
Install Citadel On openSUSE
Run the following commands as root user to install Citadel in openSUSE distributions.
openSUSE Tumbleweed:
zypper addrepo http://download.opensuse.org/repositories/home:homueller:citadel/openSUSE_Tumbleweed/home:homueller:citadel.repo
zypper refresh
zypper install citadel
openSUSE Leap 42.1:
zypper addrepo http://download.opensuse.org/repositories/home:homueller:citadel/openSUSE_Leap_42.1/home:homueller:citadel.repo
zypper refresh
zypper install citadel
openSUSE 13.2:
zypper addrepo http://download.opensuse.org/repositories/home:homueller:citadel/openSUSE_13.2/home:homueller:citadel.repo
zypper refresh
zypper install citadel
Install Citadel On Debian, Ubuntu
Citadel is available in the default repositories of Debian, Ubuntu and its derivatives. So, just run the following command to install Citadel suite.
sudo apt-get update
sudo apt-get upgrade
sudo apt-get dist-upgrade
sudo apt-get install citadel-suite
During installation, you'll be asked to answer couple questions. Just read them and answer accordingly. It's not that difficult.
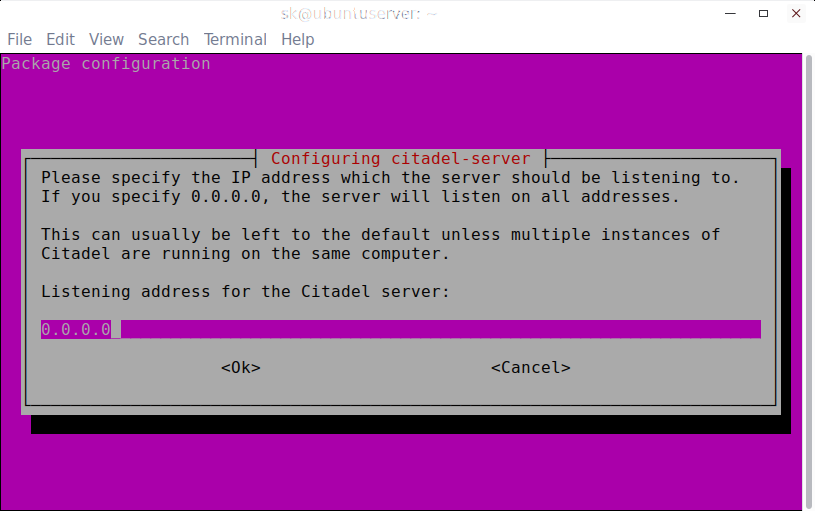
Enter the IP address which the server should be listening to. If you specify 0.0.0.0, the server will listen on all addresses. This can usually be left to the default unless multiple instances of Citadel are running on the same computer. If you don't know what to do, just go with default values.
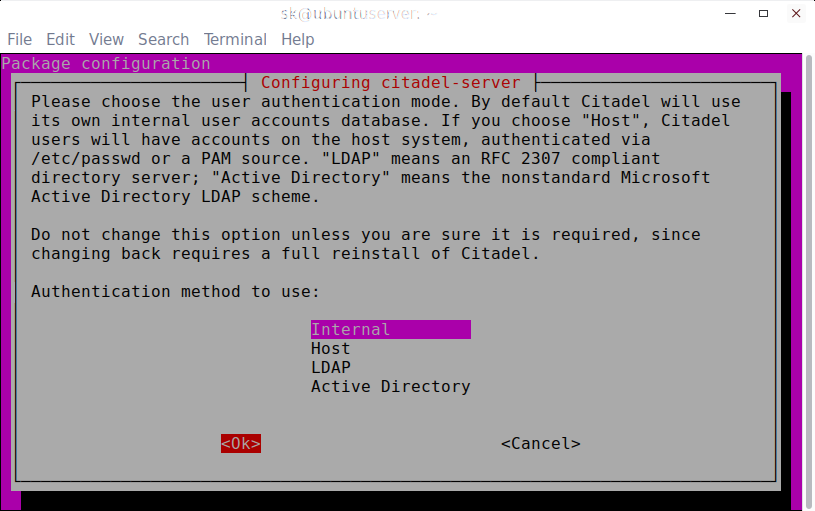
Next select the user authentication mode. Citadel will use its own internal user accounts database by default. If you choose "Host", Citadel users will have accounts on the host system, authenticated via /etc/passwd or a PAM source. "LDAP" means an RFC 2307 compliant directory server; "Active Directory" means the nonstandard Microsoft Active Directory LDAP scheme. Do not change this option unless you are sure it is required, since changing back requires a full reinstall of Citadel.
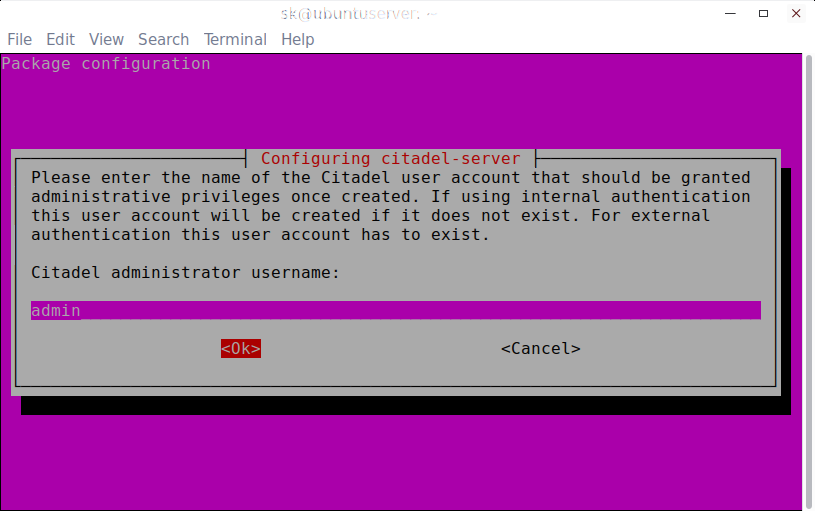
Enter the Citadel administrator username. By default, admin user will selected by Citadel. You can choose different name if you want.
It is highly recommended to use a password for the admin user. Enter a strong password:
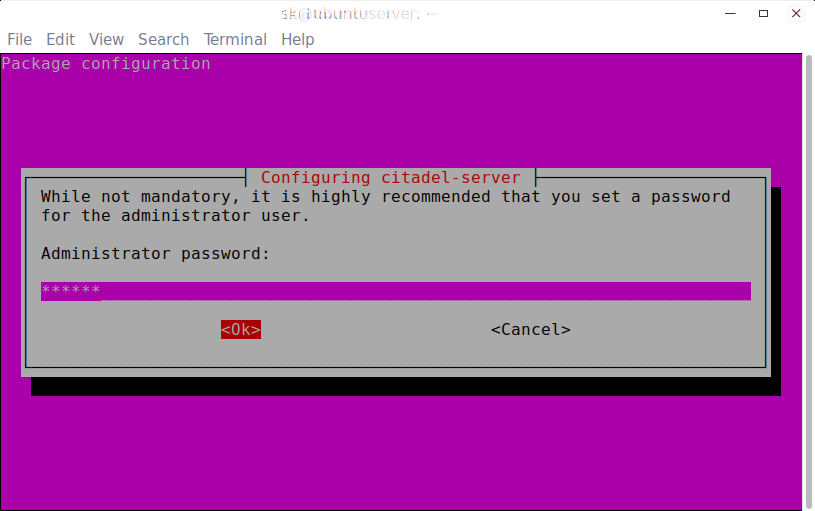
Re-enter password:

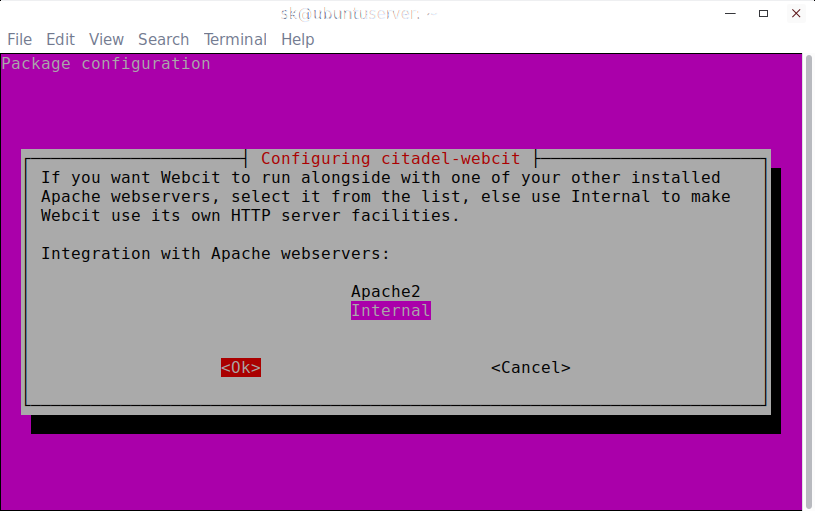
Here you have to select whether the Citadel-webcit should use any external webservers like Apache or its own HTTP server. I don't have any additional, so I go with default value i.e Internal:
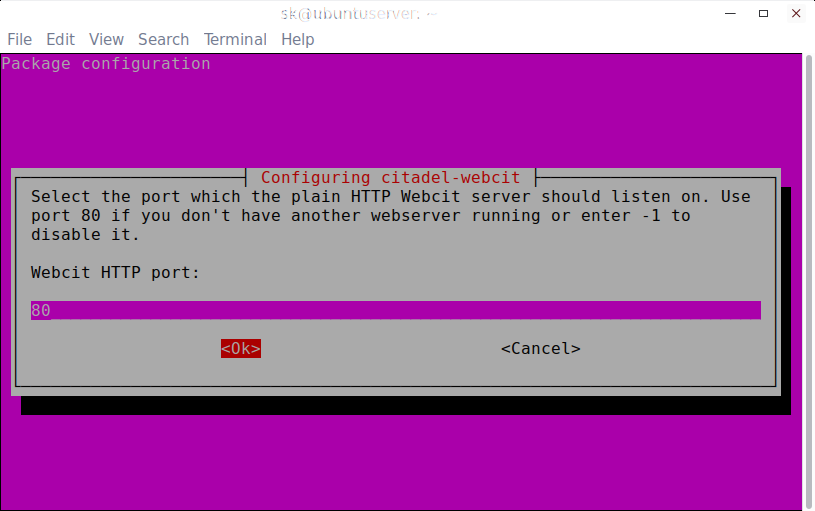
Choose Webcit HTTP port. If you don't have another webserver running, use 80 or else enter different port. Make sure the HTTP port is being used by another service.
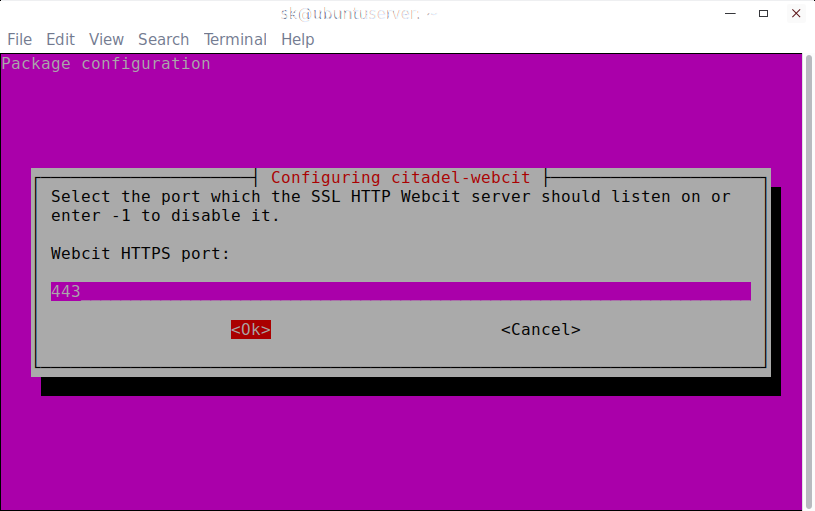
Choose the Webcit HTTPS port.
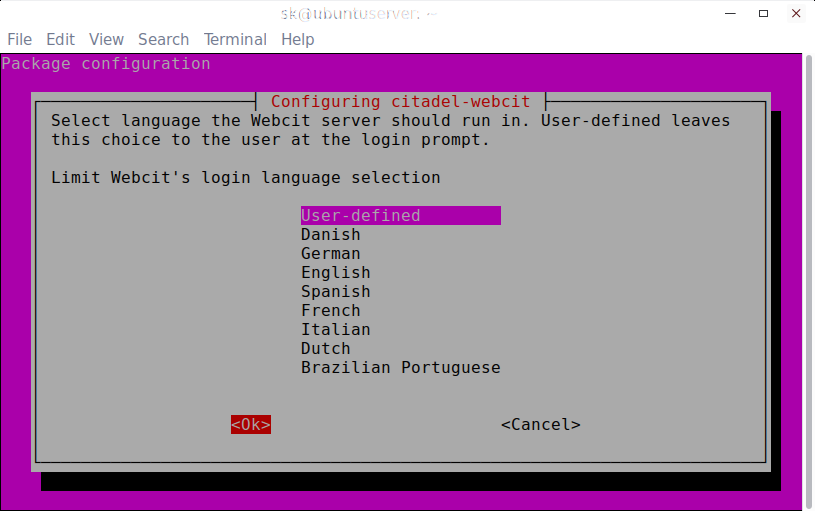
Choose Webkit's login language. If you choose "User-defined", the users can choose the language of their choice at the login prompt. I go with default value.
Wait for few moments to finish Citadel installation. It won't take much time.
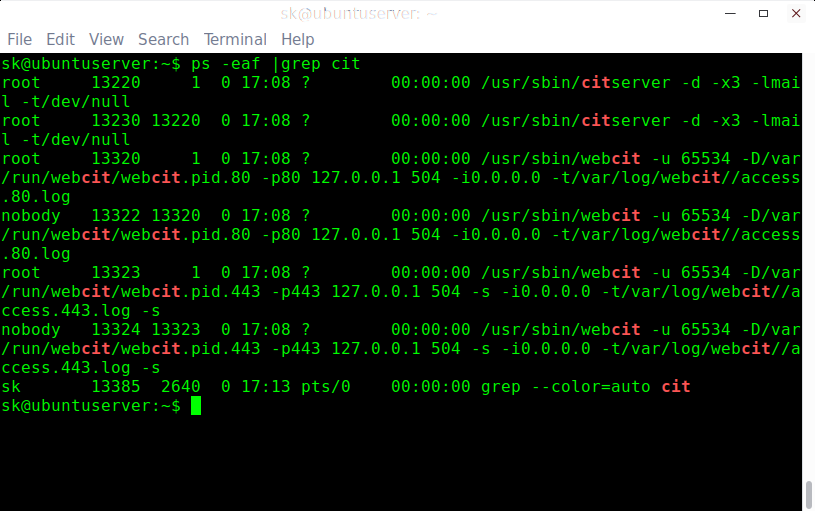
After installation is completed, check all services are running as shown below.
ps -eaf |grep cit
Sample output:
 root 13220 1 0 17:08 ? 00:00:00 /usr/sbin/citserver -d -x3 -lmail -t/dev/null
 root 13230 13220 0 17:08 ? 00:00:00 /usr/sbin/citserver -d -x3 -lmail -t/dev/null
 root 13320 1 0 17:08 ? 00:00:00 /usr/sbin/webcit -u 65534 -D/var/run/webcit/webcit.pid.80 -p80 127.0.0.1 504 -i0.0.0.0 -t/var/log/webcit//access.80.log
 nobody 13322 13320 0 17:08 ? 00:00:00 /usr/sbin/webcit -u 65534 -D/var/run/webcit/webcit.pid.80 -p80 127.0.0.1 504 -i0.0.0.0 -t/var/log/webcit//access.80.log
 root 13323 1 0 17:08 ? 00:00:00 /usr/sbin/webcit -u 65534 -D/var/run/webcit/webcit.pid.443 -p443 127.0.0.1 504 -s -i0.0.0.0 -t/var/log/webcit//access.443.log -s
 nobody 13324 13323 0 17:08 ? 00:00:00 /usr/sbin/webcit -u 65534 -D/var/run/webcit/webcit.pid.443 -p443 127.0.0.1 504 -s -i0.0.0.0 -t/var/log/webcit//access.443.log -s
 sk 13382 2640 0 17:10 pts/0 00:00:00 grep --color=auto cit
That's it. Citadel has been installed.
Start, Restart, Stop Citadel services
You can start, restart or stop Citadel services using the following commands:
sudo systemctl start citadel.service
sudo systemctl restart citadel.service
sudo systemctl stop citadel.service
If this is the fresh installation, I recommend you to reboot your Linux system once to start Citadel service properly.
Login To Citadel Web Console
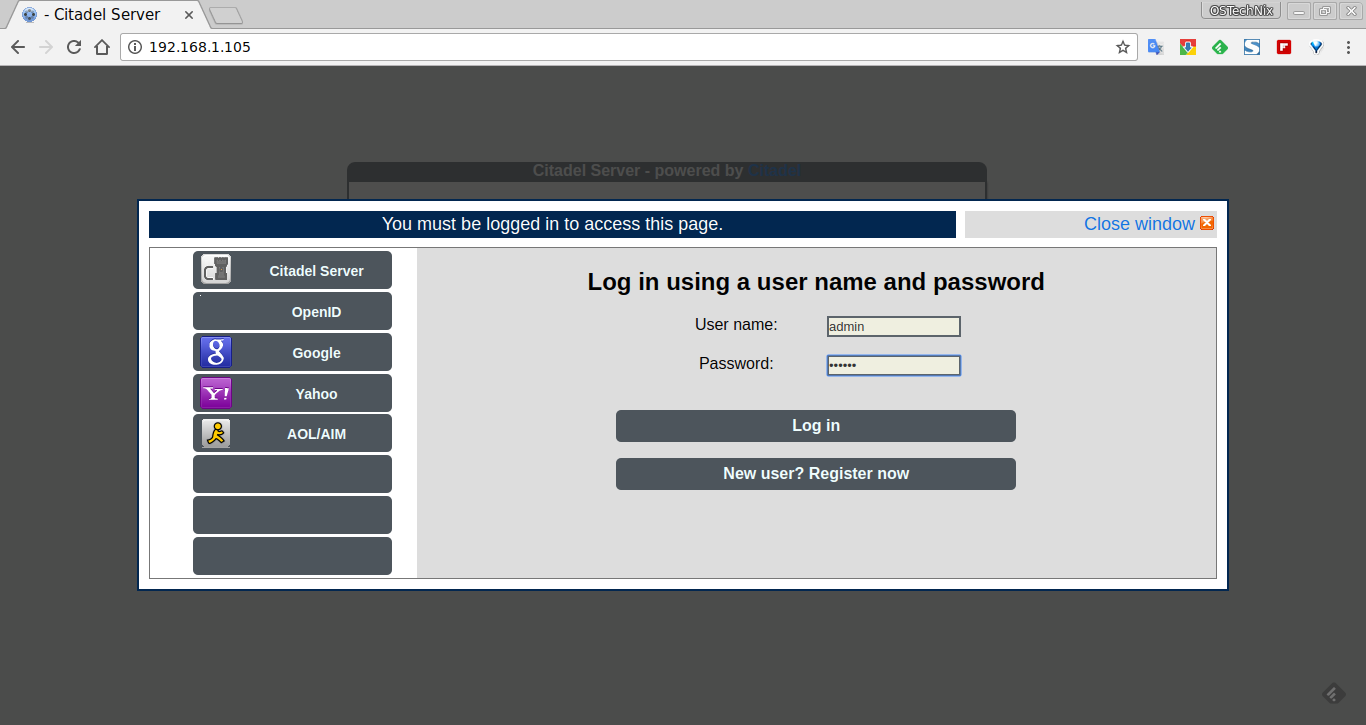
Open up your web browser and navigate to Citadel Webcit log in page using the URL - http://IP_Address/. If this URL doesn't work, try http://IP_Address:2000/ instead.
You should see the following page. Enter the username as admin and its password that you created during the installation.
Here it is how Citadel dashboard looks like.
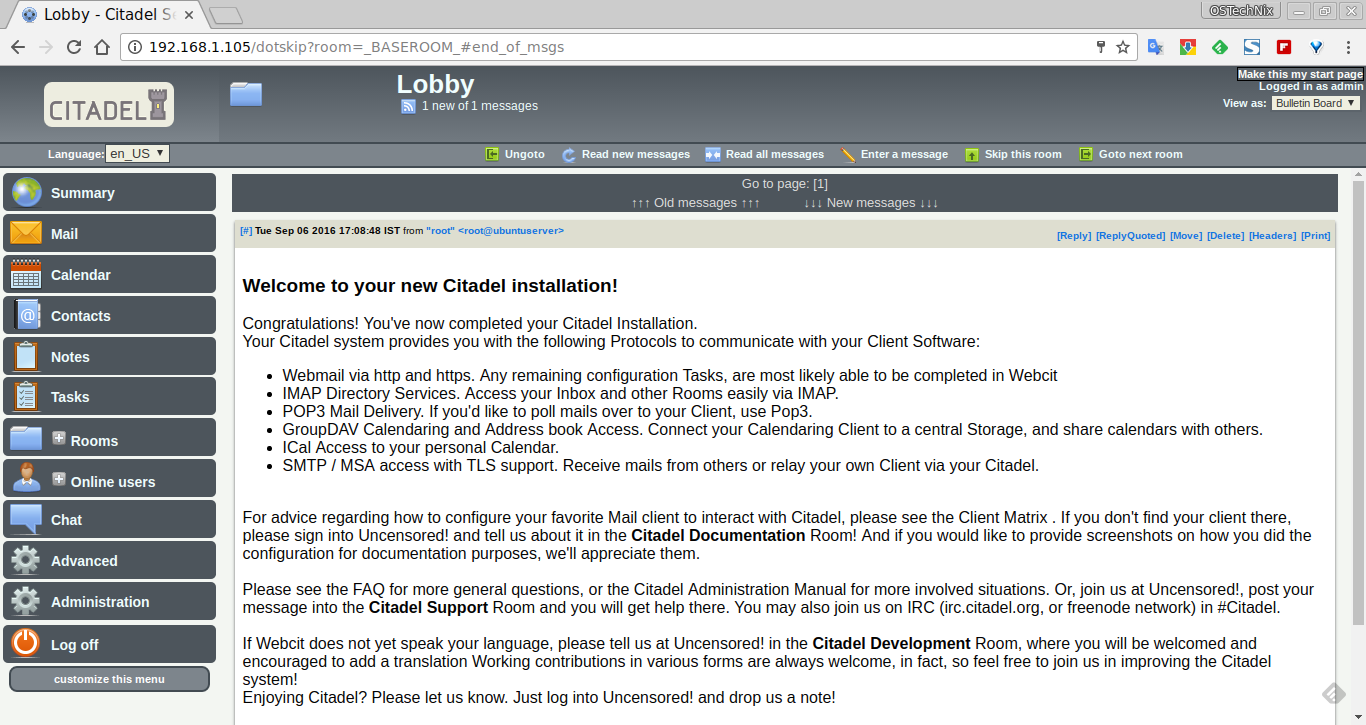
From here, you can do all administration tasks, such as creating, managing and deleting users, domains, tasks, notes, and also you can send and receive mails as well.
Manage users and domains
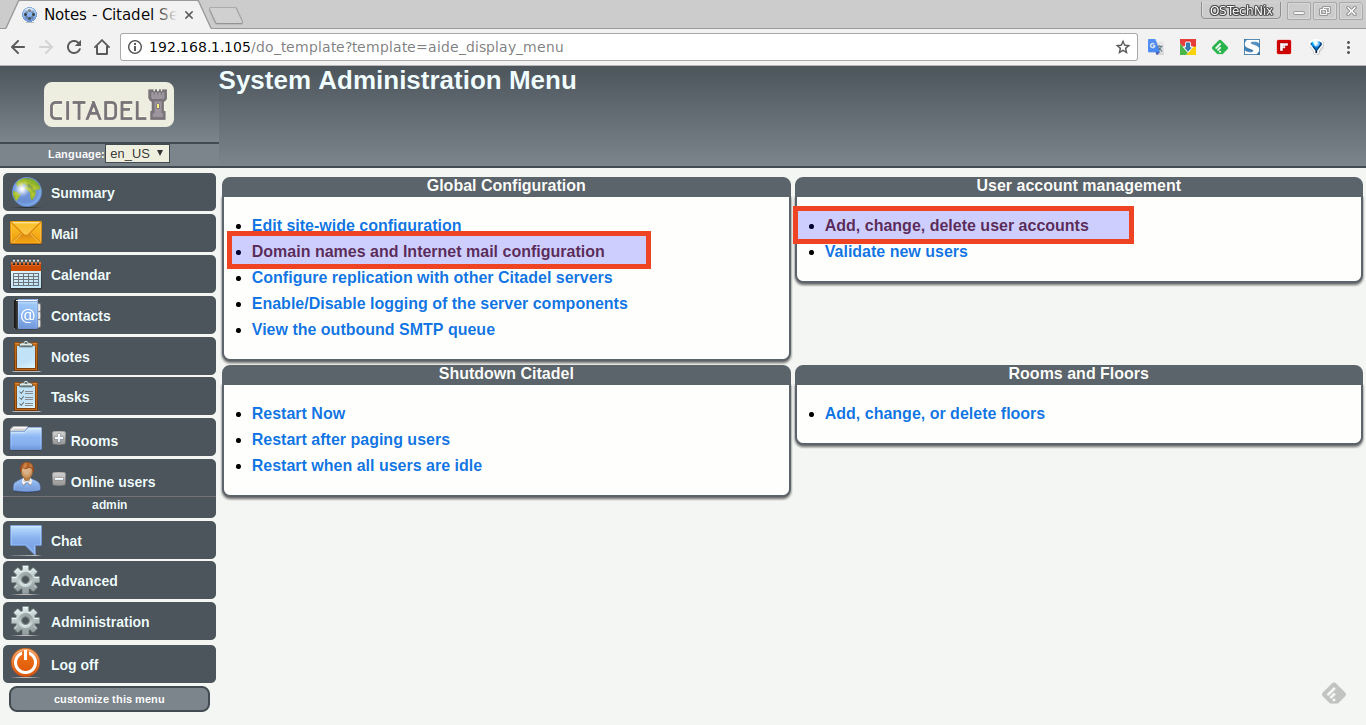
To add new users or add domains, click on the Administration link on the left side bar.
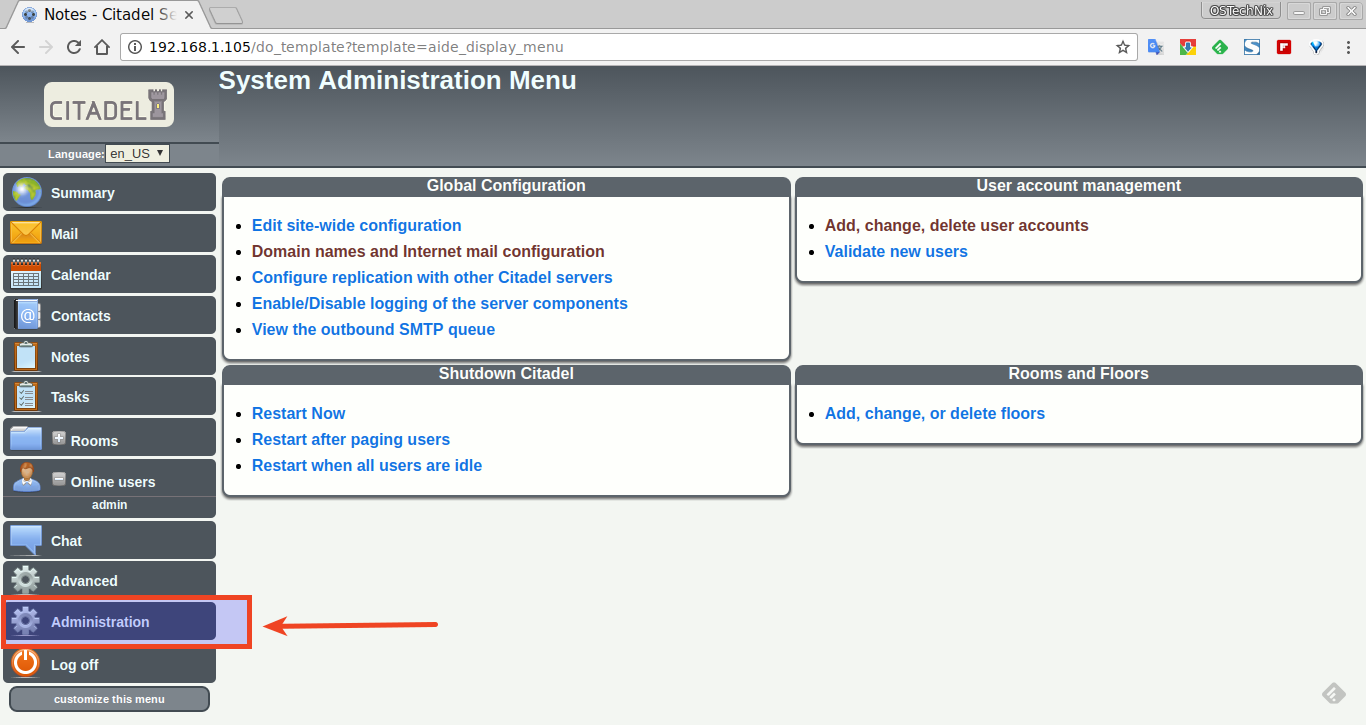
In Administration sections, you can do the following tasks:
- Edit site configuration,
- Edd, delete domains, users,
- Validate users,
- Add, change, delete chat rooms
- Restart citadel server etc.
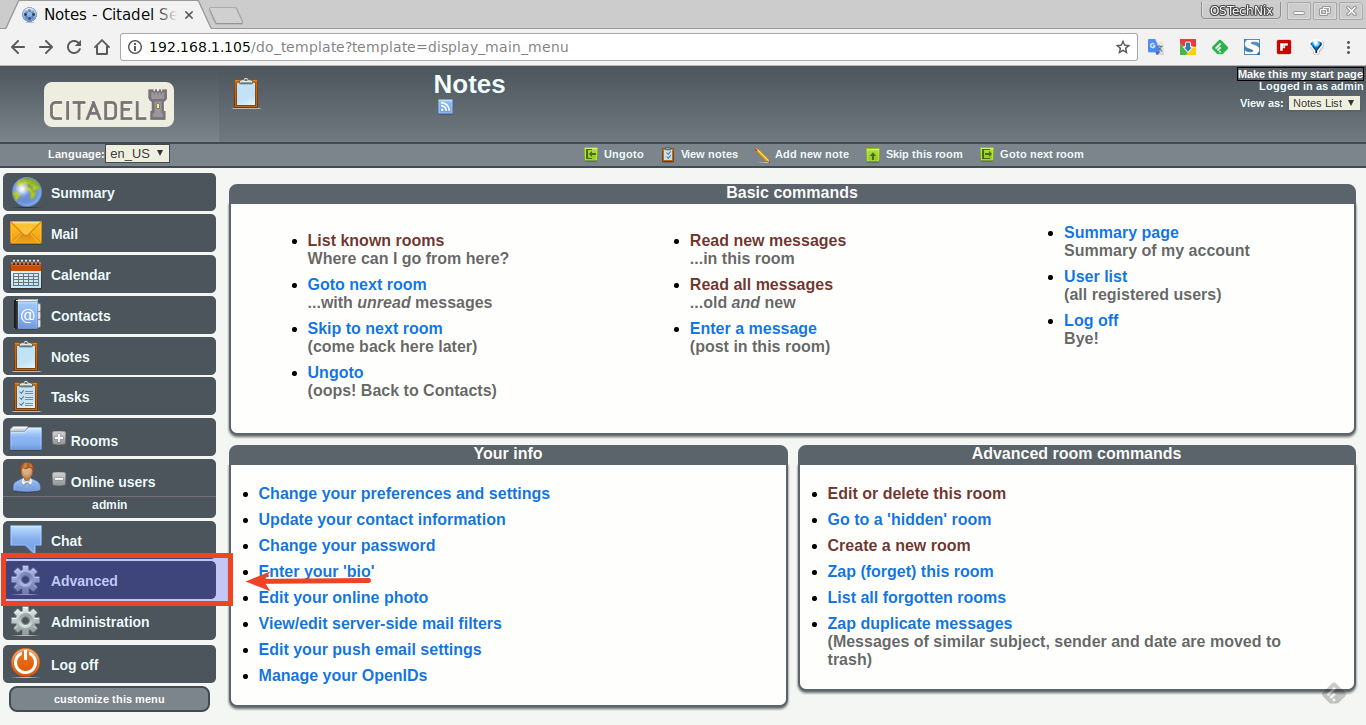
In Advanced tab, you can;
- Change your preferences and settings
- Change contact information
- Change admin user password
- Edit/enter your bio
- Manage Email settings and openIDs
- Read/Compose/delete emails
- Edit or delete chat rooms
- Create/Join new chat room
- And more.
Click Advanced link on the left sidebar to access it.
For more advanced details, refer this link to getting started with Citadel.
That's all for now folks. You know now how to install and configure Citadel groupware solution. As you can see, Citadel installation, configuration, and usage is quite simple. If you ever wanted to setup a email and groupware solution to your organization, Citadel is worth a try.
Reference link: