Howdy! Hope you are enjoying the weekend. This step by step tutorial walk you through how to install OpenMandriva LX 3.0 operating system. As you may already know, OpenMandriva is a full-featured, community supported Linux Desktop and Server operating system. It is based on ROSA which is originally forked from Mandriva Linux. The first version of OpenMandriva was released back in late 2013. The latest version, OpenMandriva LX 3.0 has been out last week with updated features and plenty number of default applications.
What's new?
OpenMandriva Lx 3.0 is powered by latest stable Linux Kernel 4.6.5. This release offers KDE Plasma 5, LXQt and xfce4 as desktop environments. GCC compiler has been replaced with LLVM/clang 3.8 as the default compiler.
Here is the list of new features and major changes in OpenMandriva Lx 3.0.
- Systemd version 231
- Xorg 1.18.4
- Mesa to 12.0.1
- KDE Plasma 5.6.5 with wayland support
- KDE Framework 5.24.0
- Calligra Suite 2.9.11
- Krita 3.0
- SDDM
- LXQt 0.10.0
- xfce4 4.12.0
- LibreOffice 5.2.0
- Qupzilla 2.0.1
- Firefox 48.0
- Chromium 52.0.2743.116
- Java 8
- SMPlayer is included in the repositories.
- Perl 5.20.3
- Python 3.4.4
- Support for VirtualBox, KVM, QEMU
- Calamares, the default installer.
- And more.
Unfortunately, there is no officially recommended way to upgrade OpenMandriva Lx 3.0 from older versions. But the developers says that they are working on it. Hope they will release an easy to use application or script to upgrade to the latest available version.
Now, Let us start to install OpenMandriva Lx 3.0 version.
OpenMandriva Lx Installation
The latest OpenMandriva LX 3.0 can be downloaded from the following link.
For the purpose of this guide, I will be using OpenMandriva Lx 3 KDE version.
After downloading it, burn it to a CD/DVD or make a bootable USB drive as described in the following link.
Once you made bootable media, boot your system using the installation medium.
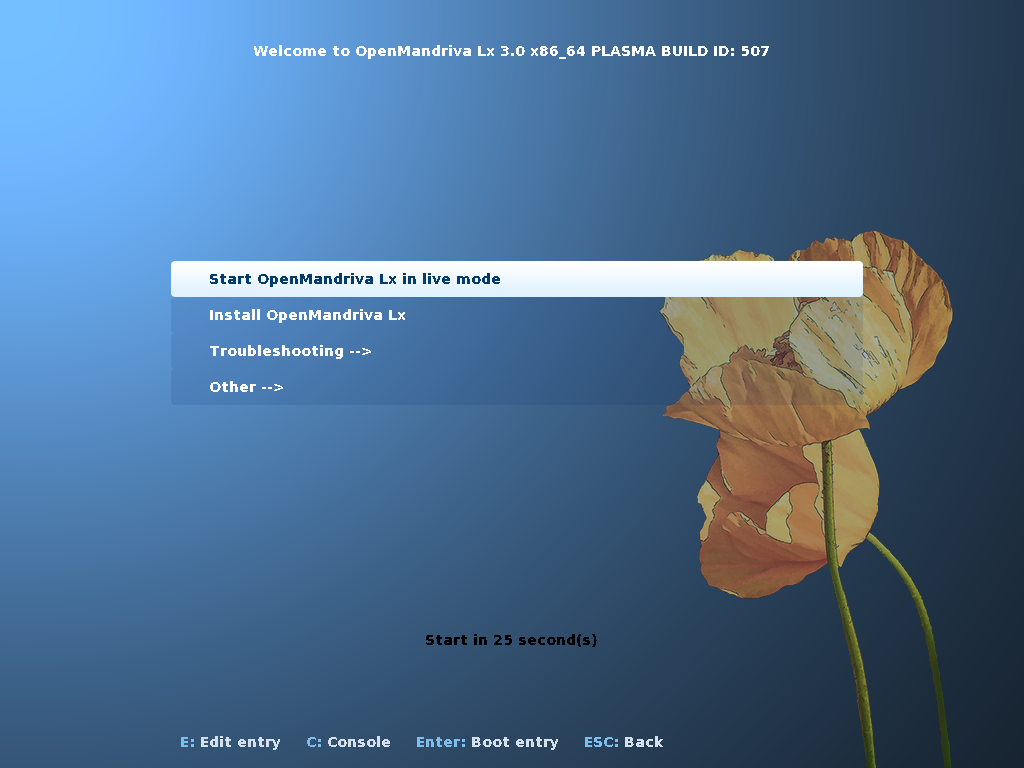
You'll be pleased with the following welcome screen. You can log in to live session to have a glimpse of what's in there before installing it on your hard drive. Or, you can choose to install it straight away.
Let us start from the live session.
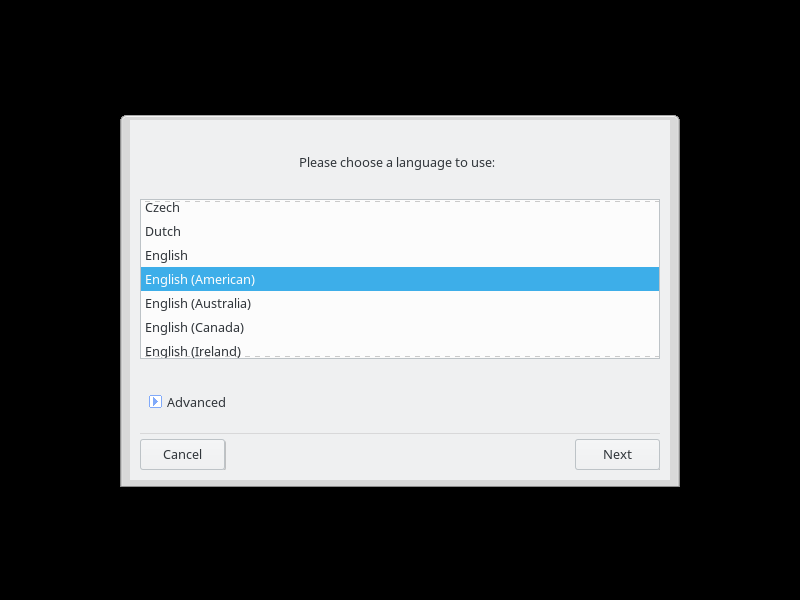
Select the language to use.
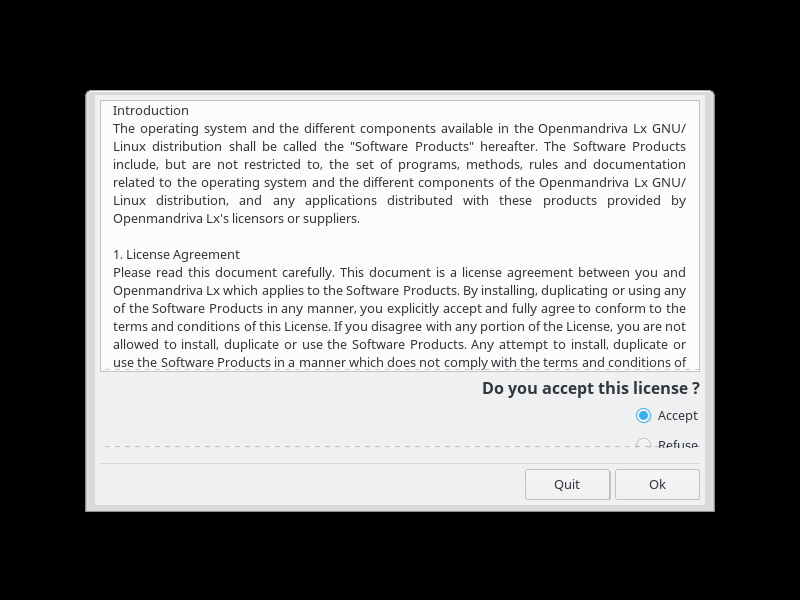
Accept the license agreement.
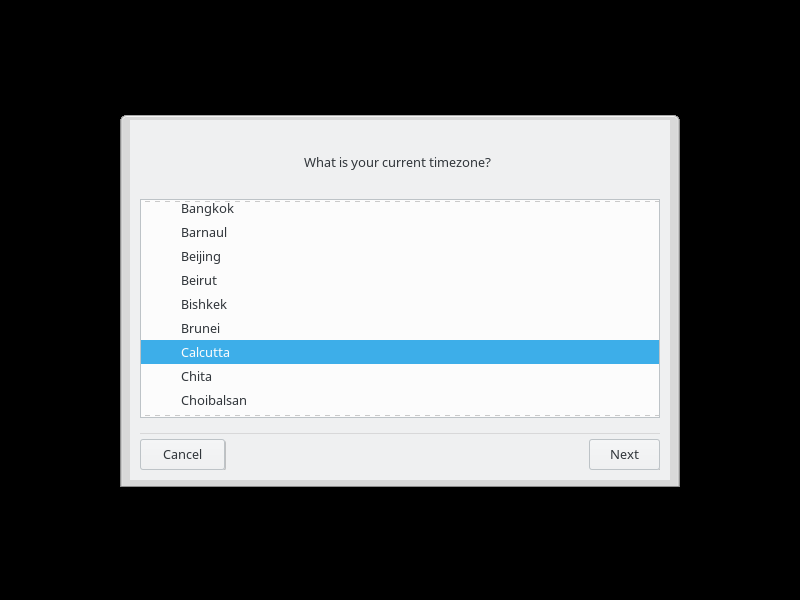
Choose your timezone.
Choose your time format (12 hours or 24 hours). If your system have connected with Internet, this setting will be selected automatically.

Next, select the keyboard layout.

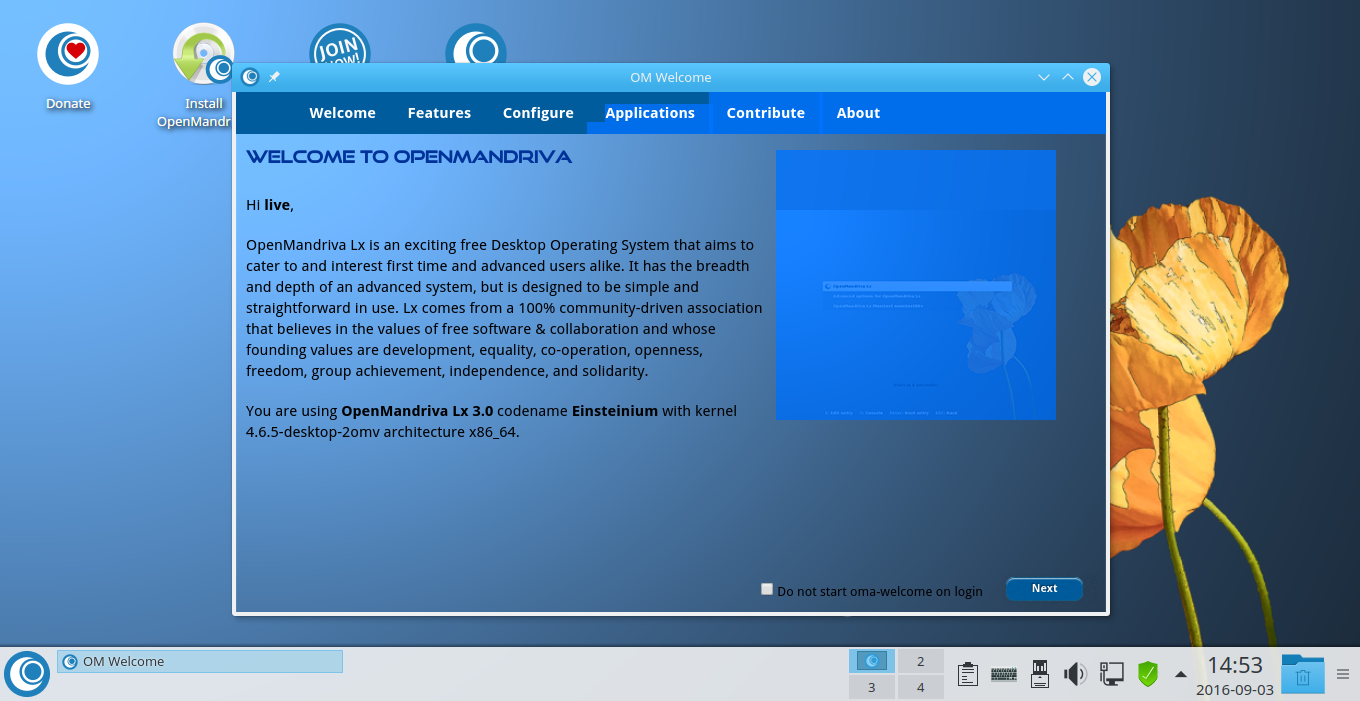
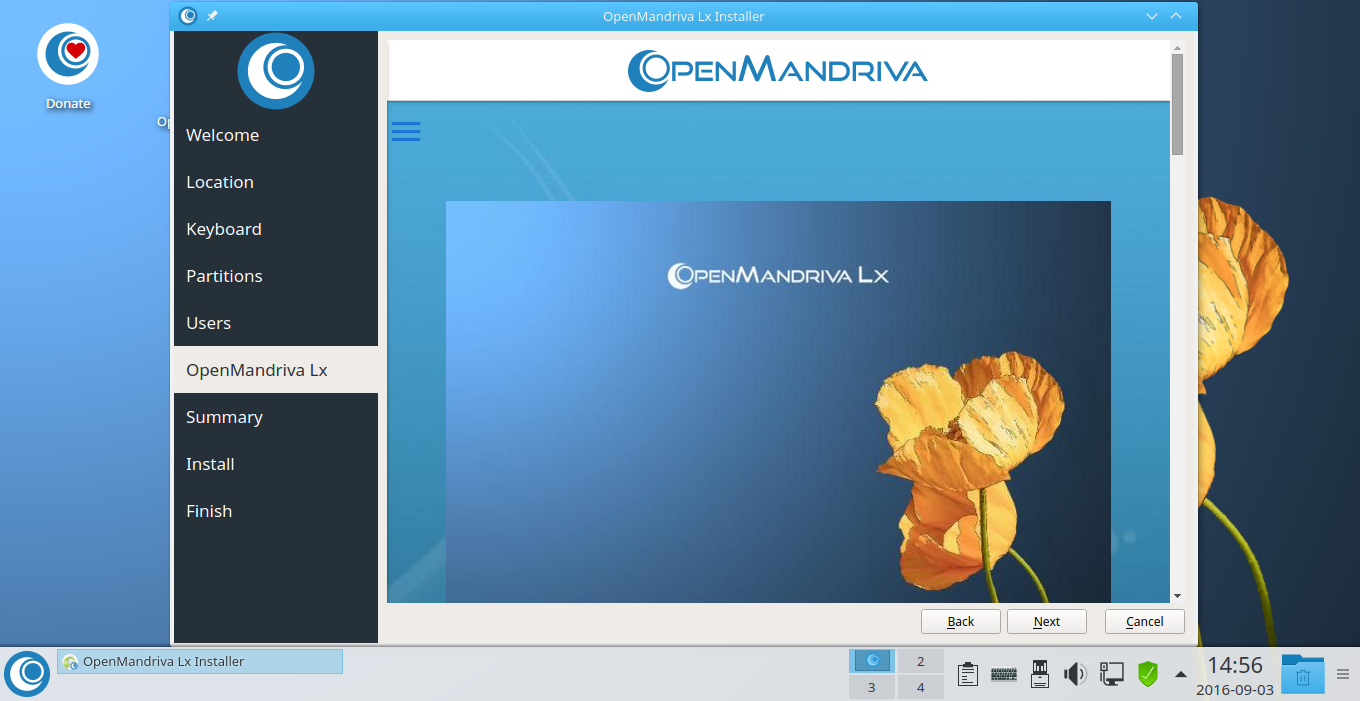
Next, you will see the OpenMandriva welcome message. You can close this screen, and proceed to the live session or simply click Next to go thorough details of the current release.
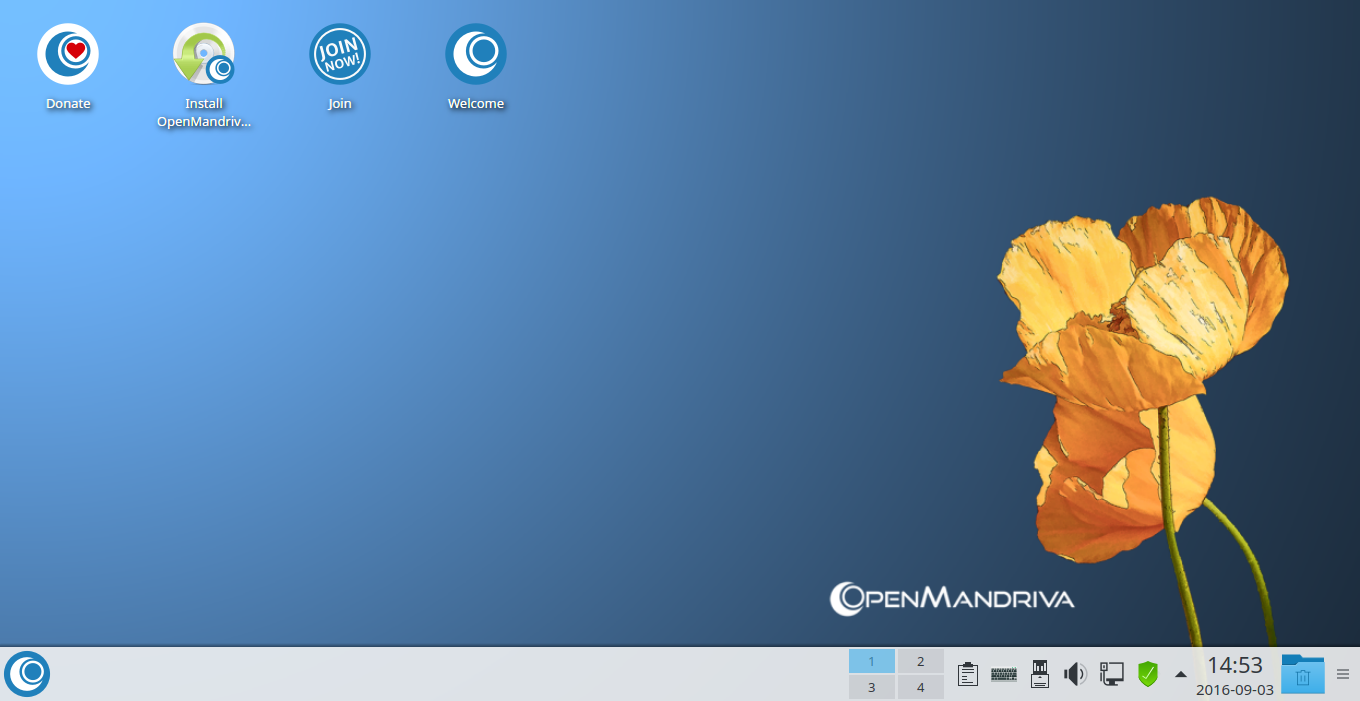
Here is OpenMandriva Lx 3.0 live session.
Now, navigate to the live session and check what's in the new OpenMandriva Lx 3.0 version.
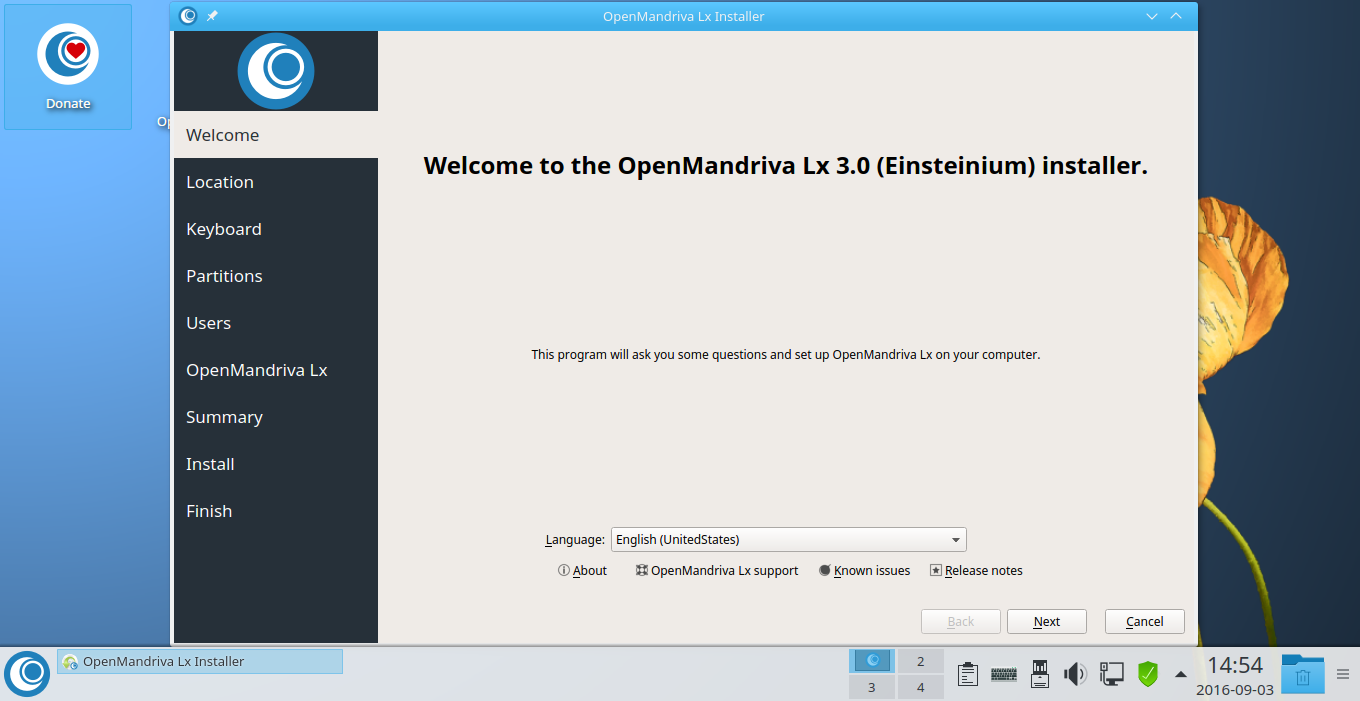
If you're satisfied and wanted to install it, just double click "OpenMandriva Lx installer" icon on the desktop.
Choose the installer language and Click Next to continue.
Next choose your Timezone and click Next.

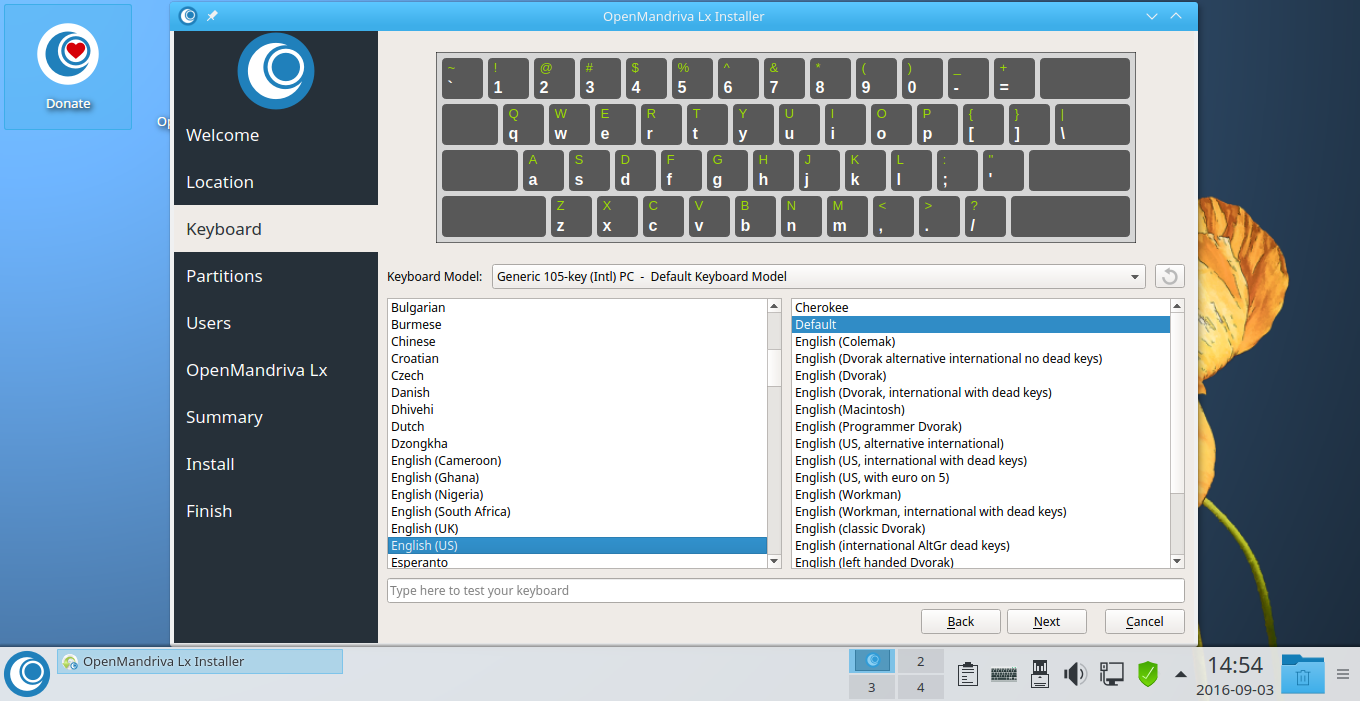
Choose the Keyboard layout and click Next.
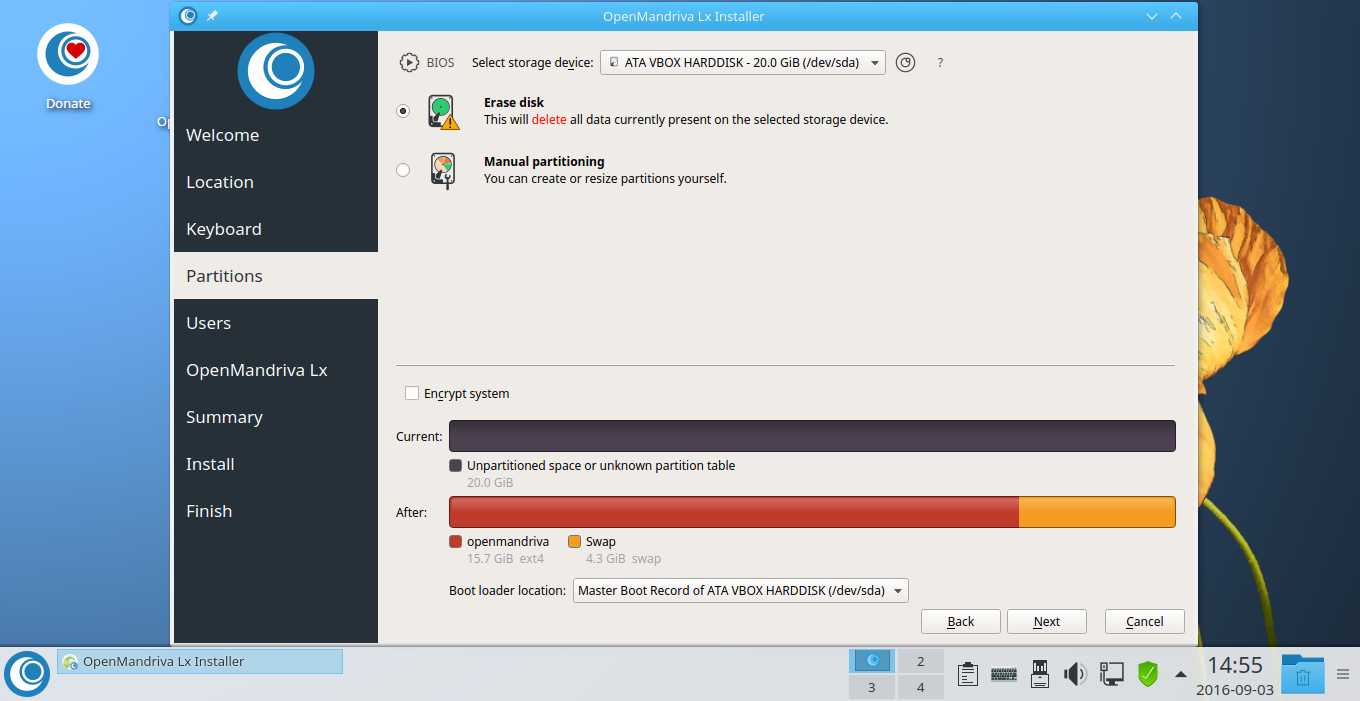
Next, you must decide how to partition your hard drive. If this is the fresh installation, you can select "Erase disk" option that will format the entire hard drive and partition it automatically. If it is a dual boot, you can choose "Manual partitioning" method and define the partition size of your own liking.
Next, you need to create a normal user. Enter the username and its password. Also enter the administrator account password. Make sure the password's are strong.
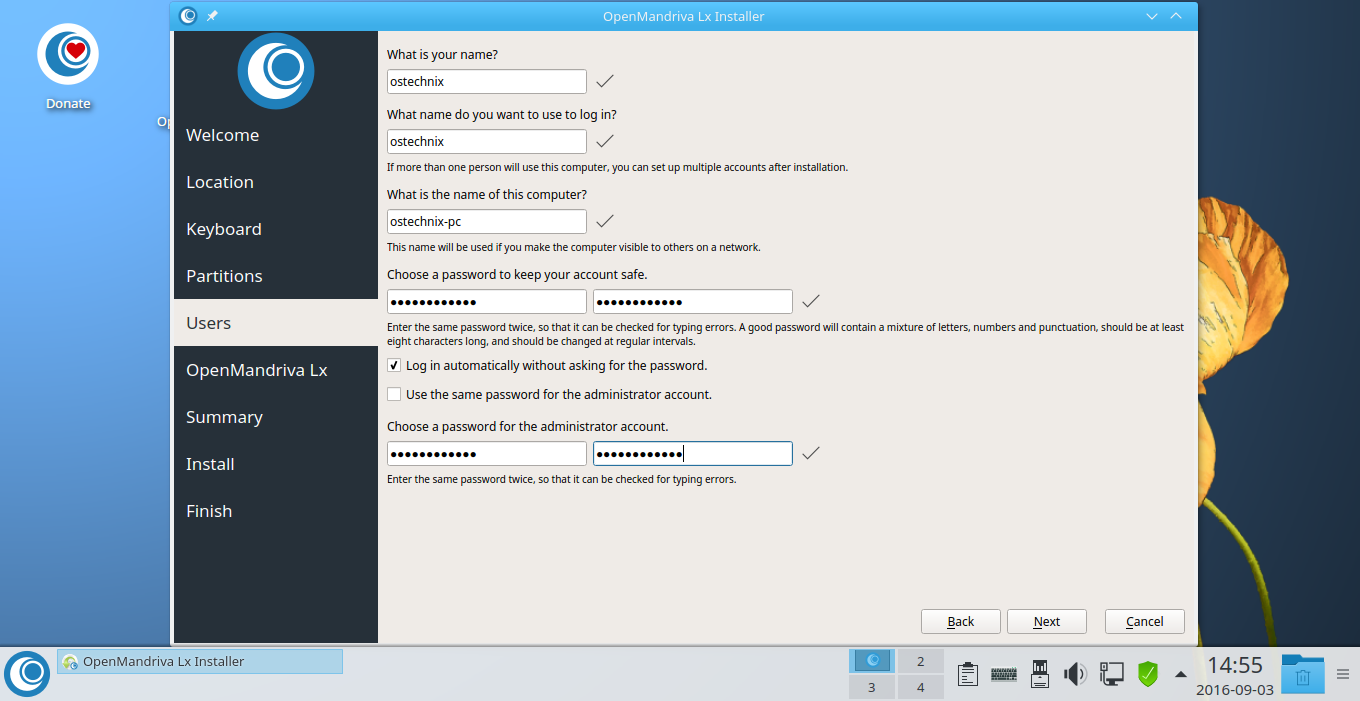
Click Next.
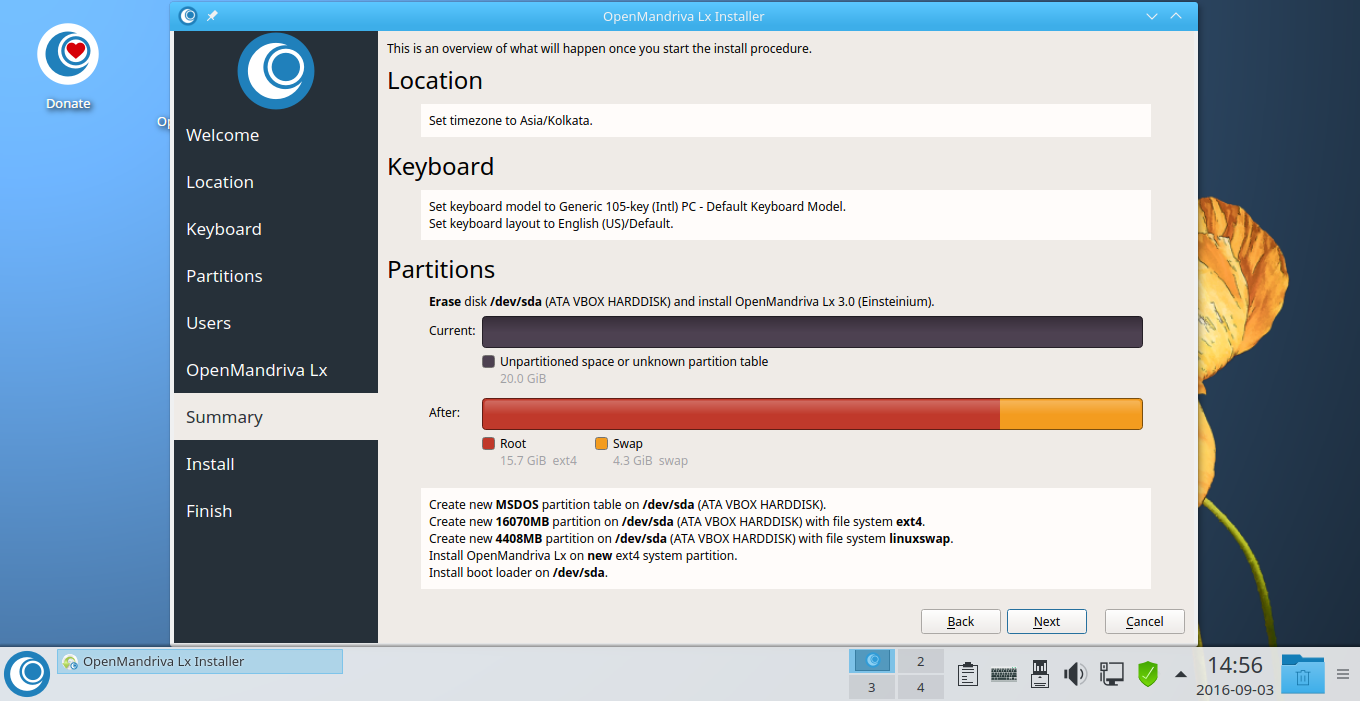
In the next screen, you will see the review of what you have selected so far. If you want to change anything, just go back and change the settings.
Once everything is OK, Click Next to start the installation.
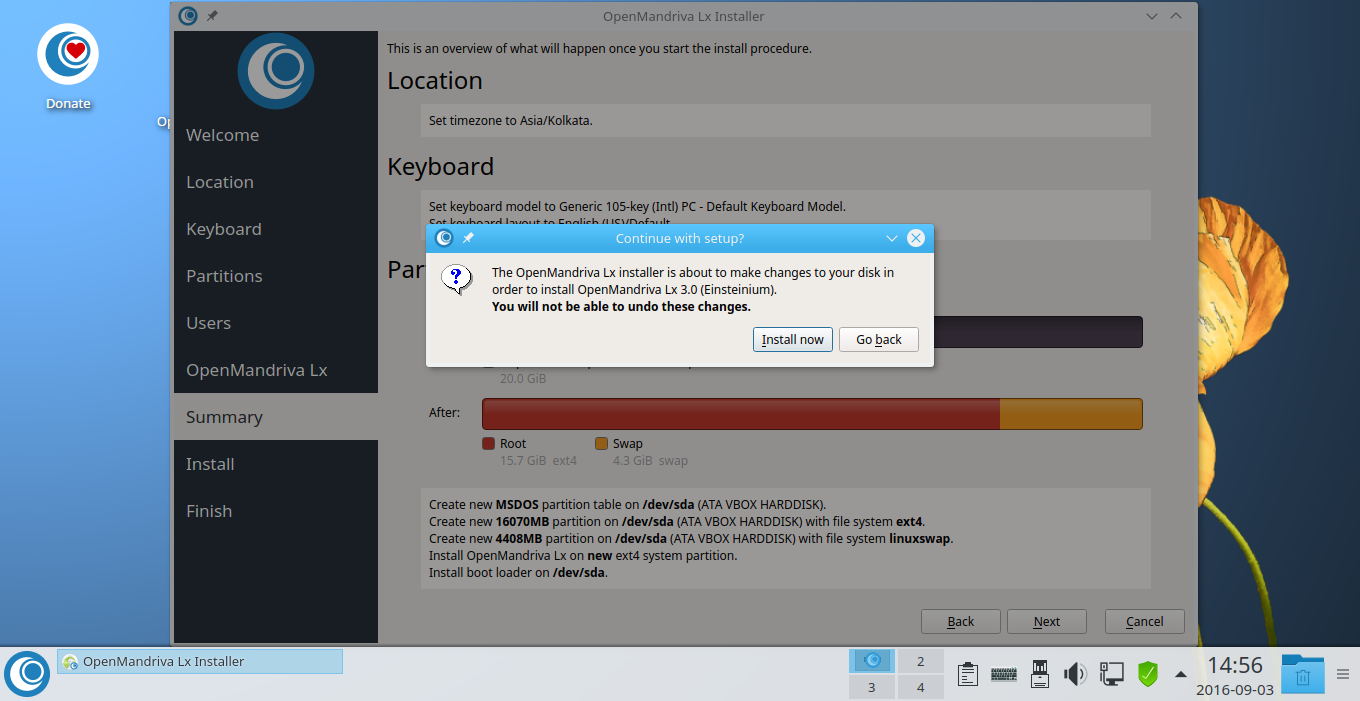
Click Install now to confirm the settings and start the installation.
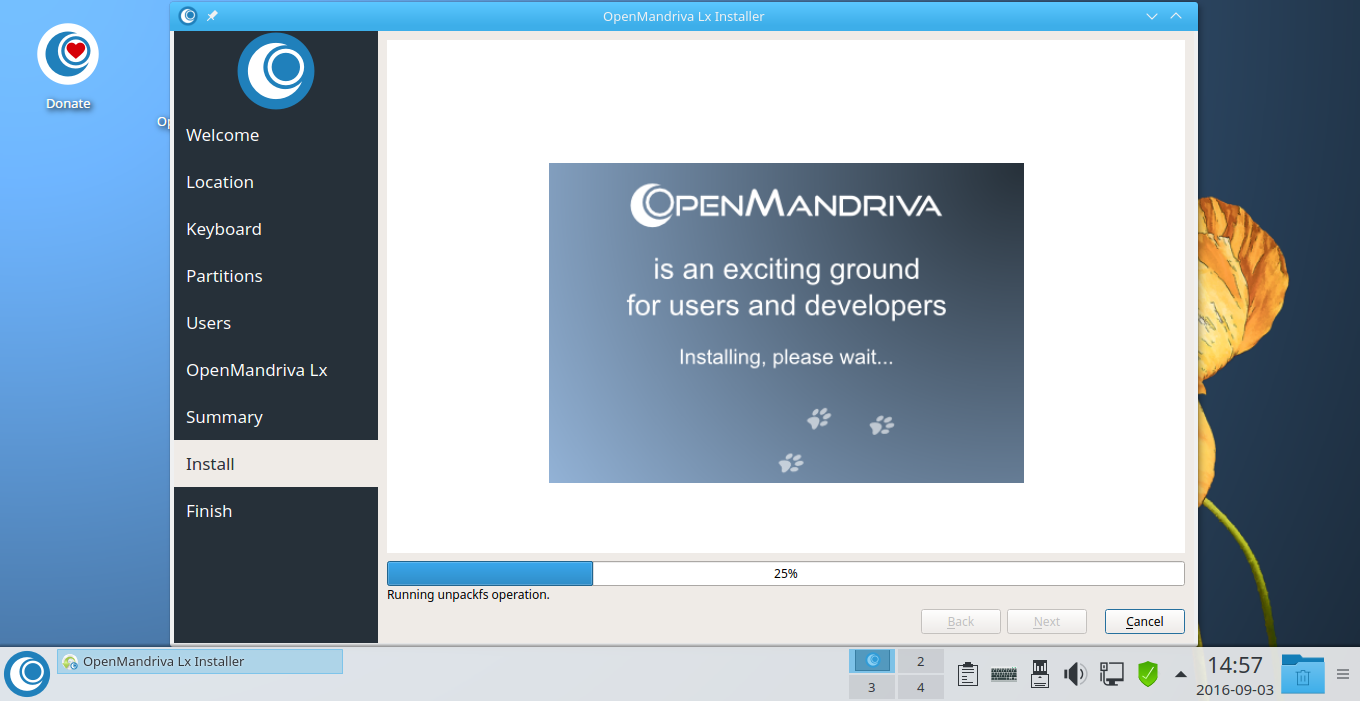
The installation will start now. This will take few moments. Sit back and grab a cup of coffee.
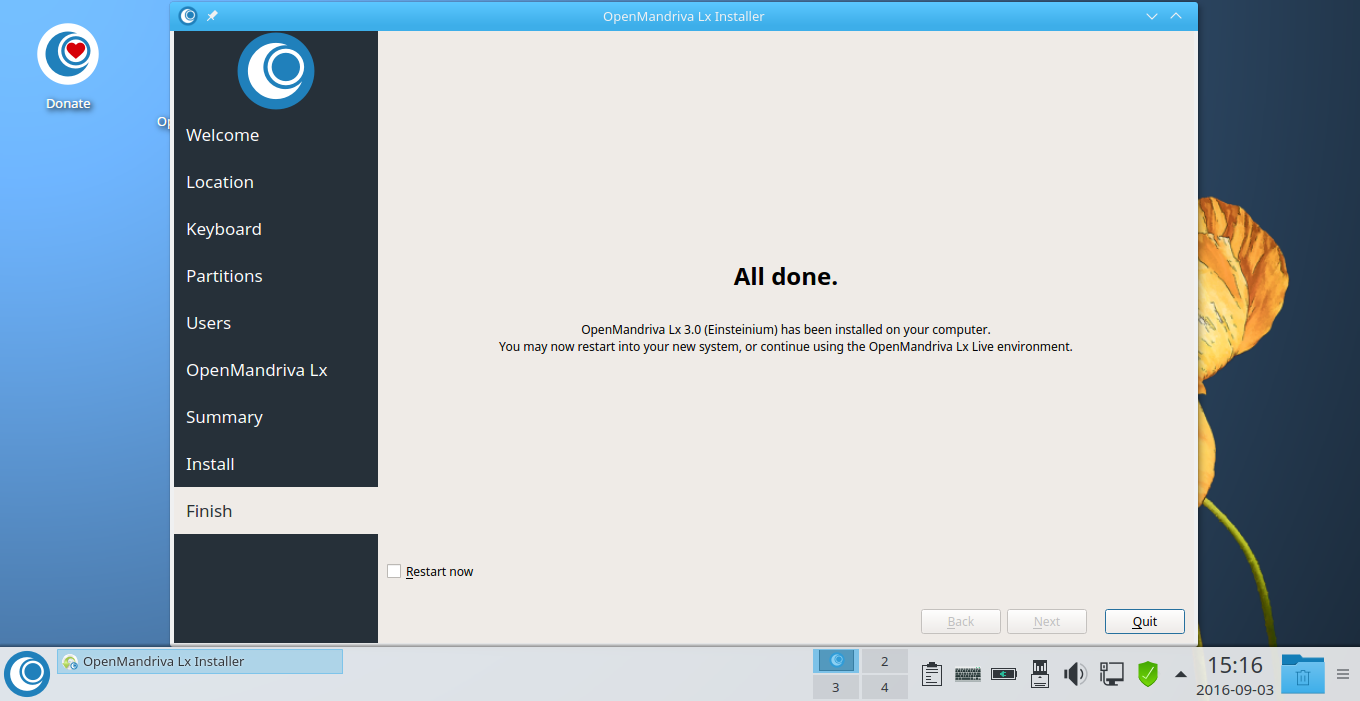
Congratulations! OpenMandriva Lx 3.0 has been installed now. Remove the installation medium and restart your system.
First impressions
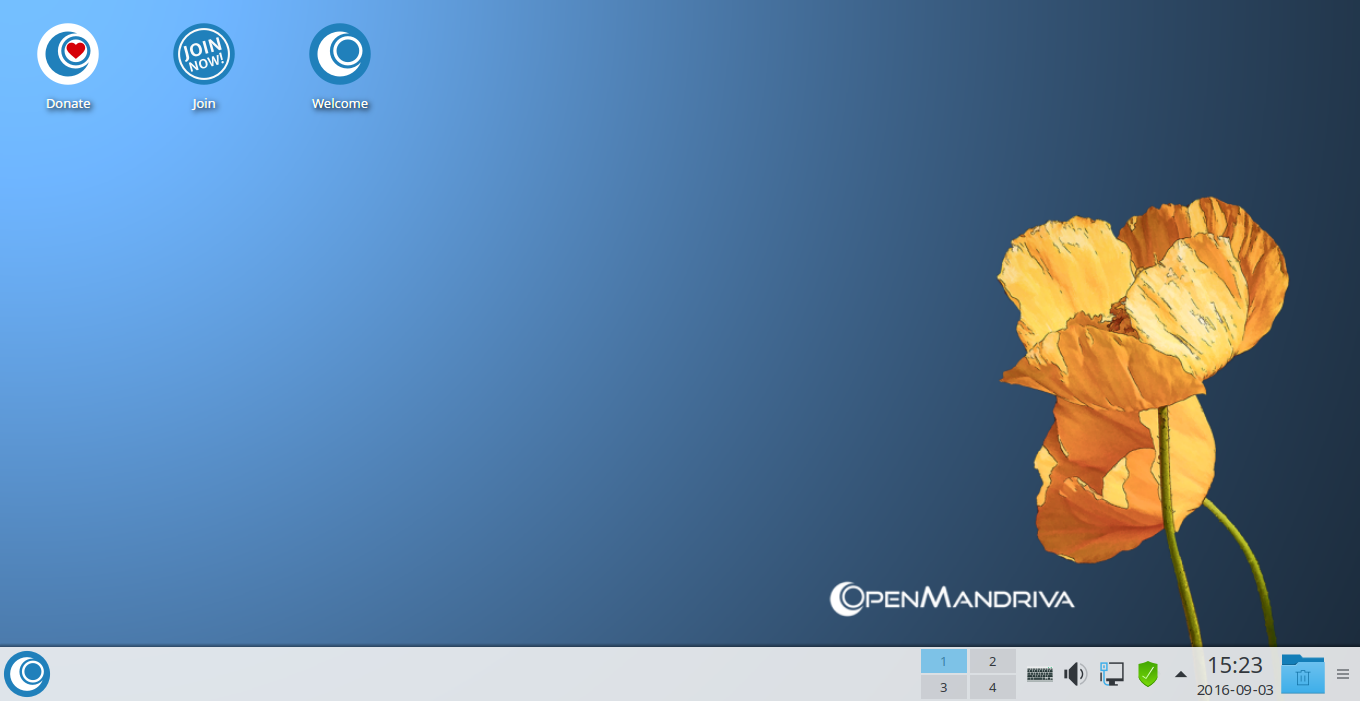
OpenMandriva Lx desktop is clean, tidy, and neat. I like the the default wallpaper with combination of light and dark sky-blue color. However, the flower on the wallpaper is not that eye-candy. It seems bit dull, and doesn't match with background color.
There are three icons by default on the desktop namely Donate, Join and Welcome. If you like Mandriva, and wanted to appreciate the developers, just click the Donate button and help the development. Or you can join to the OpenMandriva community and contribute to the project in the way you can by clicking on the 'Join' button. The welcome button displays the OM welcome screen that takes you on a small product tour of OpenMandriva.
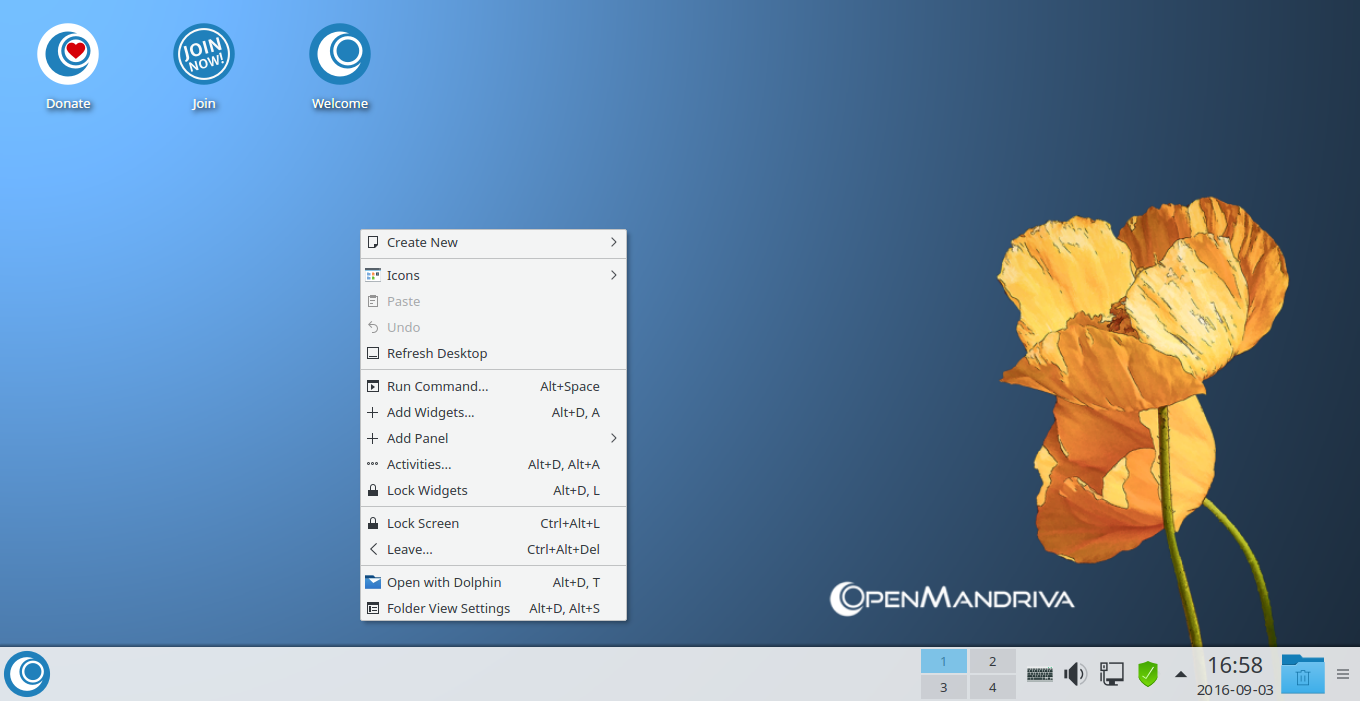
Here it is how OpenMandriva Lx 3.0 desktop looks like after installing it.
Like other KDE Linux distributions, I can able to run commands, add panels, and widgets, and access file manager right from the desktop's right click context menu.
Let us go further and explore the newly installed OpenMandriva Lx 3.0.
Applications
OpenMandriva ships with plenty of essential applications by default. Just install OpenMandriva OS and you never have to install any additional softwares. It comes with everything for the day to day tasks.
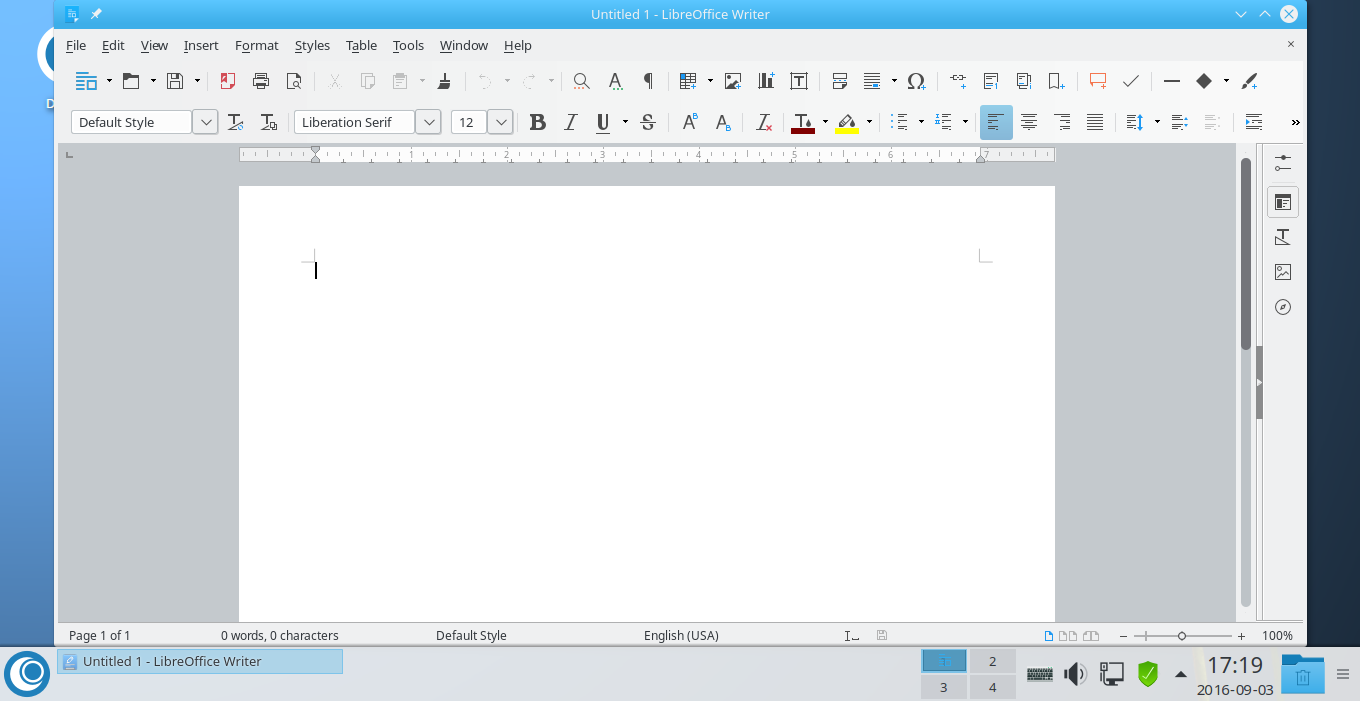
Want to create word document? You have LibreOffice.
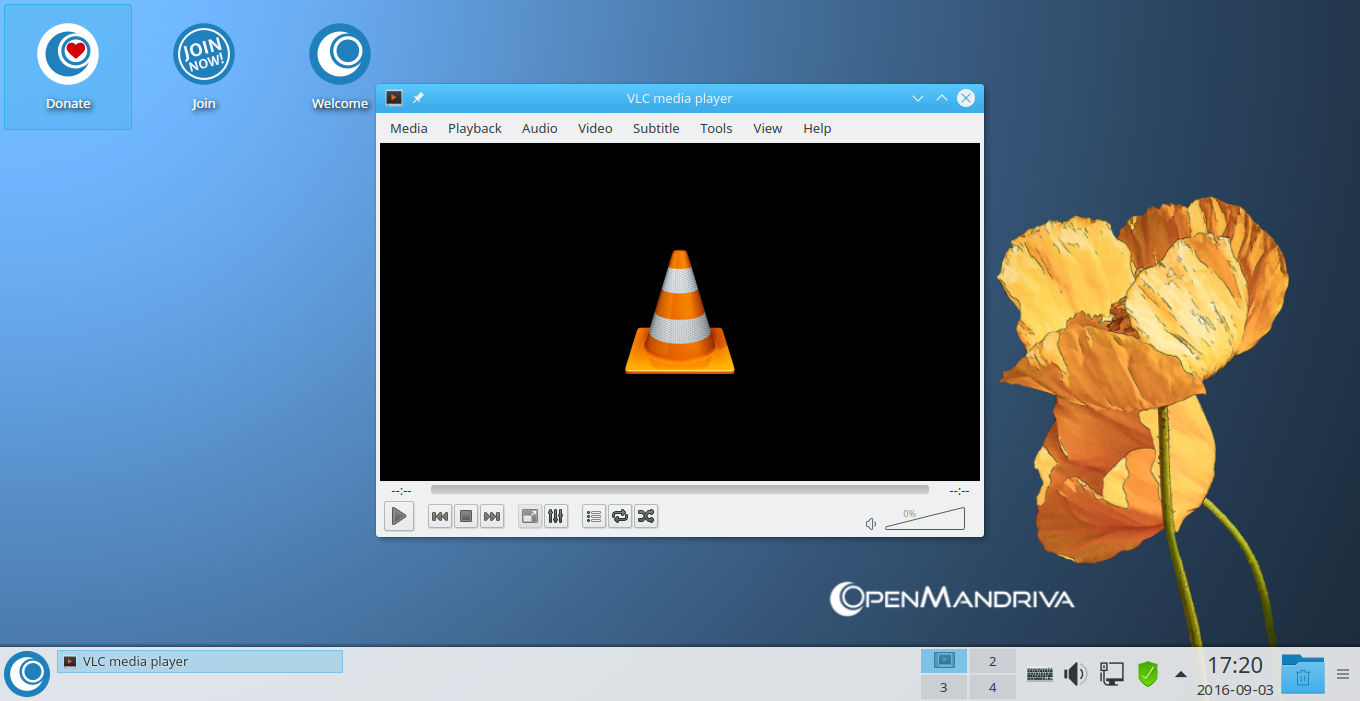
Want to play a media file? you have VLC player and SMPlayer.
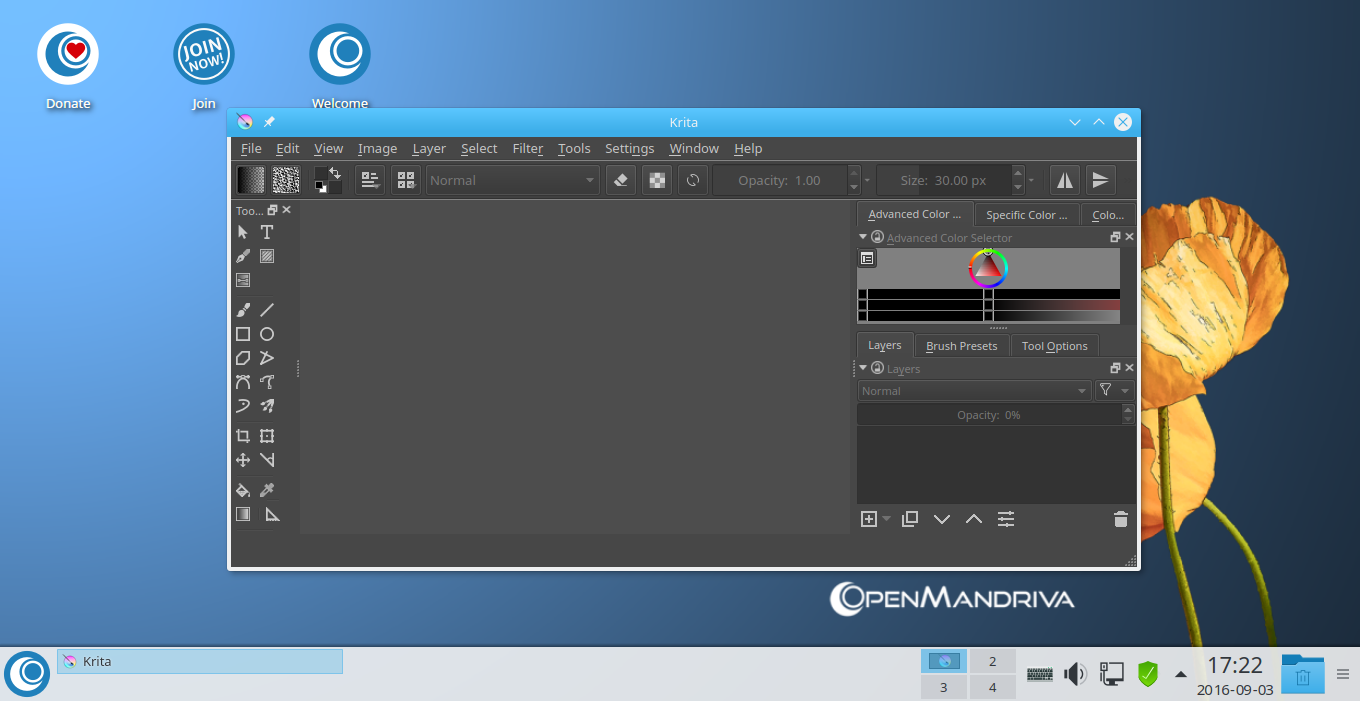
What about image processing tools? Want to create and edit an image? Just open Krita and start doing it in no-time.
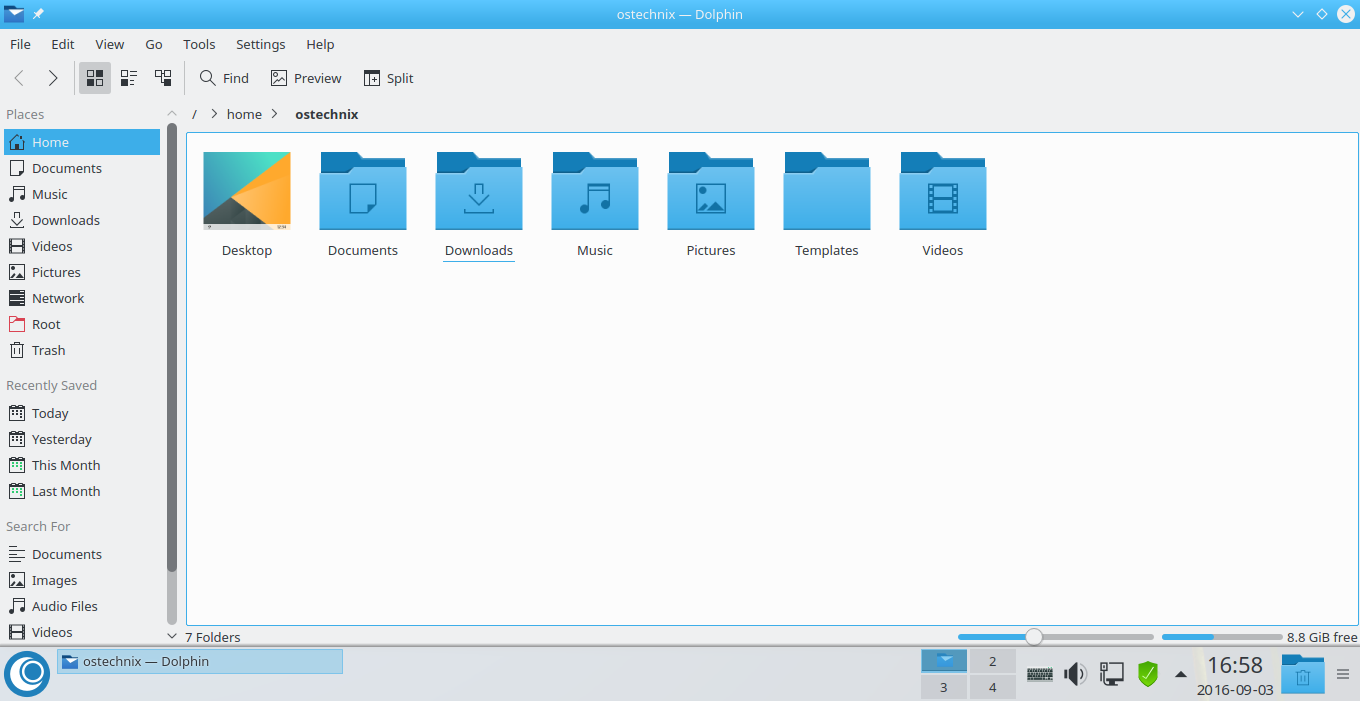
Openmandriva has two filemangers, Dolphin and PCManFM.
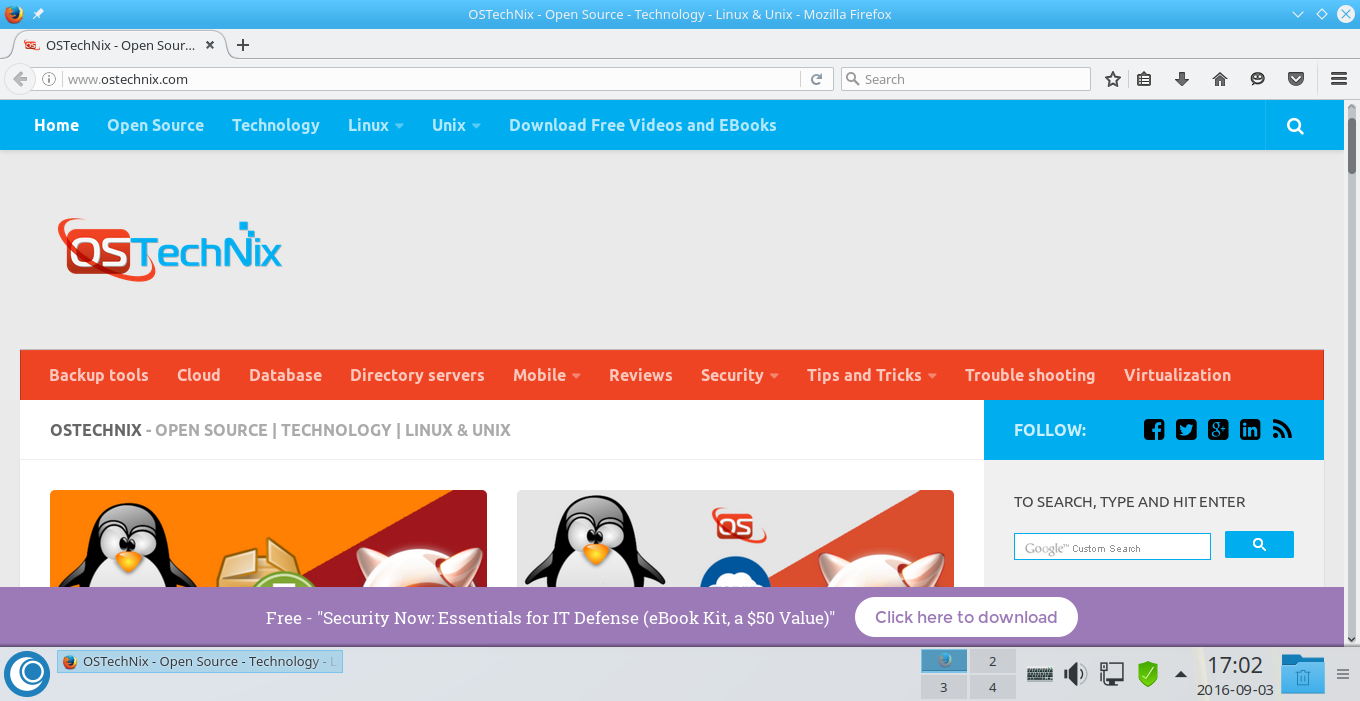
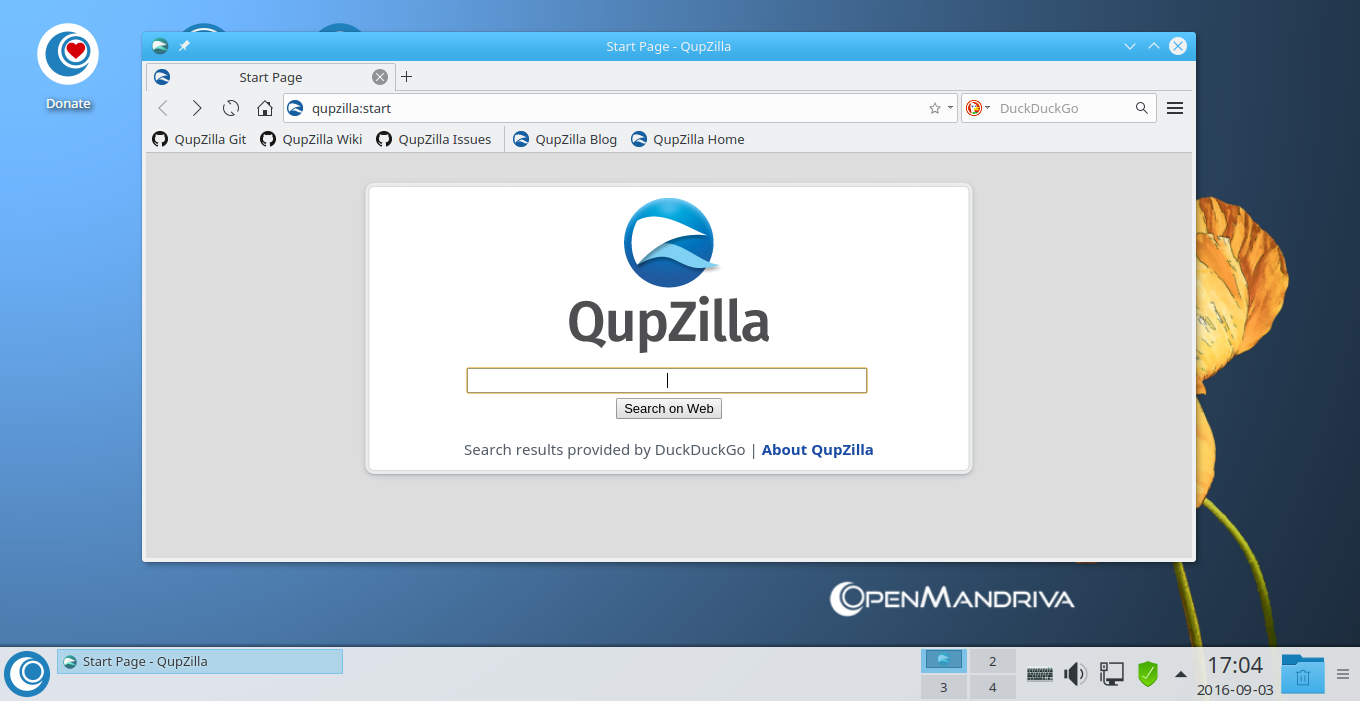
There are two web browsers by default, Mozilla Firefox and Qupzilla.
Firefox uses by Google search, whereas Qupzilla uses DuckDuckGo search.
QupZilla browser:
Also, you can install Chromium web browser if you don't like the default web browsers.
To install Chromium, just run:
urpmi chromium-browser-stable
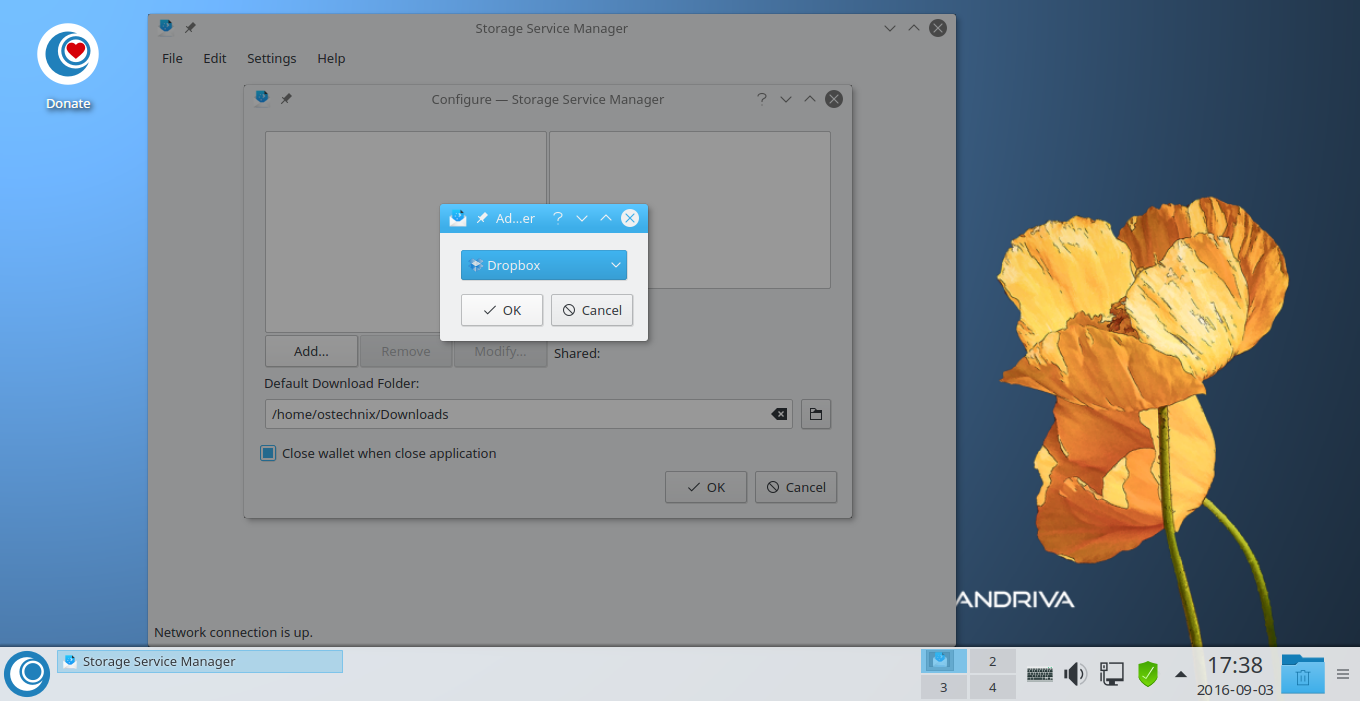
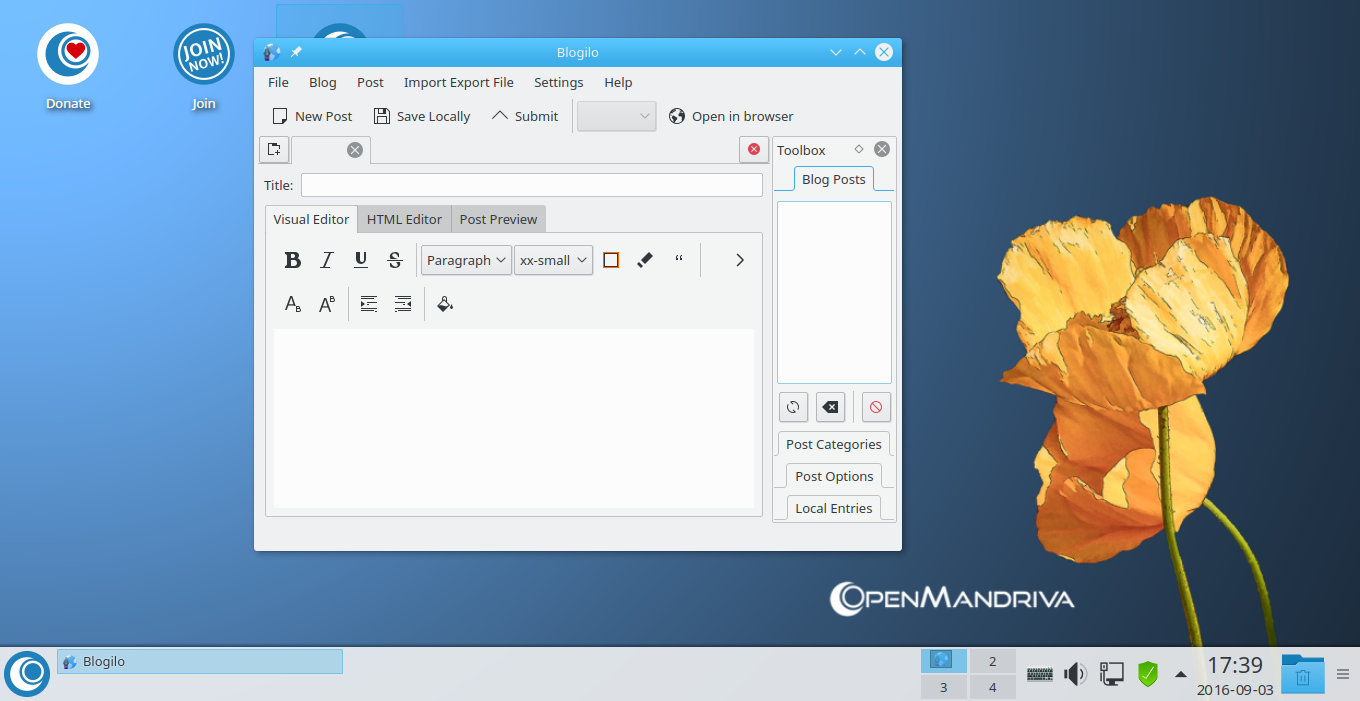
The other useful applications I have noticed are Storage service manager and Blogilo.
The Storage service manager is used to configure popular cloud services like Dropbox and access them in your OpenMandriva desktop.
And, Blogilo is blogging client that can be used to compose and publish articles to popular CMS platforms like WordPress. You can write your articles offline and publish them without having to go to the wordpress editor. Blogilo allows you to add any number of blogs and publish articles right from your desktop.
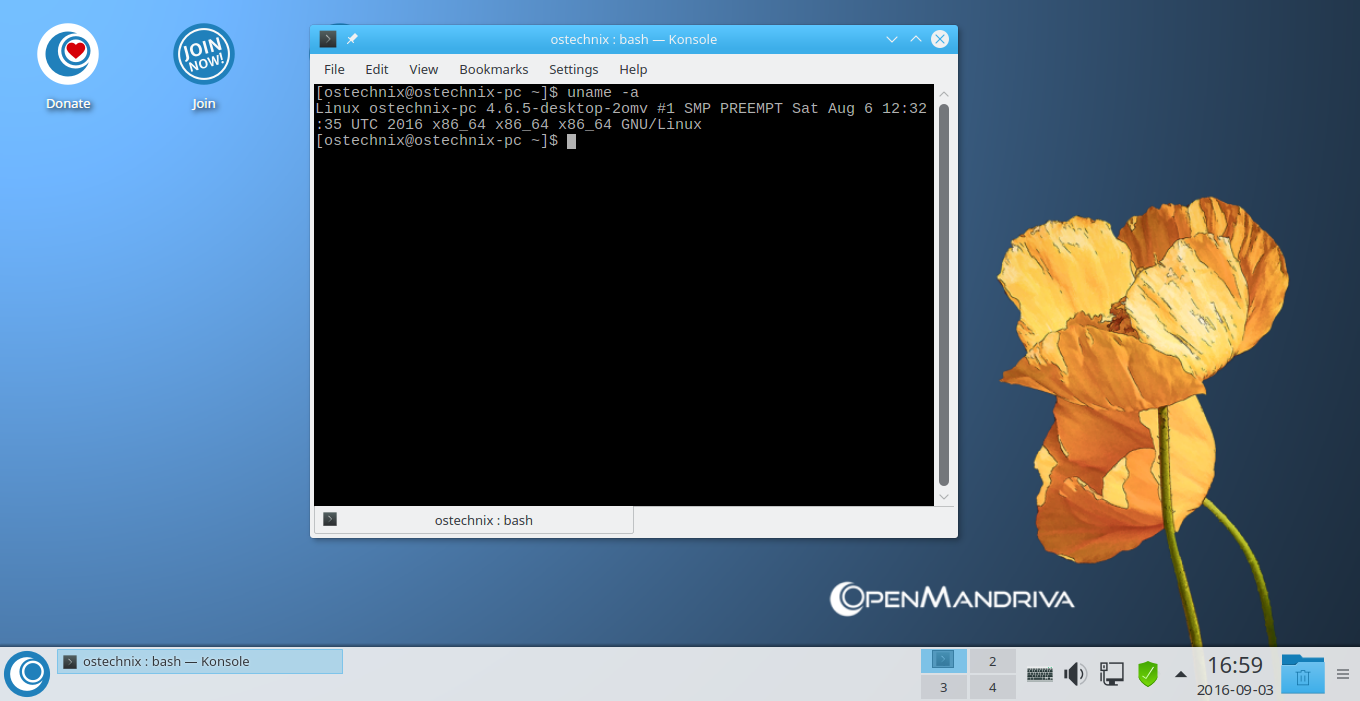
Just like all KDE Linux distributions, Kconsole is the default Terminal of OpenMandriva Lx edition.
OpenMandriva ships with all useful applications for day to day usage, including Image editor and viewer, document and pdf viewer, sound and video editors, screenshot application, note taking apps, text editors, bit-torrent client, download manager, IRC and mail clients, RSS feed reader and much more.
Overall, the default application's selection is pretty good. I give 10/10 for application support. Just like Linux Mint, and Ubuntu, the developers of OpenMandriva have carefully selected all essential applications.
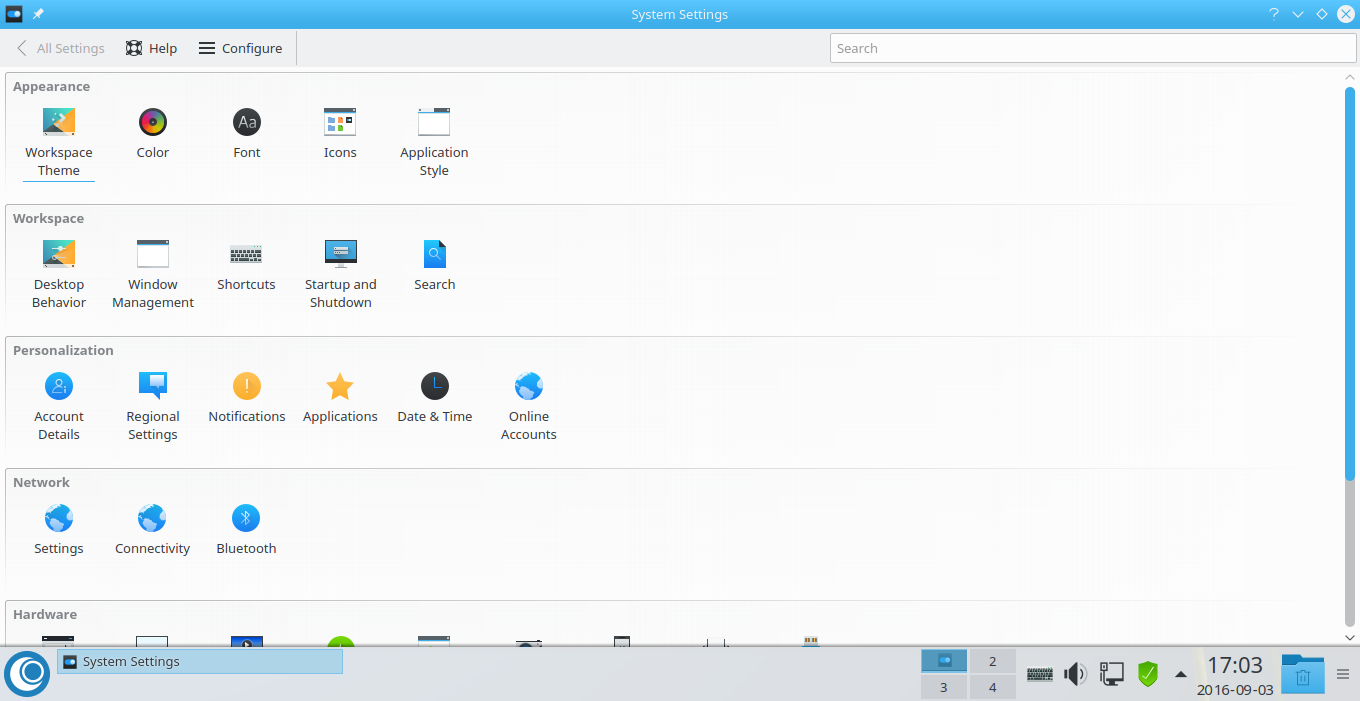
System Settings
OpenMandriva's System settings center contains all options to configure, tweak and customize various system settings, such as customizing workspace, themes, Icons, configuring Network, bluetooth, online accounts, printer, date and time and more.
Sound and media support
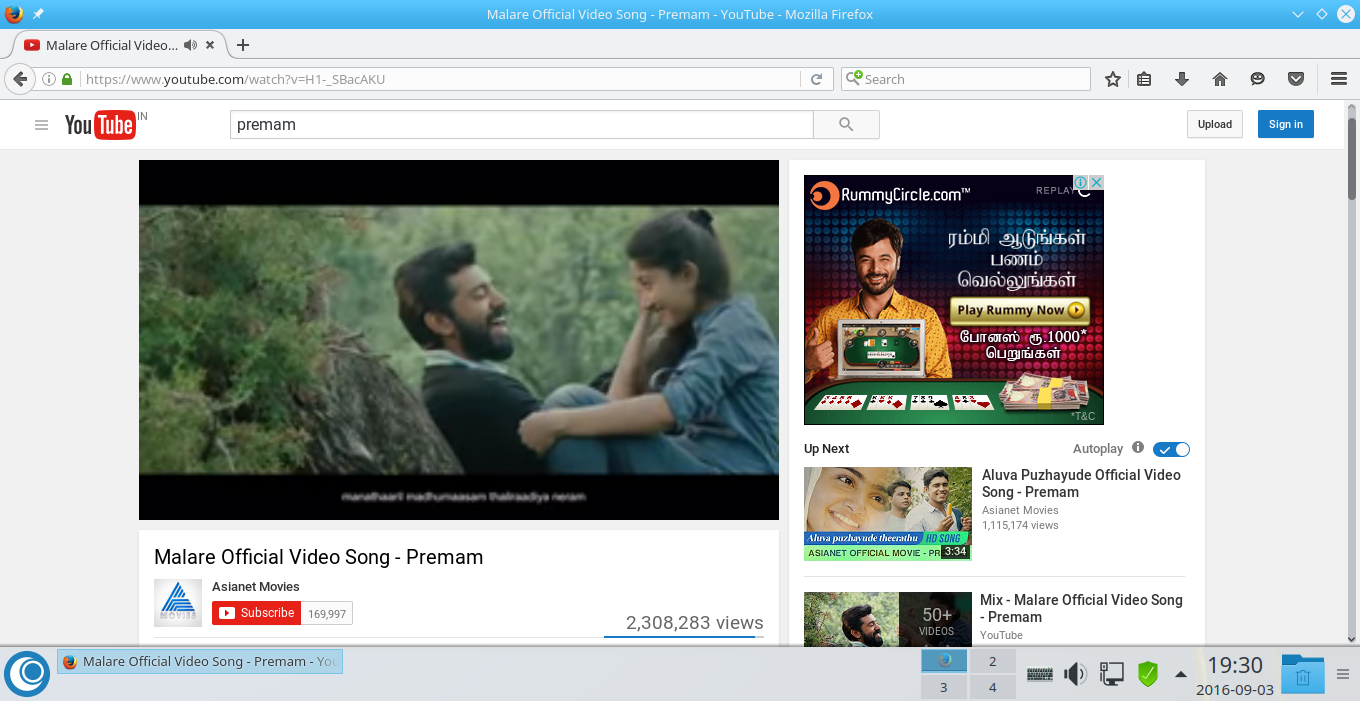
Like I already mentioned, this version comes with two popular media players, VLC and SMPlayer, and few other audio, video applications. As you already know, VLC and SMPlayer supports almost all type of audio and video formats. Personally, I prefer SMPlayer over VLC. SMPlayer has number of cool features, the particular one among all is built-in YouTube browser. For more details, check the following link.
The audio and video codecs are pre-installed by default. So, you can play any kind of media files online and offline. I can able to play YouTube videos without having to install any extra plugins and codecs.
What do you want more? It has everything you need.
Hardware support
It recognized all my hardware. HP Printing utility comes preinstalled by default, so I guess HP printing and imaging device's installation won't be much hassle. Not only HP printing and imaging devices, I hope OpenMandriva will support all other vendor's products as well. If it won't support, no worries! The OpenMandriva developers and thousands of community members around the world are here to help you.
Conclusion
To summing up, OpenMandriva Lx 3.0 KDE version works just fine out of the box without any glitches. As far as I tested, I can assure, OpenMandriva is the best fork of Mandriva and ROSA Linux. As promised, the developers have made a pragmatic and modern Linux distribution from the roots of Mandriva Linux, and of course they have succeeded.
That's all for now folks. Give it a try and let me know about your experience of this latest version in the comment section below.
Happy weekend!
Cheers!!
Further reading:
Thanks for stopping by!
How can I benefit from this blog:
- Subscribe to our Email Newsletter : Sign Up Now
- Download free E-Books and Videos : OSTechNix on TradePub
- Connect with us: Facebook | Twitter | Google Plus | LinkedIn | RSS feeds
Have a Good day!!
1 comment
In my computer when iam launching any of two (installing or Live run )there is shell which says/ blah/ blah not found please help.. thanx in advance